


To create a new cycle count ticket from the basket, follow these steps:
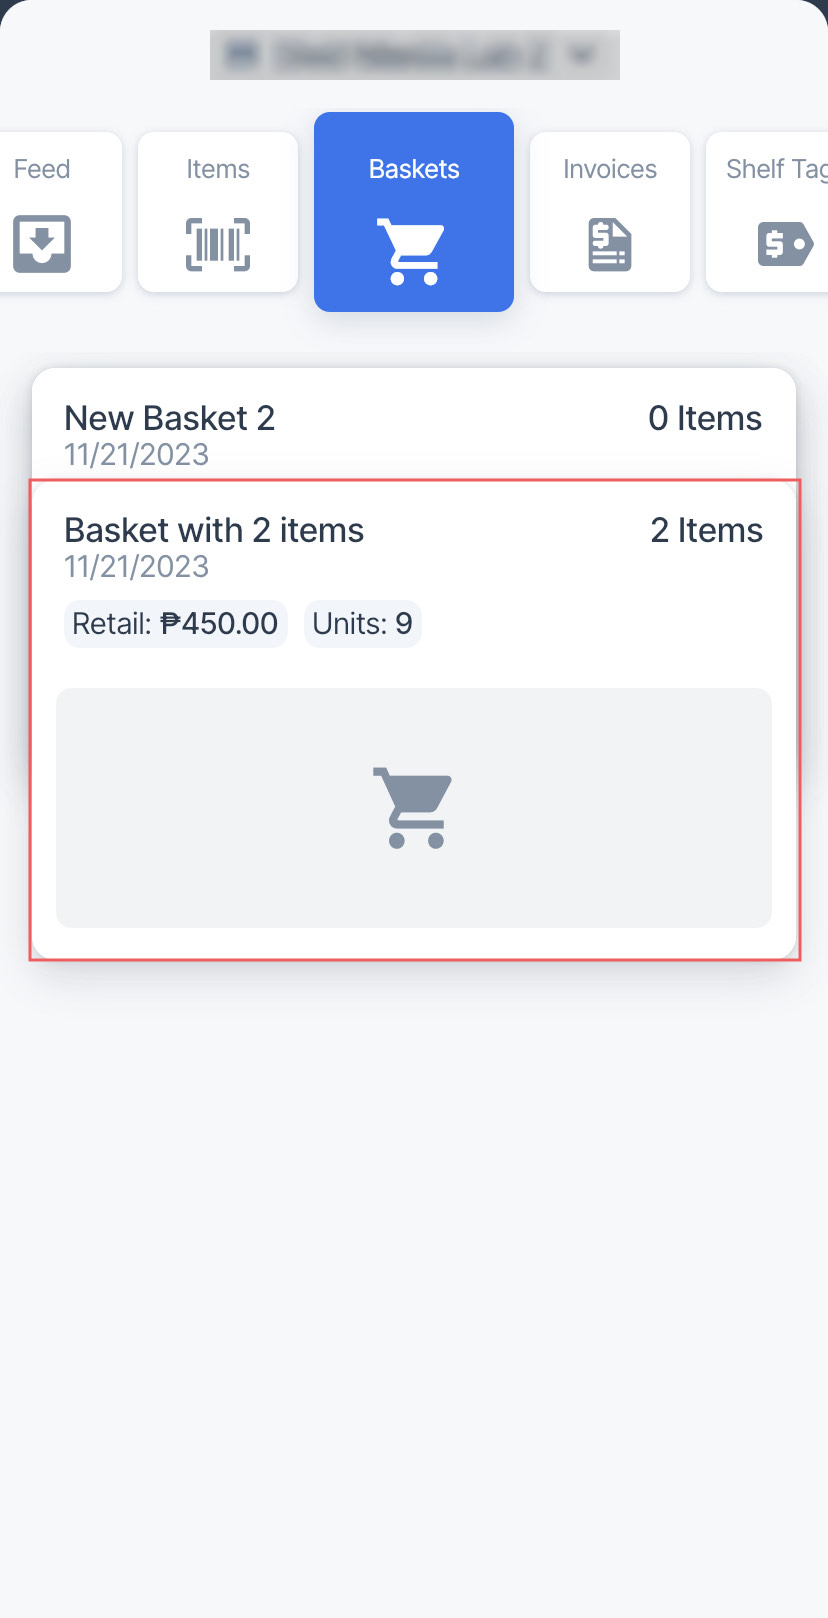
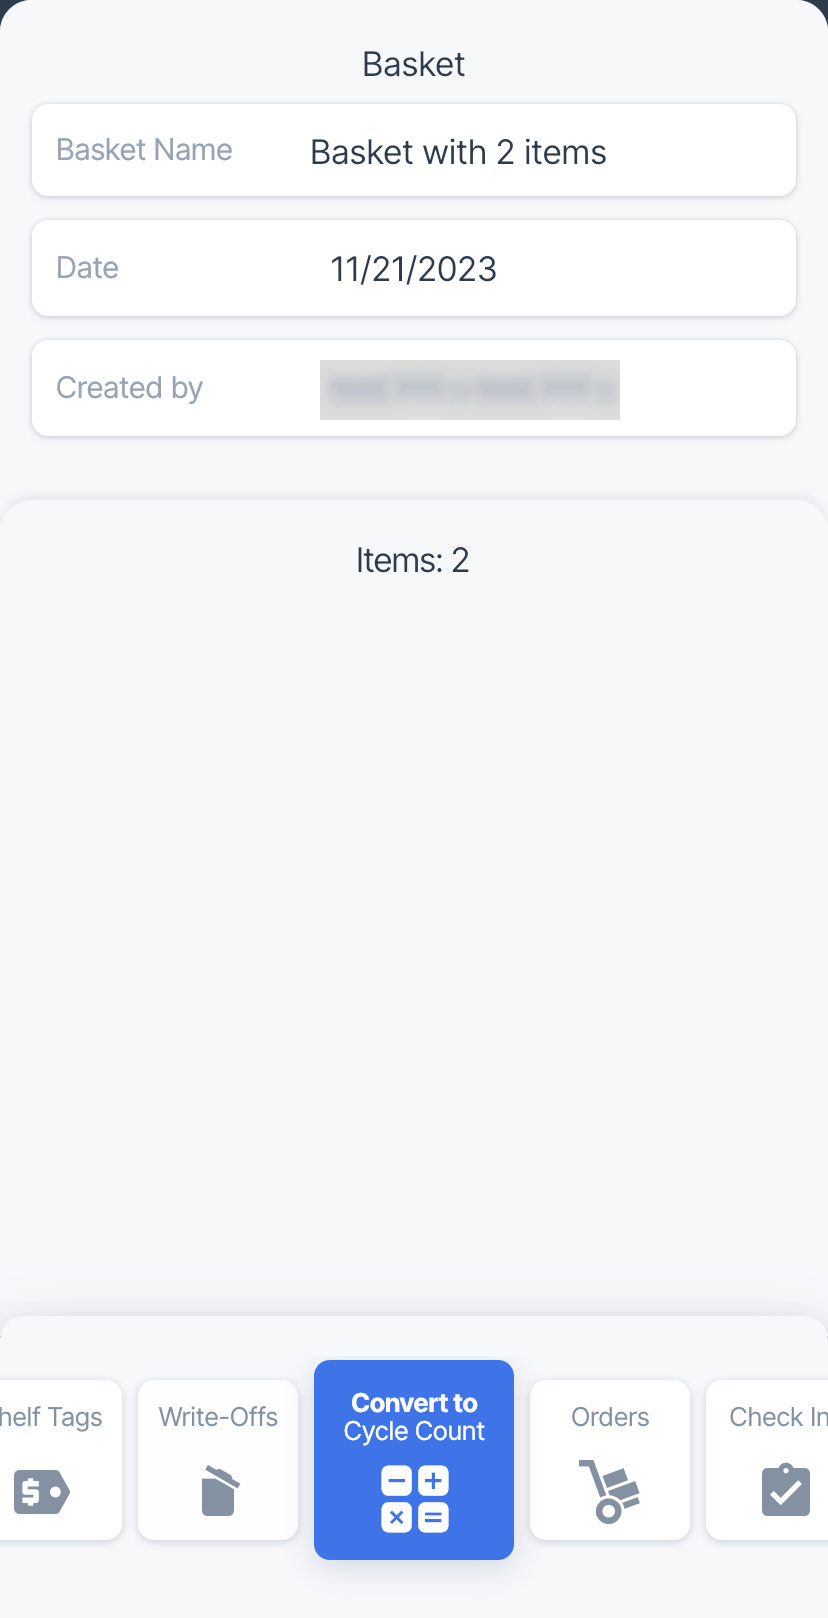
- In the baskets list, tap the basket you want to create a cycle count ticket from.

- In the bottom menu, select the Convert to Cycle Count tile and swipe up.
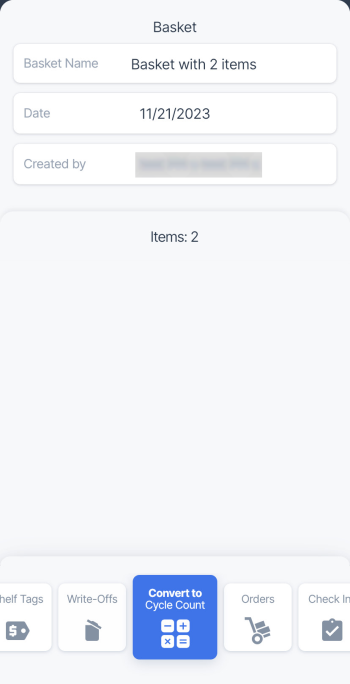
Result: The Cycle Count screen appears.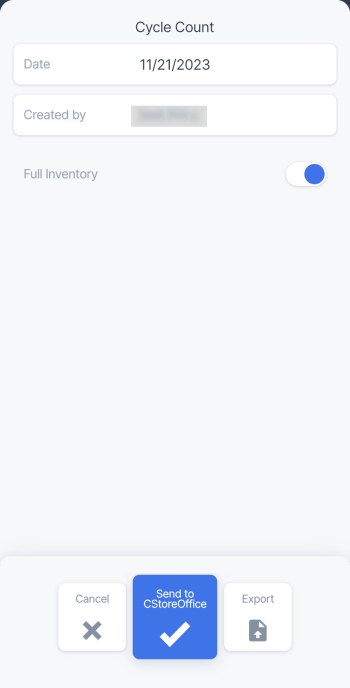
- In the Cycle Count screen, enter the following data:
- Tap the Date field and select the date for the cycle count ticket, if needed. By default, the current date is selected.
- Set the Full Inventory toggle to the On position, if you need to mark this inventory as full store.
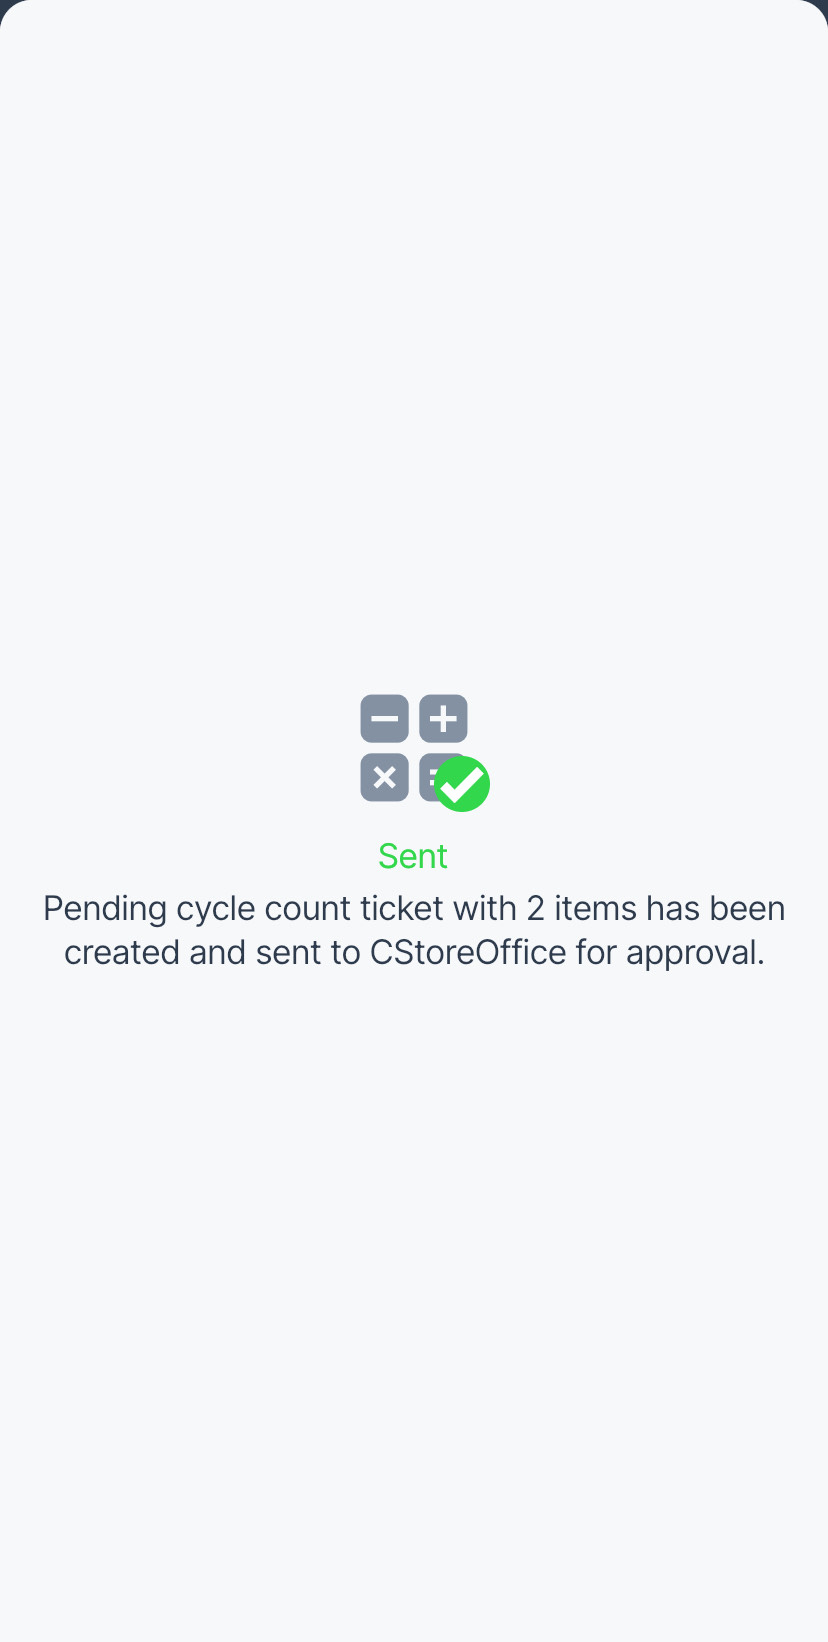
- In the bottom menu, select the Send to CStoreOffice® tile and swipe up.
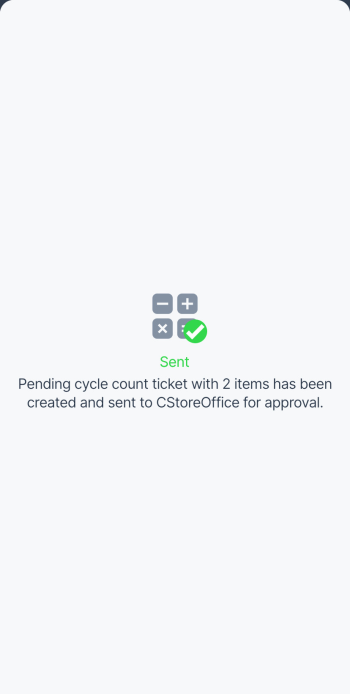
- Wait until the items are added to the cycle count ticket and successful message is displayed.

You can export items from the basket to conduct physical inventory using a third-party service. To do so, select the Export tile and swipe up. For further instructions, see Exporting basket items to external systems.
Cycle counts created in the Retail360 app can be tracked in CStoreOffice® under your account:
- To review and accept your pending cycle count ticket, go to Itemized Inventory form. For more information, see Itemized Inventory.
- To view your item shrinkage, go to the Item Shortage report, where you can view the following data:
- Physical Inventory: The number of items counted within the cycle count ticket.
- Book Inventory: The number of items counted by CStoreOffice®.
- Short / Over: The difference between the book and physical inventory.
For more information, see Item Shortage Report.


