You can create different menus, for example the 'Regular' and 'Holiday' menus, and show them to your clients within specified periods of time during a day and/or a week. You can also configure different active menu periods for each station on your account.
The time targeting menus can be configured in the following ways:
Configuring Menu for One Station
To configure the time targeting menus on the account's station:
- In the QwickServe menu, click Menu.
- At the right of the menu you want to activate, click the locations link.
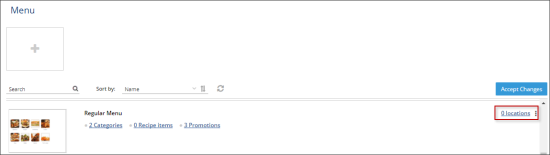
The number at the left of the locations link indicates the number of stations for which this menu is active.
- Wait until the list of account's stations is uploaded.
- Add the active period:
- Move the mouse pointer over a location and then at the left of the Period column, click the plus sign.
- Select the weekdays, during which the menu will be active.
- Specify the hours of the selected weekdays, during which the menu will be active.
- (Optional) In case you need more active periods, repeat step 4 as many times as you need.

The configured time targeting menu is only visible for the station when the menu is activated for this station. For details, see Activating/Deactivating Menu for Station.
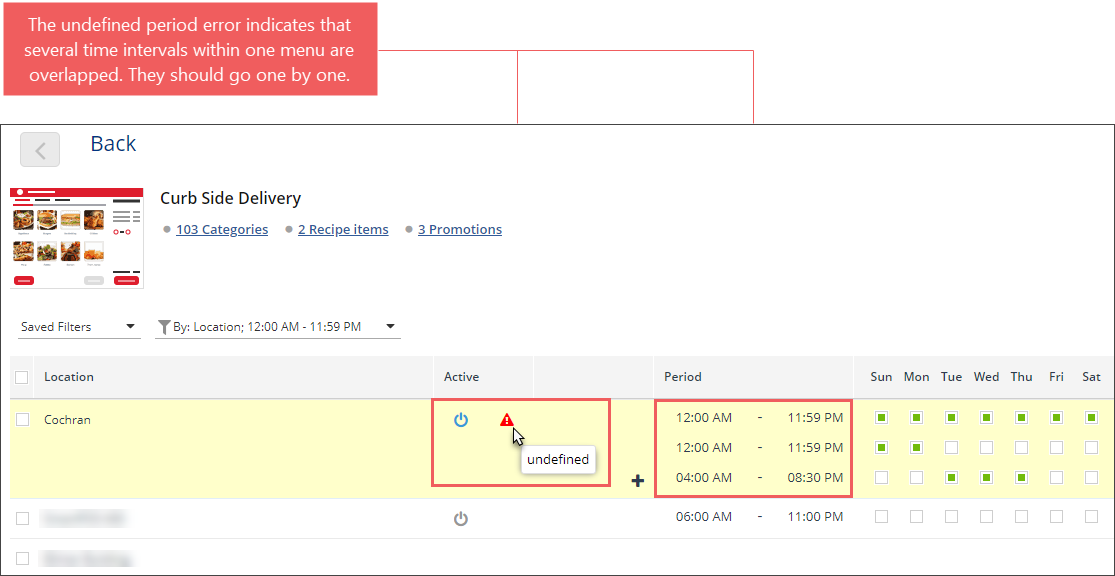
The exclamation mark displayed in the Active column to the right of the Active/Inactive icon, indicates the undefined period error and means that one or several active periods are not configured properly. For more information on how to troubleshooting this issue, see Undefined period error is displayed in the QwickServe menu.
Configuring Menu for Several Stations
To configure time targeting menu for several stations at once:
- Open the locations list for the selected menu. For details, see steps 1-3 at Configuring Menu for One Station.
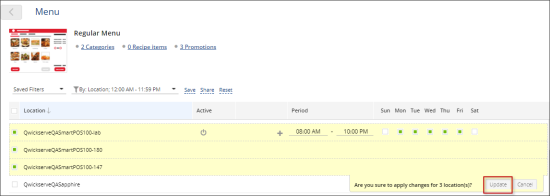
- Select several locations.
- Add one or several periods for any selected location. For details, see steps 4-5 at Configuring Menu for One Station.
- At the bottom right of the selected locations, click Update.