Before switching SmartPOS to the self-checkout mode, see Self-Checkout Mode. To switch SmartPOS to the self-checkout mode, follow these steps:
- Make sure the users who are going to assist customers performing transactions in the self-checkout mode clock in.
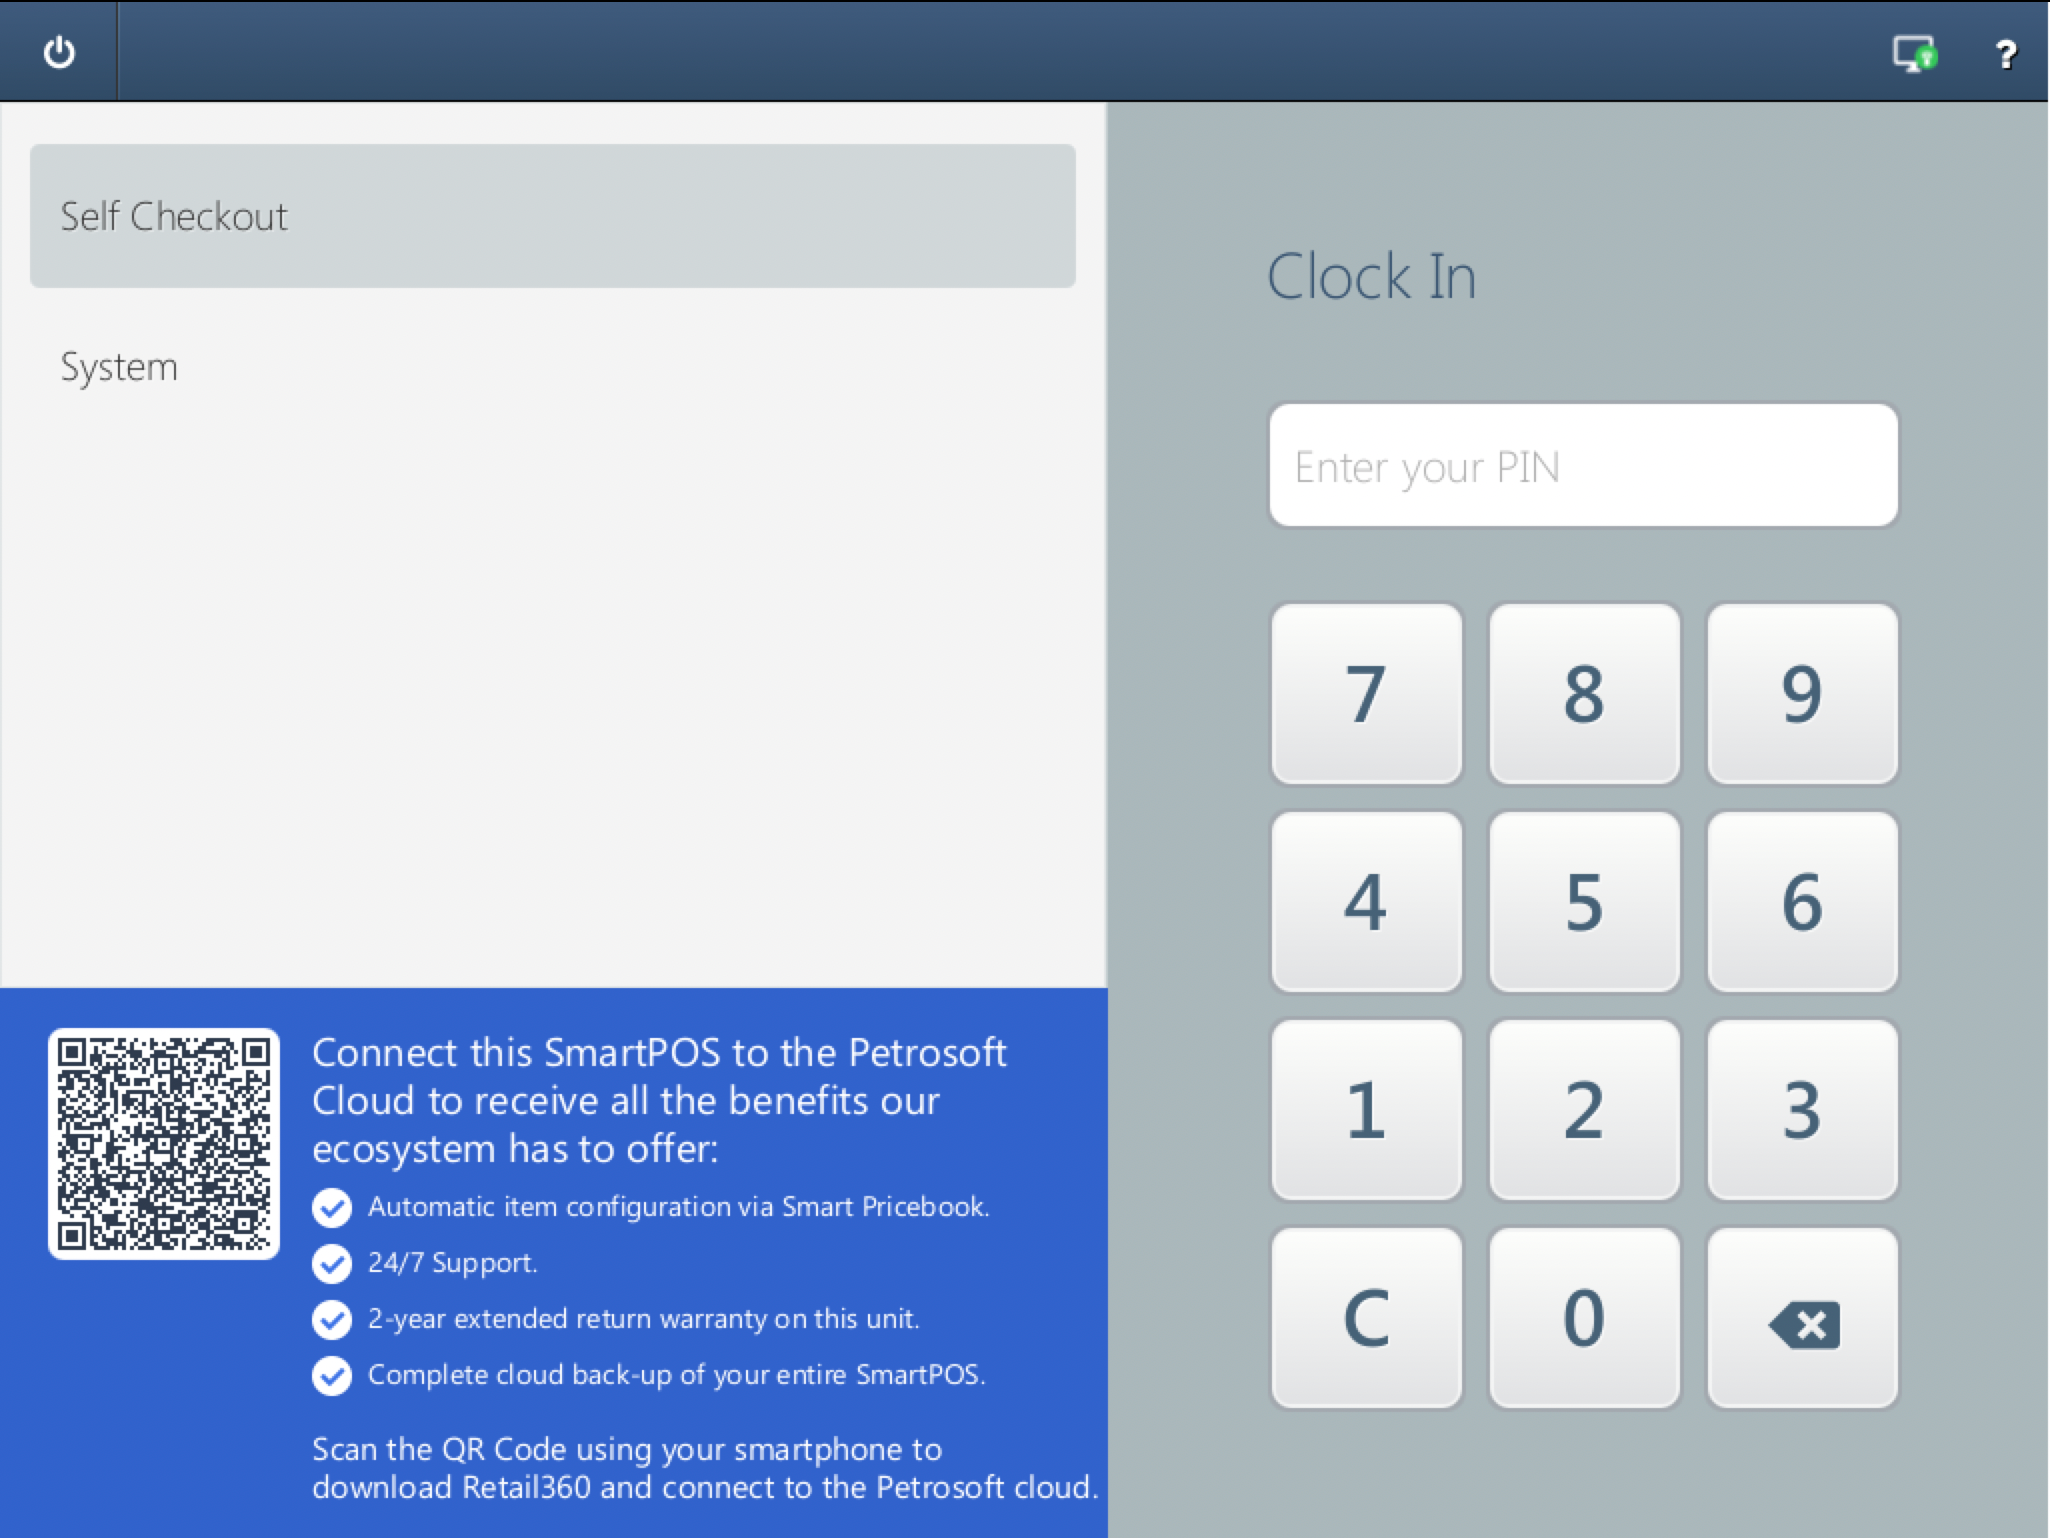
See Clock In for information on how to clock in. - Make sure the clocked-in users have the following permissions:
- At least one clocked-in user must have the Allow Self-Checkout Exit permission. This permission will allow the user to close the self-checkout mode. You can grant this permission to all the clocked-in users who you want to authorize to close the self-checkout mode.
- If age-restricted items are available for purchase in the self-checkout mode, make sure the users who will verify age of the customers have the Allow Age restricted permission.
- If the Item Void permission is denied for user Self Checkout to forbid the customers to void items in the cart without the personnel's confirmation, make sure the users who will confirm void for the items have the the Item Void permission.
See User Role and Permissions for information on how to configure the user permissions.
- Open the pay point to start the shift.
See Open Pay Point for information on how to open the pay point. - Select user Self Checkout and enter its password to clock in the self-checkout mode for your location.
The default password is 1111.

- Select user Self Checkout and enter its password again to switch your SmartPOS to the self-checkout mode.