


- Go to Price Book > Promotions.
- At the top of the Promotions form, click Add New.
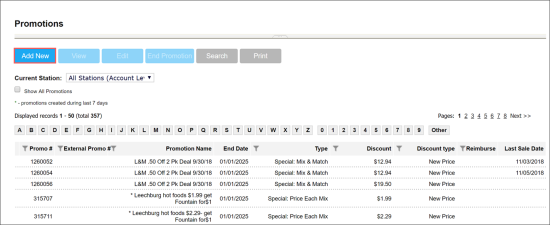
Result: The promotion setup form opens. - At the beginning of the promotion setup form:
- In the Promotion Name field, enter the name for the new promotion.
- In the Receipt CR Description field, specify the promotion description that must be displayed on cash register receipts. The name length must not exceed ten characters including spaces. By default, the promotion name is displayed in this field.
- In the Promotion Type list, select Manufacturer Multi Pack.
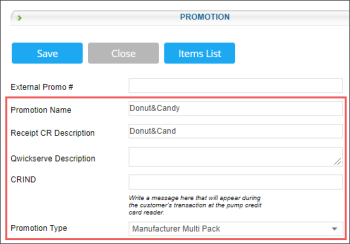
Result: The promotion default settings are uploaded in the How much? section according to the selected promotion type.


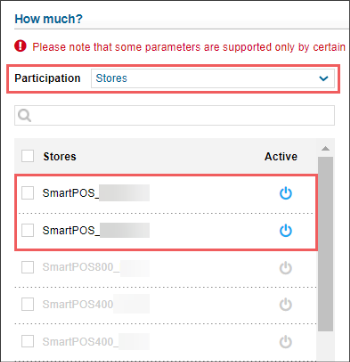
- In the How much section:
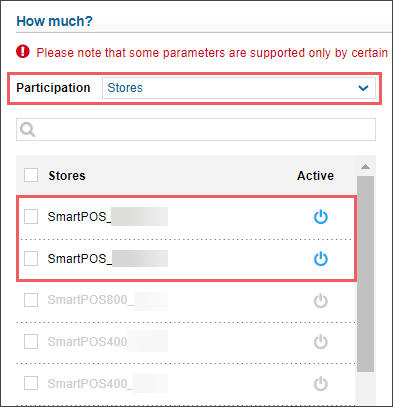
- In the Participation list, select the type of objects for which the promotion must be activated: Stores, Division, Company, and so on.
- In the list of objects below that is opened for the selected type of objects, click the power icon on the right of the object for which you want to activate the promotion.
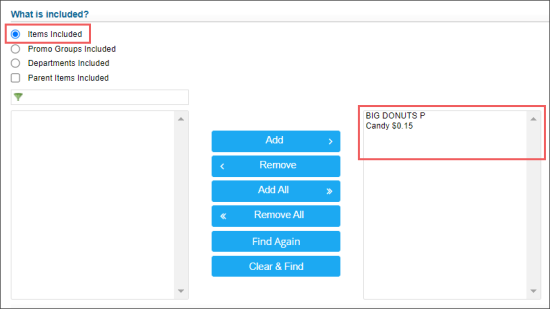
- In the What is included? section, select the desired additions to be included in the promotion. You can add items, promo groups, departments, and parent items. For more details, see Promotion Setup Form.
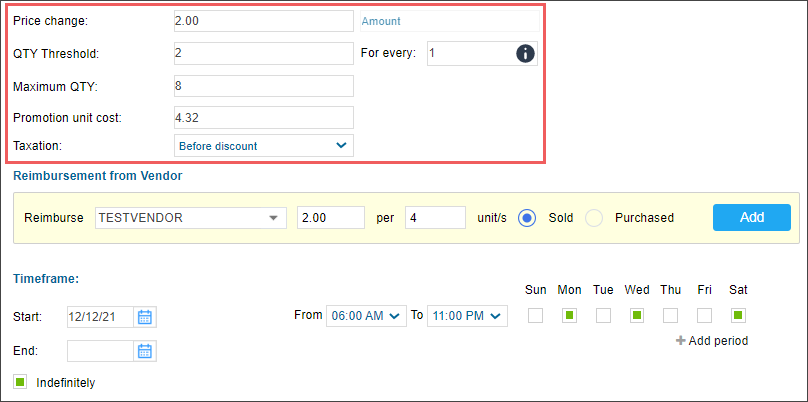
- In the How much? section, configure the following promotion's basic parameters:

- In the Price Change field, specify the new price for the promoted items or the discount value.
- In the QTY Threshold field, specify the minimum quantity of items that a customer must purchase for the discount to be applied.
- In the For every field, enter the incremental number for the items to participate in the discount after the minimum quantity of items. For example, if the QTY Threshold value is equal to 2 and the For every value is equal to 1, the discount will be applied started from 2 items sold together and to every consequent number of items, such as 2, 3, 4, 5, 6, and so on. These two fields are mandatory.
- In the Maximum QTY field, enter the maximum quantity of items to which discount can be applied in one transaction. This field is optional.
- In the Promotion Unit Cost field, specify the item cost for the promotion.
- In the Taxation list, select when the taxes must be calculated for items added to the promotion: After discount or Before discount.
Please note that the For every and Maximum QTY fields are supported only by are supported only by the Verifone and SmartPOS cash registers.
Mind that for using the Before discount option, the Allow Tax Before Mix and Match Discount option must be enabled in the CR settings for the location. For details, see Station Options: Cash Register > Advanced.
- Configure the following promotion's settings:
- Reimbursement from Vendor
- Timeframe
The Reimbursement from Vendor and Timeframe settings are configured equally for all promotion types. For more information on how to configure them, see Promotion Setup Form.
- Scroll down to the Promo Results table and make sure the promotion is set up correctly. To view the explanation about the promotion results, to the right of the necessary location name, click Explanation.
- At the top of the promotion form, click Save.
Important considerations
- Manufacturer Multi-Pack promotions on Gilbarco Passport registers only apply to quantities that match the pack’s specified promotional units. Any additional units will be sold at regular price.
For example, with a "buy 2, get $1 off" promotion, purchasing 5 units means the discount applies to 4 units (two sets of 2). The remaining 1 unit will be sold at full price.


