This promotion type is only available for accounts with Bulloch cash registers.
The Buy X, Get Fuel Discount Instantly promotion gives all customers a discount on fuel when they buy at least one item from one or more promo groups.
For example, a discount of 5 cents per gallon for the first 10 gallons of Regular when they buy 10 bottles of Pepsi at once.
A fuel discount within this promotion can be applied to all fuel products.
Setting Up Buy X, Get Fuel Discount Instantly Promotions
To set up the Buy X, Get Fuel Discount Instantly promotion in CStoreOffice®:
- Go to
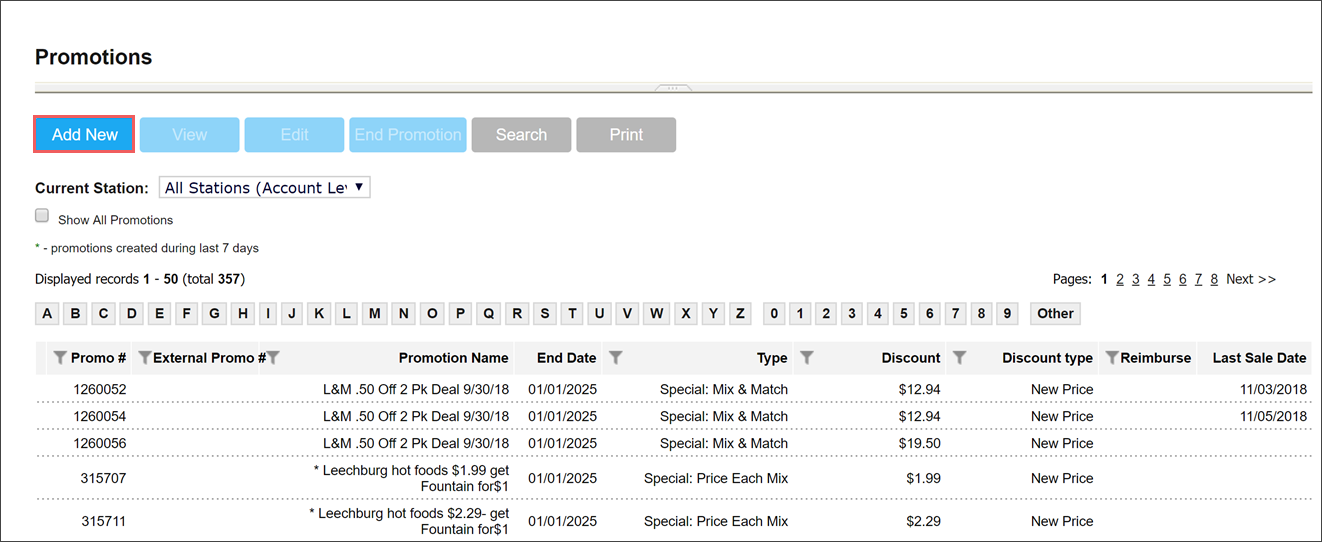
- At the top of the Promotions form, click Add New.

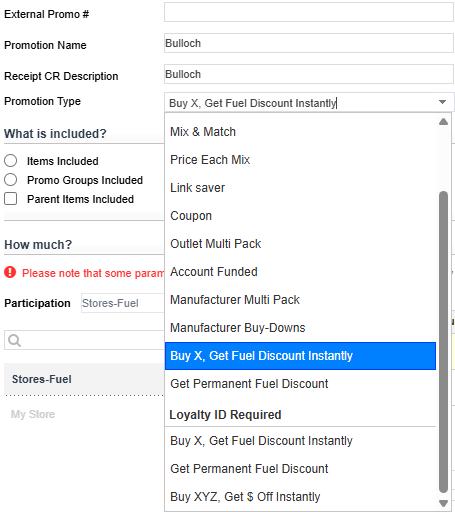
- In the Promotion Name field, enter the name for the new promotion.
- In the Receipt CR Description field, specify the promotion description that must be displayed on cash register receipts. The name length must not exceed ten characters including spaces. By default, the promotion name is displayed in this field.
- In the Promotion Type list, select Buy X, Get Fuel Discount Instantly.
Go Loyalty subscribers see this promotion type twice: under the regular category and inside the Loyalty ID Required group. Select the first one if you want all customers to benefit. If you only want customers with loyalty cards to receive this promotion, choose the one under Loyalty ID Required.
This article applies to the regular (first) promotion type.
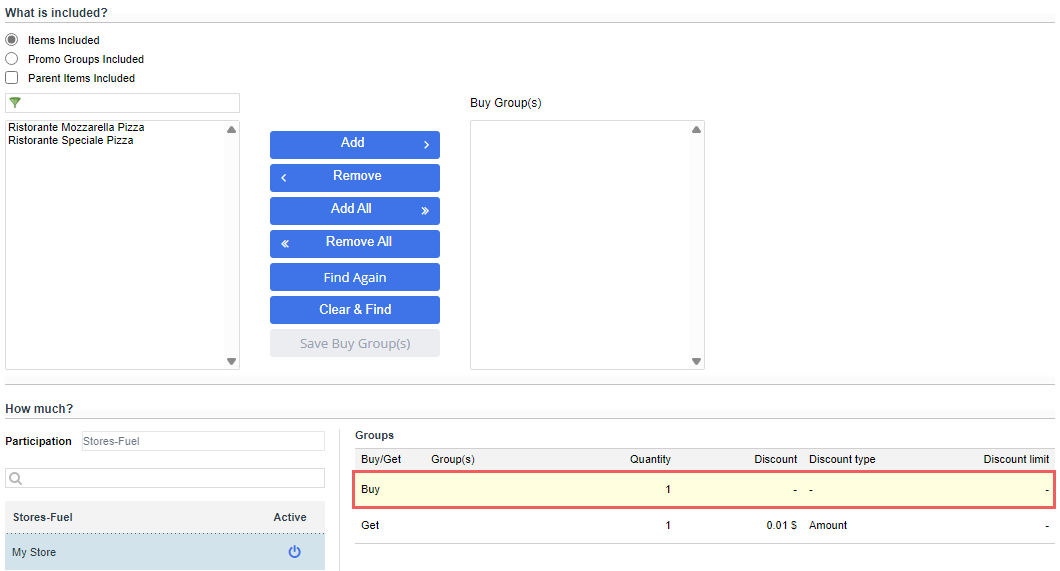
- In the list of locations inside How much? section, click the power icon next to each location for which the promotion must work.
- Single-click Buy group in the How much? section. It is highlighted in yellow and the list of available promo groups will appear in the What is included? section.
- Select individual items or promo groups to be included in the promotion from What is included? section.
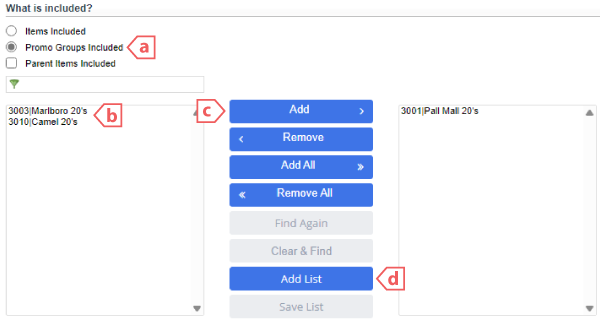
- Make sure the Promo Groups Included option is selected.
- Select a promo group in the left name.
- Click Add button in the center to move it to the right pane. You can add more than one promo groups.
- Click Save Buy Group(s) button in the center to add the promo groups from the right pane as a Buy entry in How much? section.
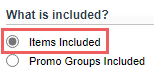
- Click Items Included.
- In the newly opened window, select one or more items and click Append to List button.
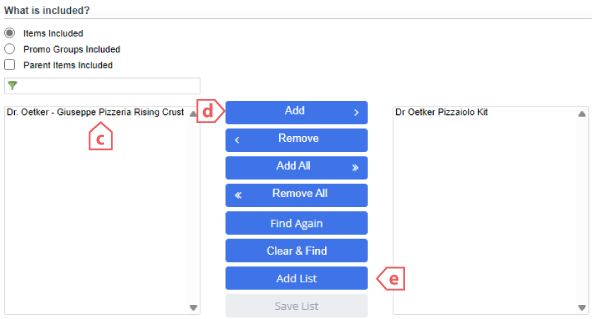
- Select a promo group in the left name.
- Click Add button in the center to move it to the right pane. You can add more than one promo groups.
- Click Save Buy Group(s) button in the center to add the itemss from the right pane as a Buy entry in How much? section.

Adding a promo group:
Adding individual items:
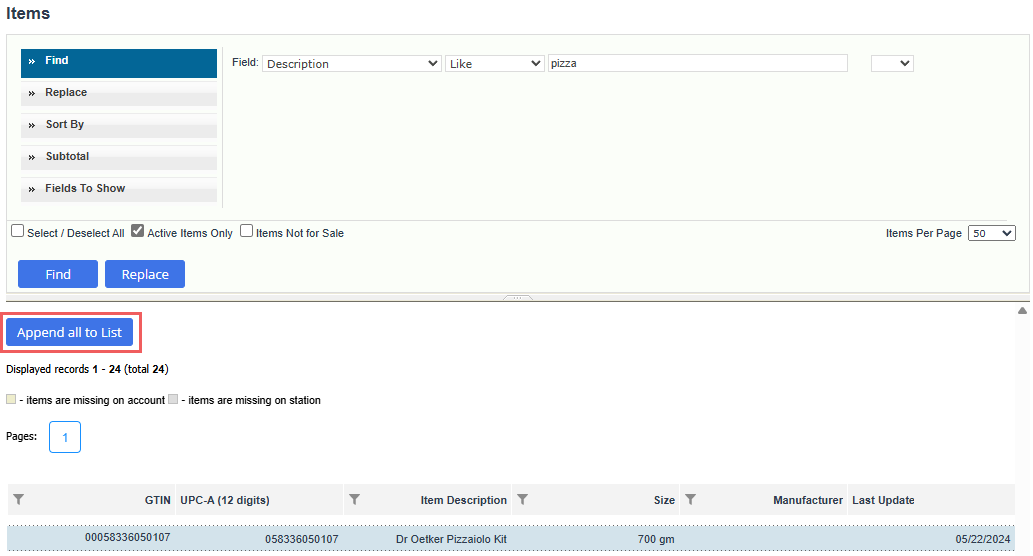
The selected items will be added to the left pane of What is included? section.
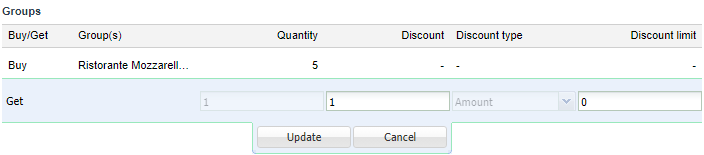
- Double-click Buy group in the How much? section, specify the items quantity a customer must purchase for the fuel discount to be applied, and click Update button to apply changes.
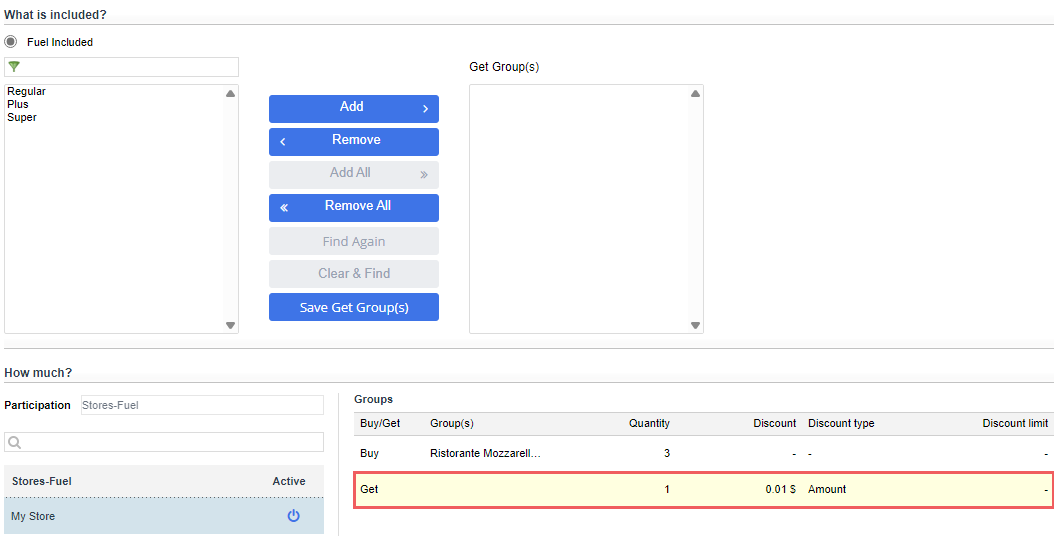
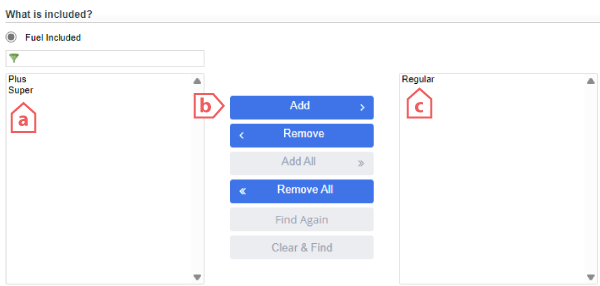
- Single-click Get group in the How much? section. It is highlighted in yellow and the list of available fuel types will appear in the What is included? section.
- In the What is included? section, select the types of fuel for which the discount will be applied.
- Select a fuel type in the left pane.
- Click Add button in the center.
- The fuel types for which the discount is applied are displayed in the right pane.
- Double-click Get group in the How much? section, specify the fuel discount, and click Update button to apply changes.
- In the Discount field, enter the amount of the discount to be applied per gallon.
- In the Discount limit field, enter the upper limit for the discounted gallons per transaction. If this field is set to 0, restrictions are not applied.
- In the Timeframe section, specify the promotion's lifetime:

You can apply the discount for multiple fuel types.

- To create a temporary promotion, specify the dates in the Start and End fields.
- To create a permanent promotion, specify only the start date and select the Indefinitely option.
- You can also set time intervals and days of week during which the promotion is applied.
By default, only one time interval is added, but you can configure multiple time intervals by clicking + Add period below the existing intervals.
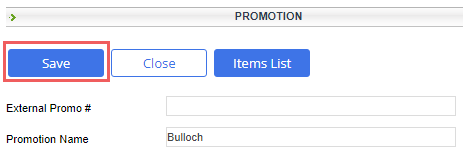
- At the top of the promotion form, click Save button to apply the changes.