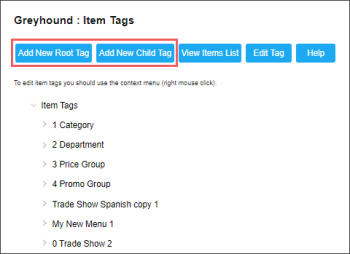
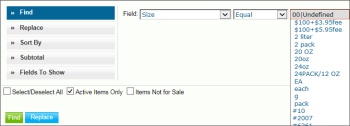
But the CStoreOffice® price book also provides a unique and powerful tool to administer inventory—item tags. CStoreOffice® item tags allow the user to create unlimited number of their own custom tags to group items by whatever attributes they might wish to create. Items can be assigned risk levels, size or location using items tags. Items can also be tagged by store, pricing zone, division or other business classification specific to your company.
Creating Item tags
To create Item Tags, follow the steps:
- Go to Price Book > Item Tags.
- Add a new Item Tag:
- If you want to create a new root tag, click Add New Root Tag.
- If you want to create a new child tag, click Add New Child Tag.
- In the open Dialog Window, set the parameters for the Item Tag:
- Dialog Window: Enter the desired name for the Item Tag.
- Number: Enter the number to be assigned to the new Item Tag.
- External Number: Enter the item's material code.
- Allow multiple: Select this check box, if you need to apply multiple tags from one parent.
- Set to menu: This check box is applicable only to the tags that are created automatically together with the QwickServe menus. Select this check box for the tag, if you need to create the QwickServe menus based on the tag and its child tags, if any. For details, see Copying QwickServe Menus between Accounts and Locations.
The External Number field is displayed on the item tag form only if the Show External Number in Item Tag option is selected in the account settings. For more information on how to configure material codes for GSAP reports, see Configuring Material Code Settings.
- Save the new Item Tag:
- To save the new Item Tag and to close the form, click Save&Close.
- To save the new Item Tag and to add a new Item Tag, click Save&New.
Price book-item sales by tag
This video presents the information on Price Book-Item Sales by Tag report.


