Cash Register Updates Manager provides several settings and options you can use to make sure item updates and related data are successfully transferred to the cash register.
To configure the Cash Register Updates Manager settings:
- In the left pane of the CStoreOffice® home page, expand the Items Updates section.
- Under Item Updates, click the necessary location.
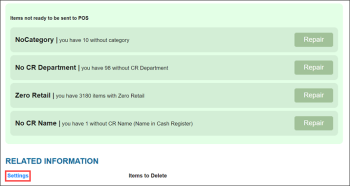
- At the bottom of the Cash Register Updates Manager form, under Related Information, click Settings.
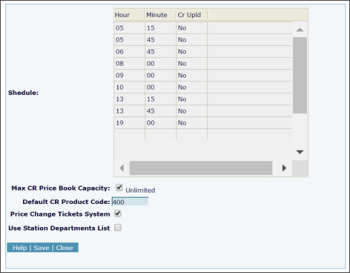
- Configure the following settings:
- Schedule: Use this table to set up the time schedule when shifts data must be downloaded from the cash register.
- Default CR Product Code: By default, CStoreOffice® allows setting up product codes at the CR department or item level. In some cases, however, the product code may be missing, for example, the CR department is not set for the item or the CR department has no product code. Use this field to specify the default product code that must be sent to the cash register in such situations. Default value is 400. In case this field is empty, 400 is sent to the cash register. Only numeric values are supported.
- Price Change Tickets System: Select this check box to enable the Price Change Ticket system in CStoreOffice®. With this system enabled, when you accept changes in the Cash Register Updates Manager, CStoreOffice® displays a link to a price change ticket listing the updated items. You can print out this ticket and physically count the updated items at the location. After that, you need to enter the exact item count to the system using Daily Manager's Workflow. As a result, you will have an accurate book value of the updated items. For details, see Checking and Processing Price Changes.
- Use Station Departments List: The CR department is an account-level object. With this option, you can configure custom department settings at the location level. You can also use this option if the cash register set up at the location is legacy and does not support the Price Book functionality.
To configure custom department settings:
- Select the Use Station Departments List check box.
- At the bottom of the form, click Save.
- At the bottom of the Cash Register Updates Manager form, under Related Information, click Departments List.
- In the Station Departments form, set up a list of custom departments that you want to use for the location.


