This section describes the specifics of accessing and interpreting the Miscellaneous Summary report.
Opening the Report
You can find the report at Reports > Store > Sales > Miscellaneous Summary New.
The Miscellaneous Summary report can be opened at all levels:
- Account
- Company
- Division
- Location (Station)
For more information, see Viewing Reports.
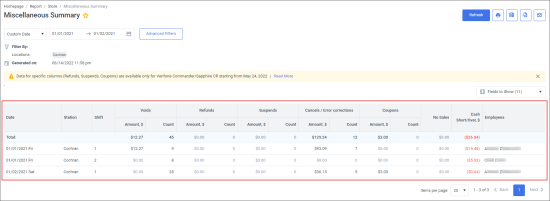
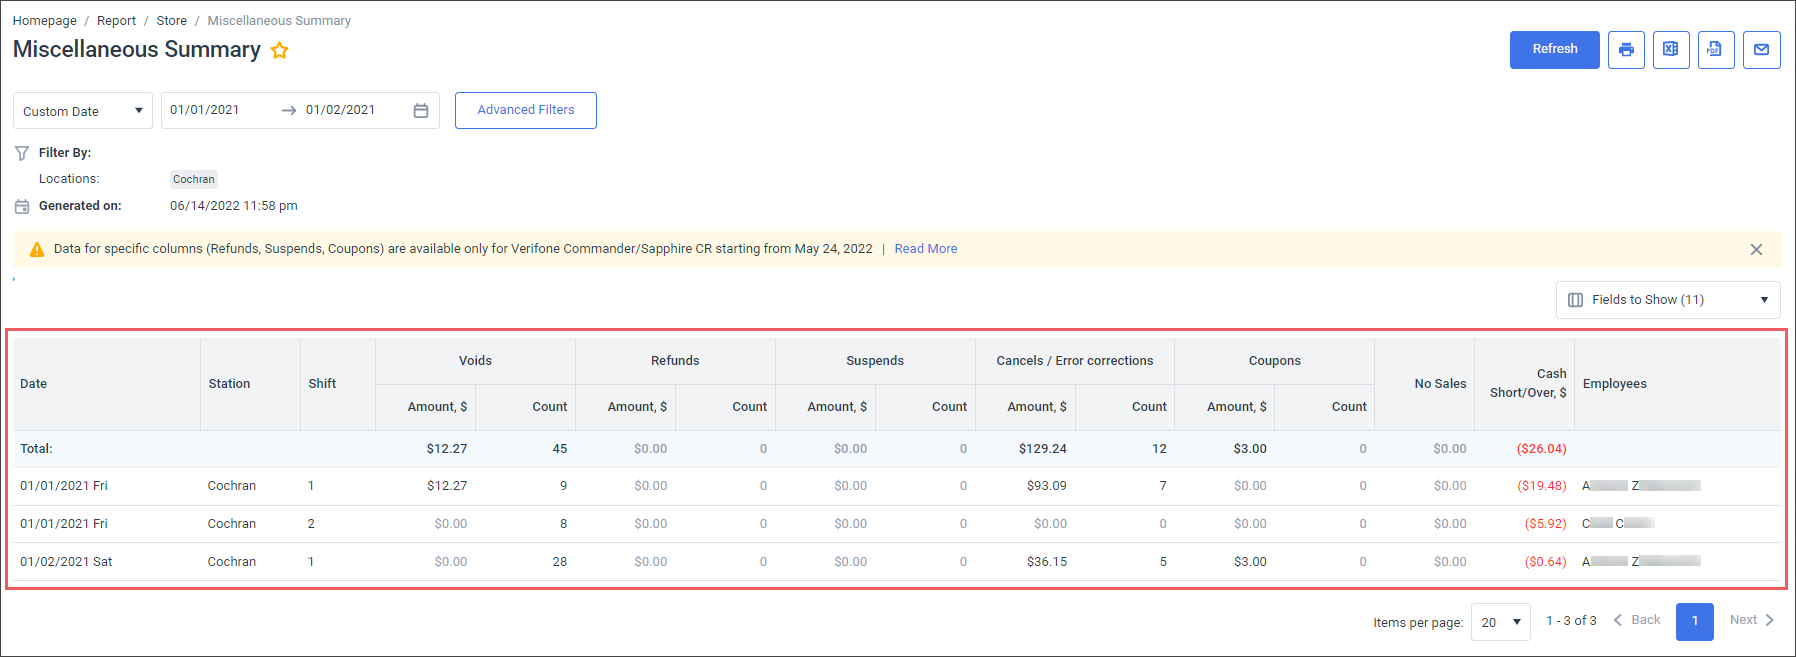
Viewing the Report
The Miscellaneous Summary report provides advanced information on the number of voids, no sales, customer transactions, safe drops, and other counts and amounts that occurred during the shift.
The data displayed in the report are configured in the Fields to Show filter. For more information, see Filtering and Sorting the Report Data.
By default, the following data is selected in the filter and displayed in the report:
- Date
- Station
- Shift
- Voids:
- Amount, $
- Count
- No Sales
- Cancels / Error corrections:
- Amount, $
- Count
- Employees
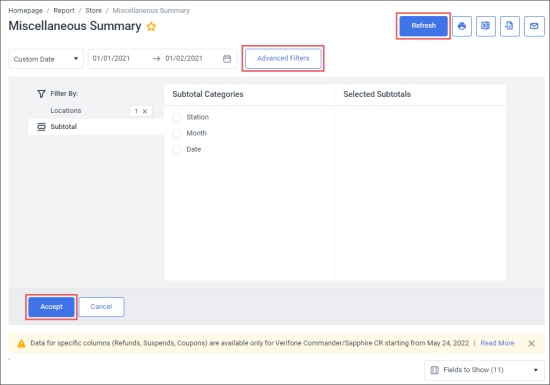
Filtering and Sorting the Report Data
To get the exact information you need, you can apply filters to the report. To set up the report filters:
- Click Advanced Filters.
- Select one or more filtering options.
- At the bottom of the filtering options form, click Accept.
- At the top right of the report form, click Refresh.

The report provides the following filtering options:
- Date: Specify the period you are interested in manually using the calendar or use one of the available filtering options, and then click Refresh. There are the following filtering periods available:
- Custom Date: Use this filter, if you need to define the period manually.
- Yesterday
- Current Month
- Current Quarter
- Current Year
- Last Month
- Last Quarter
- Last Year
- Last 12 Months
- YTD: Year to date period, starting from the beginning of the year and continuing up to the day selected in the calendar.
- Filter by Locations: Select the stations (locations) you want to view the report for.
- Subtotal: Select one or several filtering options for the further breakdown of the report results:
- Station
- Month
- Date
- Fields to Show: Select the fields to be displayed in the report, click Accept and then click Refresh. The following fields can be selected and displayed:
- Date: Selected by default.
- Station: Selected by default.
- Shift: Selected by default.
- Voids:
- Amount, $: Selected by default.
- Count: Selected by default.
- No Sales: Selected by default.
- Cancels / Error corrections:
- Amount, $: Selected by default.
- Count: Selected by default.
- Employees: Selected by default.
- Refunds:
- Amount, $
- Count
- Suspends:
- Amount, $
- Count
- Coupons:
- Amount, $
- Count
- Cash Short/Over, $
The period applied to the report data is displayed in bold in the list.
Please note that the Refunds and Suspends data is populated only since 24 May 2022 and only for the Verifone cash registers. To get retrospective data for earlier periods, if required, you will need to reparse corresponding shifts. Note, however, that all manual changes made to such shifts will be lost after reparsement.
Please note that the Coupons QTY data is populated only since 24 May 2022. To get retrospective data for earlier periods, if required, you will need to reparse corresponding shifts. Note, however, that all manual changes made to such shifts will be lost after reparsement.
Additional Actions
- To reload the report form, click Refresh.
- To print the report, click the printing button.
- To view the report in the Excel version, click the Excel button. You may select if the subtotals should be expanded or collapsed in the Excel file.
- To view the report in the PDF format, click the PDF button. You may select if the subtotals should be expanded or collapsed in the Excel file.
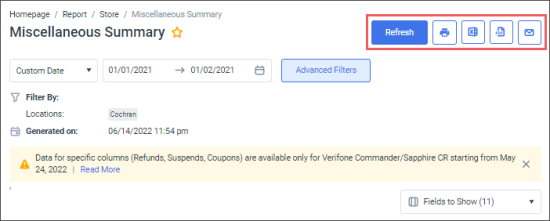
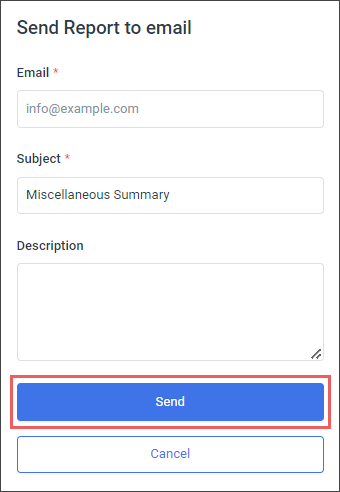
- To have the report emailed to you:

- Click the email button.
- In the Send Report to email form:
- In the Email field, enter the email to which you are going to send the report.
- In the Subject field, the report name is populated automatically. You can adjust it, if needed.
- In the Description field, enter any additional comments to the email, if needed.
- Click the Send button.