


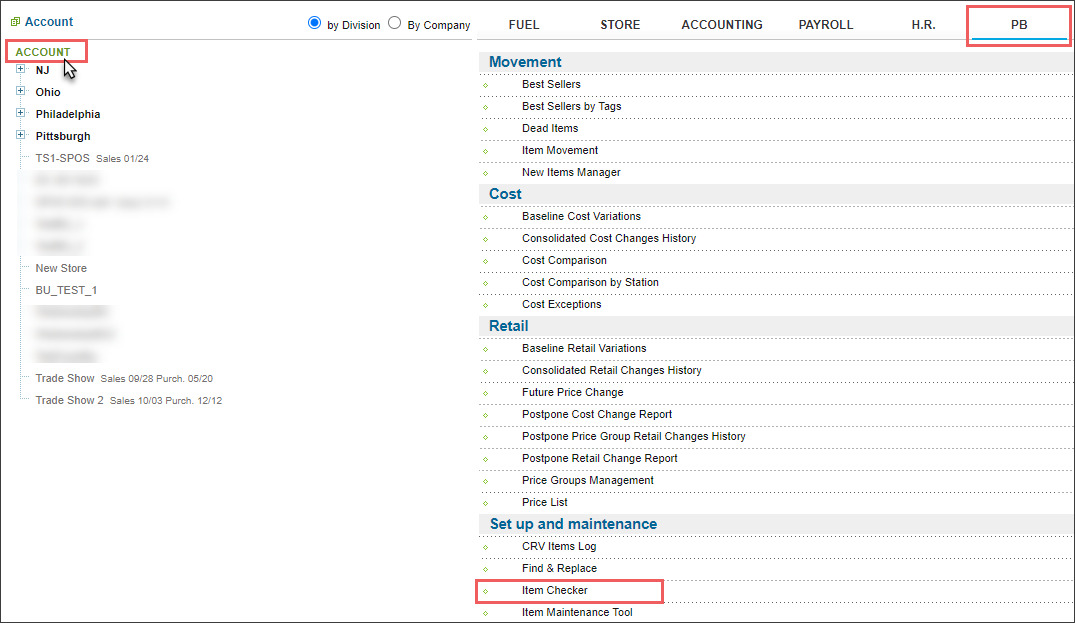
You can open the Item Checker report for all locations (stations) on the account in the following two ways:
- In the Reports page:
- From the main CStoreOffice® page, go to Reports > Price Book.
- To the left of the Price Book reports list, click Account.
- In the Reports list, go to the Set up and maintenance section.
- Click Item Checker.

Result: The empty Item Checker report opens at the account level.
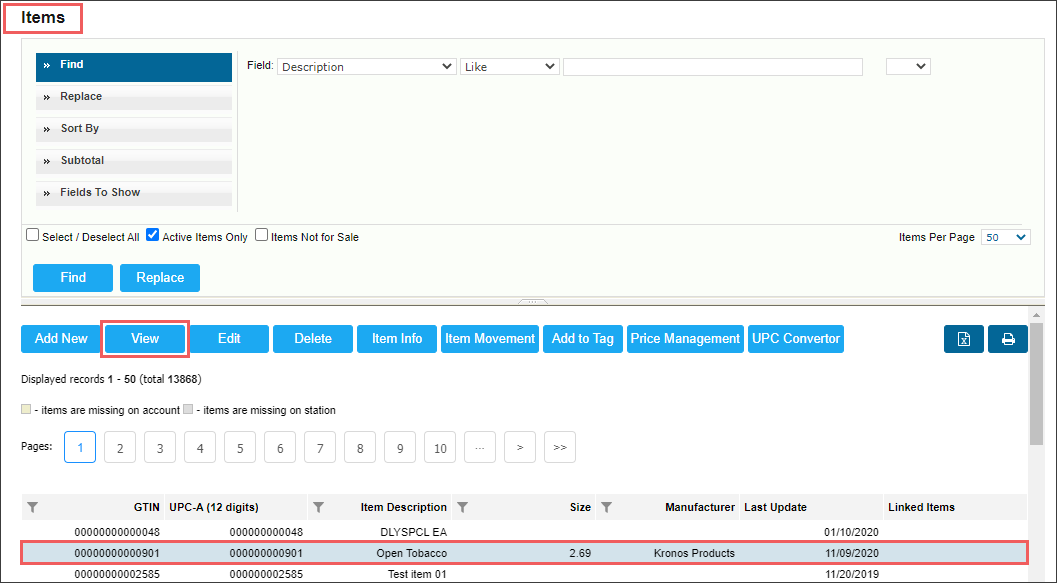
- In the Item Checker report form, click the Search button.
- In the Items list, select the item you want to open the report for and click the Select button.

Result: The Item Checker report opens for all locations (stations) on the current account.

- In the Item Setup form:
- From the main CStoreOffice® page, go to Price Book > Items.
- In the Items list, select the item you want to open the report for and click the View button.

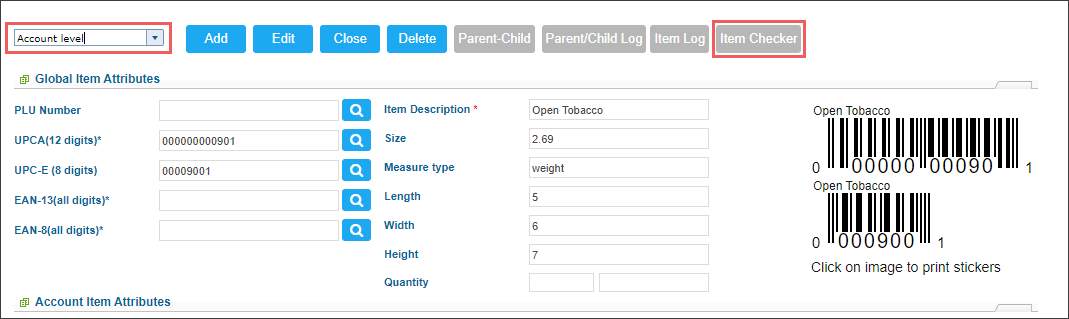
- In the Item Setup form:
- In the top left list, make sure the Account Level value is selected. If not, select it.
- At the top right of the form, click the Item Checker button.

Result: The Item Checker report opens for all locations (stations) on the current account.
For more information on how to find the item you need, see Searching for Price Book Elements.
Viewing the Item Checker Report at the Account Level
When the Item Checker report is opened at the account level, it displays the following information for all locations (stations) on the account:
- Station Name
- Item Status: If the red icon is displayed in the Item Status column, it means that some of the item's CR settings are missing. For details, see Cash Register Settings.
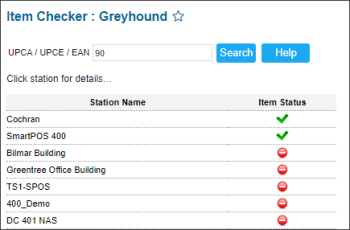

To view the report for a certain location, click this location name.


