This section describes the specifics of accessing and interpreting the Fuel Margins Consolidated report.
Opening the Report
You can find the report at Reports > Fuel > Sales > Fuel Margins Consolidated.
The Fuel Margins Consolidated report can be opened at all levels:
- Account
- Company
- Division
- Location (Station)
For more information, see Viewing Reports.
Viewing the Report
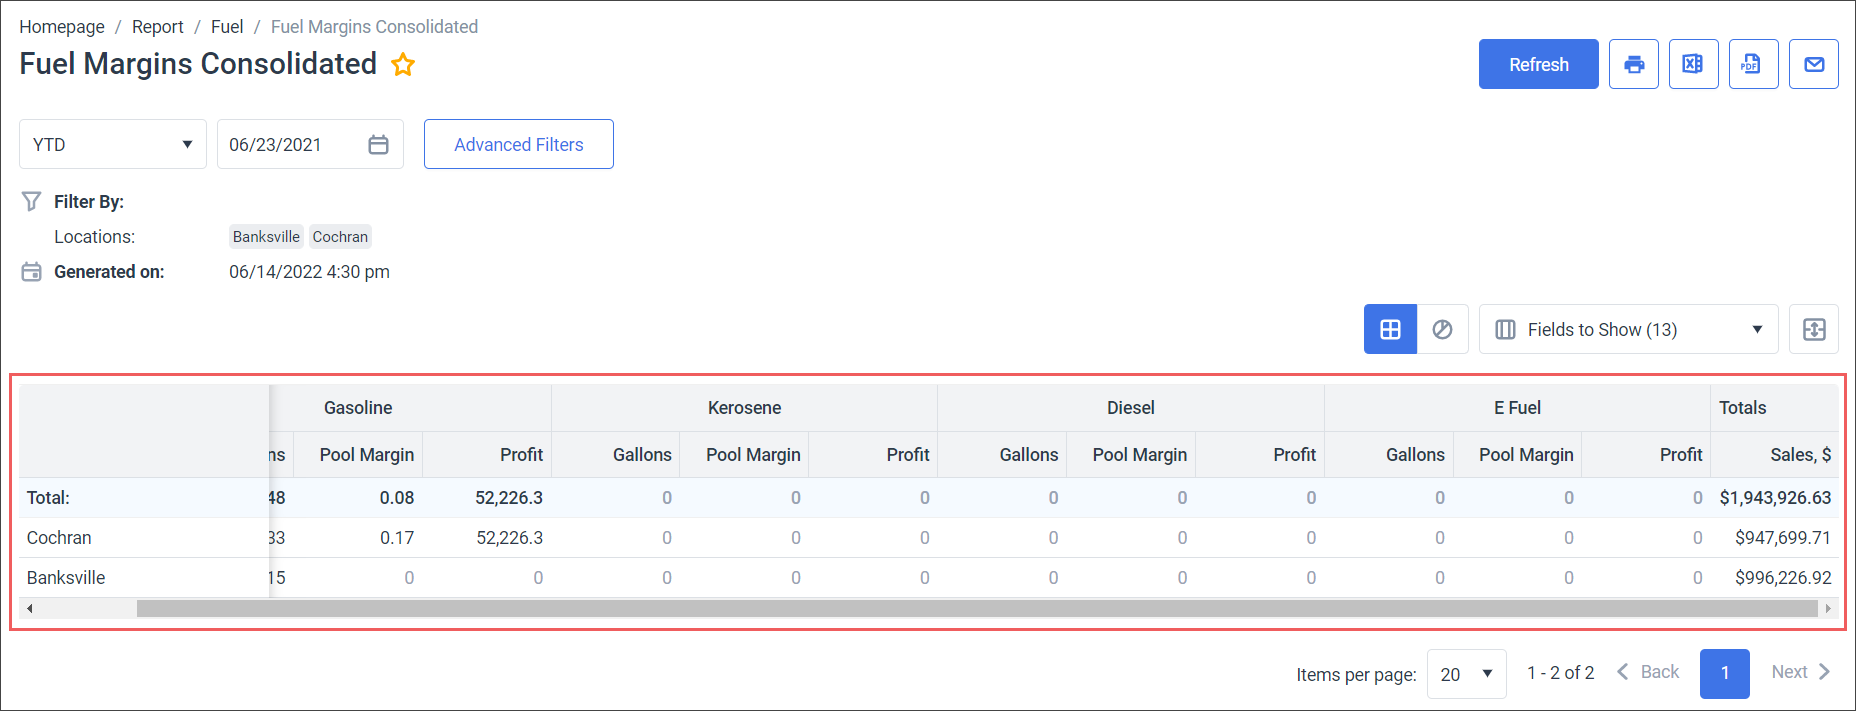
The Fuel Margins Consolidated report provides information on fuel distributor's consolidated margin within the specified period based on fuel sales and purchases data for all locations in the account in one view. You can also get the information about a missing invoice, in case the report displays an empty pool margin.
Empty pool margin is displayed in the report if you sell significantly more of one grade than another.
The data displayed in the report are configured in the Fields to Show filter. For more information, see Filtering and Sorting the Report Data.
By default, the following data is selected in the filter and displayed in the report:
- Station: All stations (locations) selected in the Filter by Locations filter are displayed.
- Gasoline
- Gallons
- Pool Margin
- Profit
- Kerosene
- Gallons
- Pool Margin
- Profit
- Diesel
- Gallons
- Pool Margin
- Profit
- E Fuel
- Gallons
- Pool Margin
- Profit
- Totals
- Sales, $
Please note that the margin values, if any, are calculated considering the taxes if they are configured in the Taxation Setup form.
Filtering and Sorting the Report Data
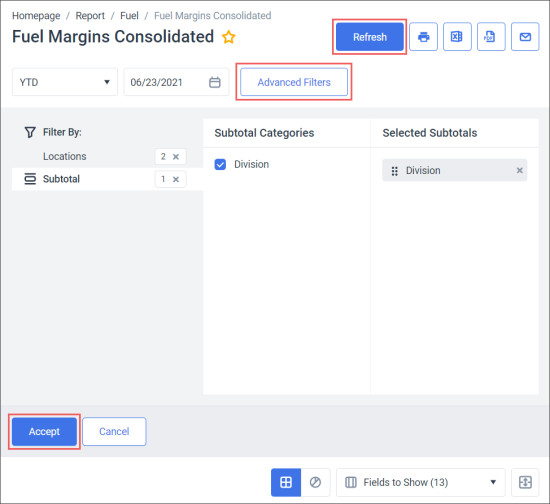
To get the exact information you need, you can apply filters to the report. To set up the report filters:
- Click Advanced Filters.
- Select one or more filtering options.
- At the bottom of the filtering options form, click Accept.
- At the top right of the report form, click Refresh.

The report provides the following filtering options:
- Date: Specify the period you are interested in manually using the calendar or use one of the available filtering options, and then click Refresh There are the following filtering periods available:
- Custom Date: Use this filter, if you need to define the period manually.
- Yesterday
- Current Month
- Current Quarter
- Current Year
- Last Month
- Last Quarter
- Last Year
- Last 12 Months
- YTD: Year to date period, starting from the beginning of the year and continuing up to the day selected in the calendar.
- Filter by Locations: Select the stations (locations) you want to view the report for.
- Subtotal: Select the Division option if you want to break-down the report results further by division.
- Fields to Show: Select the fields to be displayed in the report, click Accept and then click Refresh. The following fields can be selected and displayed:
- Gasoline
- Gallons: Selected by default.
- Pool Margin: Selected by default.
- Profit: Selected by default.
- Average Sales Price
- Sales, $
- Kerosene
- Gallons: Selected by default.
- Pool Margin: Selected by default.
- Profit: Selected by default.
- Average Sale Price
- Sales, $
- Diesel
- Gallons: Selected by default.
- Pool Margin: Selected by default.
- Profit: Selected by default.
- Average Sale Price
- Sales, $
- E Fuel
- Gallons: Selected by default.
- Pool Margin: Selected by default.
- Profit: Selected by default.
- Average Sale Price
- Sales, $
- Totals
- Gallons
- Average Sale Price
- Sales, $: Selected by default.
- Amount
The period applied to the report data is displayed in bold in the list.
Additional Actions
- To reload the report form, click Refresh.
- To print the report, click the printing button.
- To view the report in the Excel version, click the Excel button. You may select if the subtotals should be expanded or collapsed in the Excel file.
- To view the report in the PDF format, click the PDF button. You may select if the subtotals should be expanded or collapsed in the Excel file.
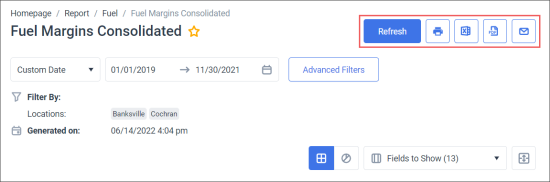
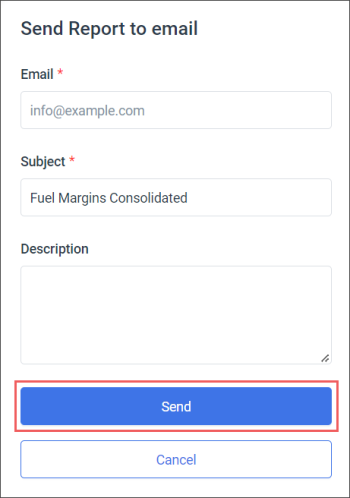
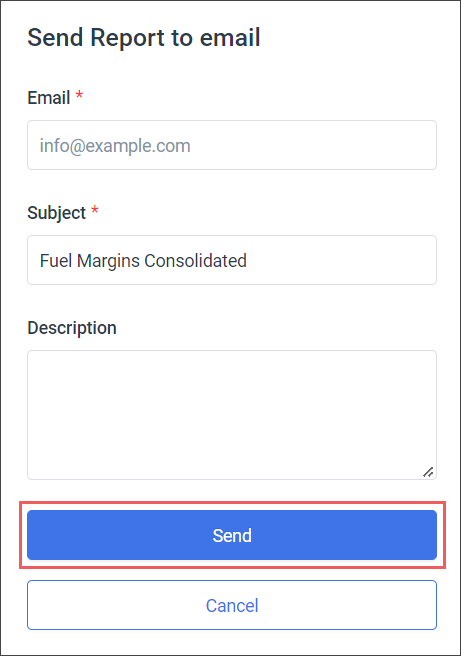
- To have the report emailed to you:
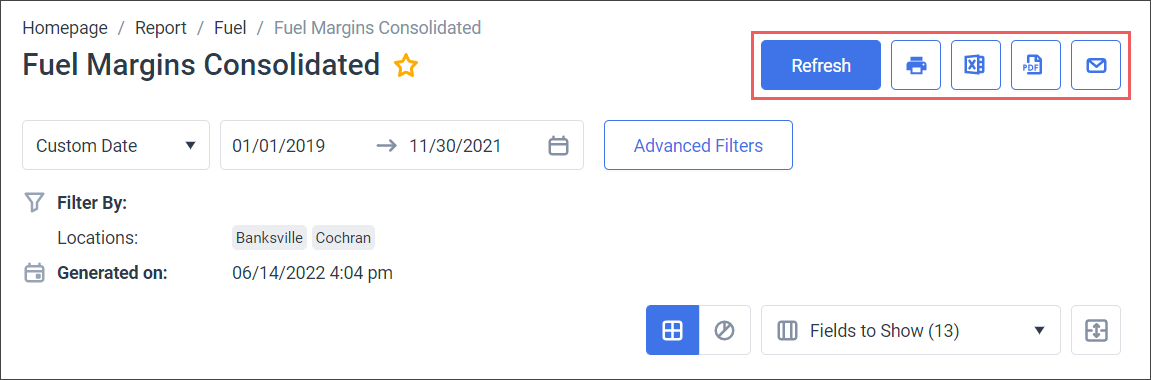
- Click the email button.
- In the Send Report to email form:
- In the Email field, enter the email to which you are going to send the report.
- In the Subject field, the report name is populated automatically. You can adjust it, if needed.
- In the Description field, enter any additional comments to the email, if needed.
- Click the Send button.