Once the menu and categories are set up, you can populate the menu with items. Just like categories, you can add items to the menu in two ways:
- From templates: Use this method to add pre-configured items from the etalon menu offered by Petrosoft.
- Manually: Use this method to set up items on your own.
Adding Items from Templates
To add an item from the template:
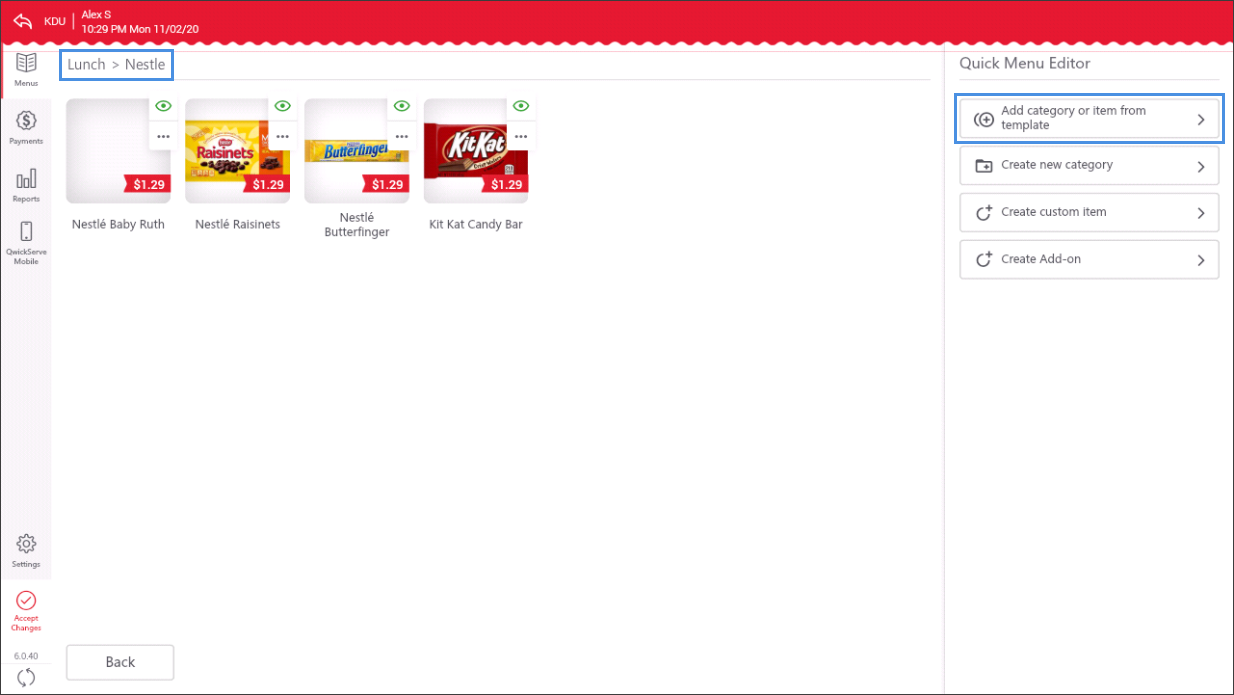
- In the menus list, tap the menu and category to which you want to add an item.
- In the Quick Menu Editor pane to the right, tap Add category or item from template.

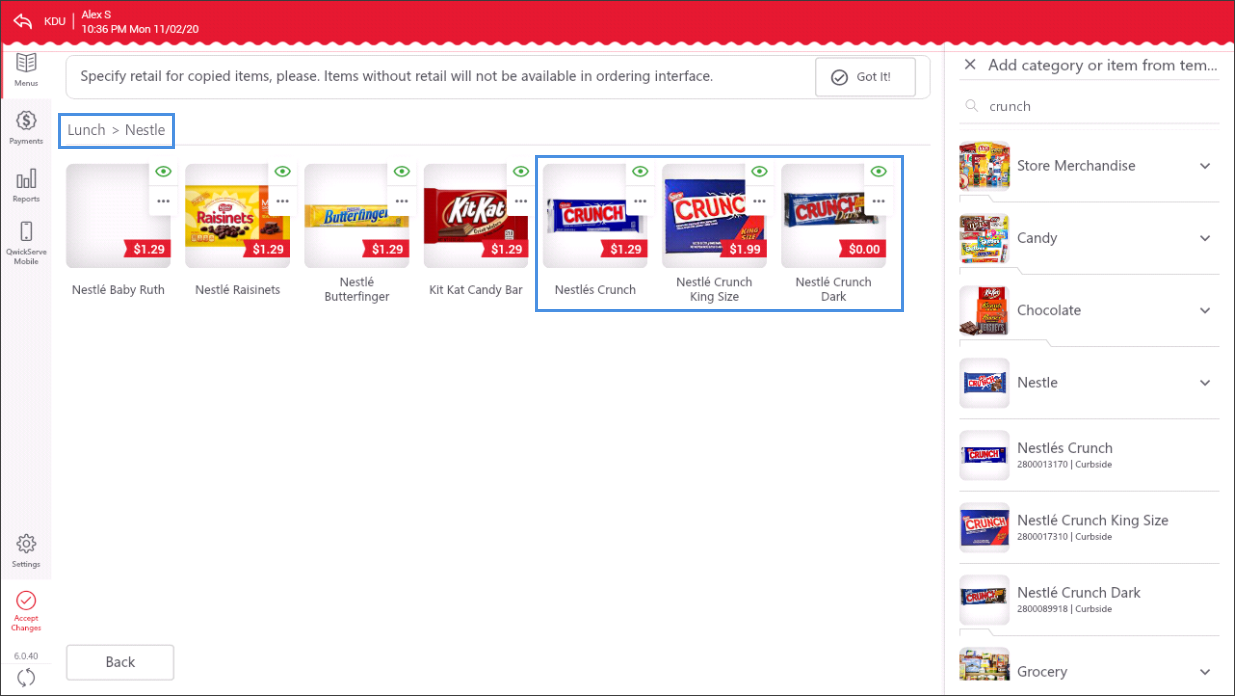
- In the right pane, tap one or more items you want to add to the category. To quickly find the necessary item, use the search field at the top of the pane.
- At the bottom of the pane, tap Add selected.
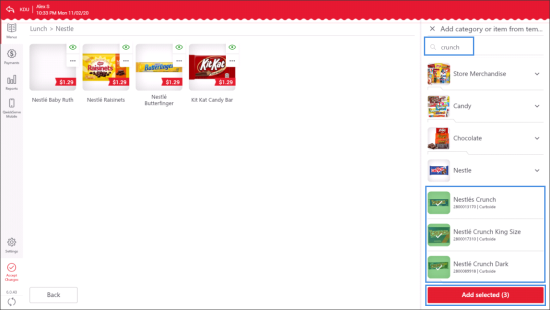
Result: The items are added to the opened category.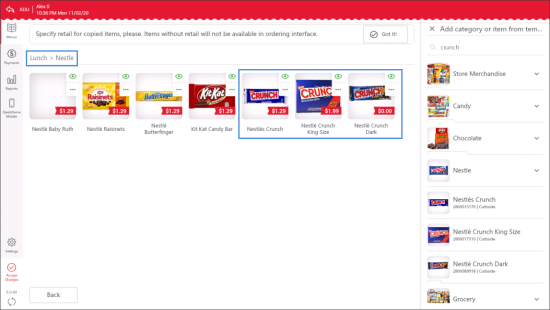
Make sure that all added items have the retail price specified, otherwise they are not displayed in the ordering interface. For more information on how to edit the item settings, see Customizing Categories and Items.
You can easily distinguish items from the categories in the list by the item additional information, such as UPC and CR Department, and also by the arrow signs to the right. The categories have arrow signs to the right and can be either expanded or collapsed, while the items are displayed without arrow signs.

Setting Up Items Manually
To set up an item manually:
- In the menus list, tap the menu and category to which you want to add an item.
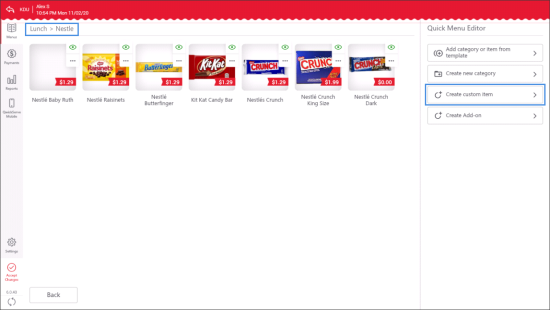
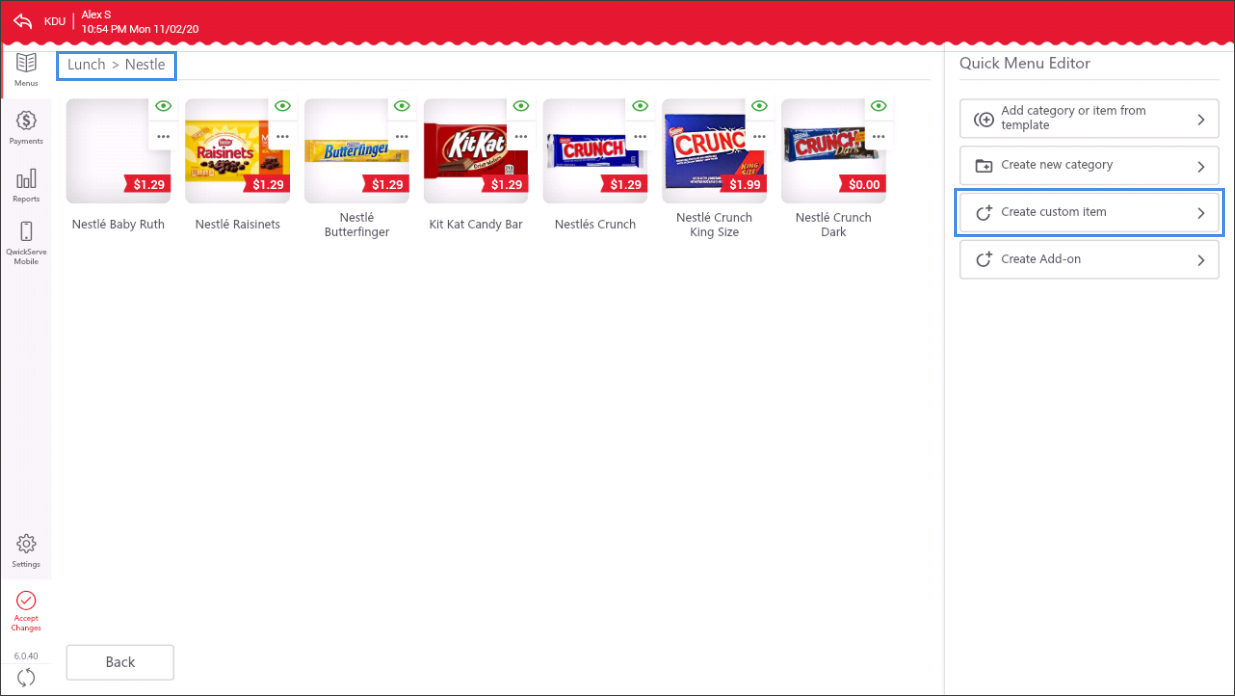
- In the Quick Menu Editor pane to the right, tap Create custom item.
- Specify the following information for the item:
- Name: Type the item name.
- Tap the image box and select the image you want to assign to the item. You can add images from different sources:
- A folder on the device.
- Device camera.
- Gallery and etalon menu.
- Price: Type the item price.
- PLU: Type the item PLU number (up to 5 characters).
- UPC: Type the item UPC number if necessary.
- Department: Select the department to which the item will belong.
- Category: Select the category to which the item will belong.
- Description: Type the item description.
- At the bottom of the pane, tap Create.

The item price is mandatory. Without the specified price, the item is not displayed in the ordering interface.

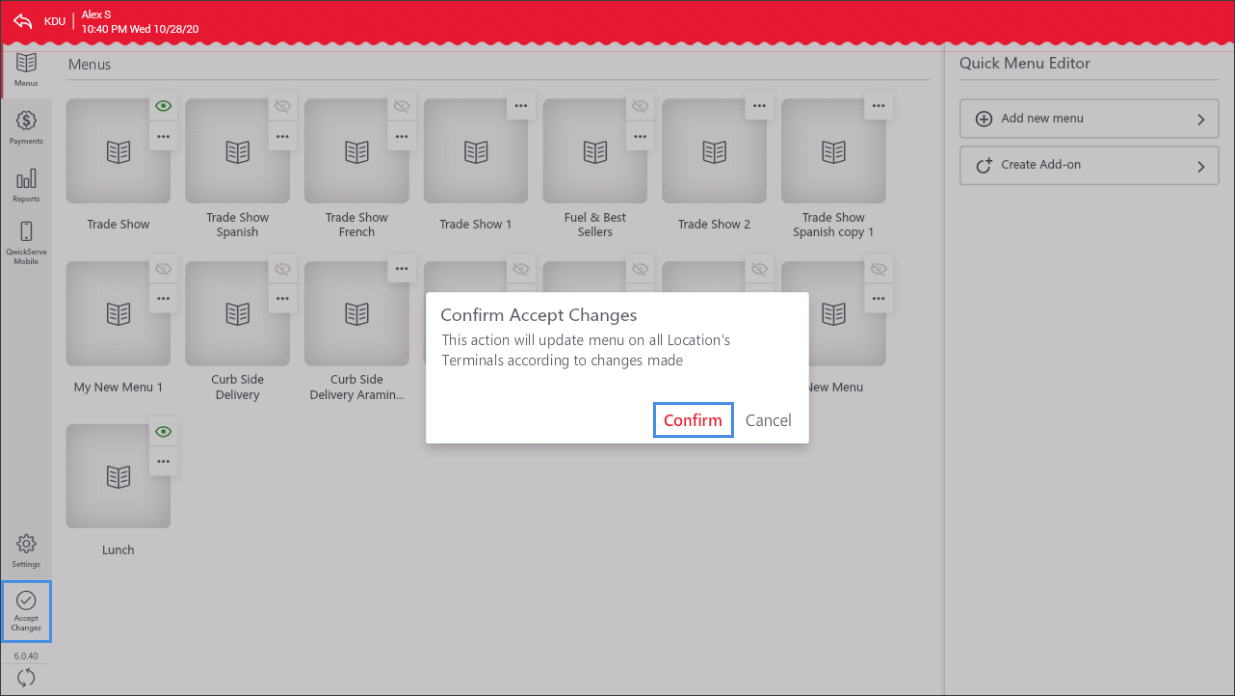
After the menu configuration is completed, you need to tap Accept Changes at the bottom left of the administrator's interface and then tap Confirm in order to apply menu updates to all location's devices.