


After the completion of each step, check if it is successful and you can complete troubleshooting. For details, see Checking Troubleshooting Results.
To make sure the NAS share storing LPA video records is mounted and NAS is functional, follow the steps:
- Step 1: Check the NAS status.
- Step 2: Check the NAS connection settings.
- Step 3: Check the NAS device connection.
Step 1: Checking the NAS Status
To check the NAS status, make sure the NAS device is connected to the same network where the DC Box is connected.
- Go to Lost Prevention Analytics Settings and open LPA dashboard for the location in question.
You should see the page with the address like https://{location ID}.lpa.apt-petrosoftinc.com:12501/lpa/status/. - Provide the access credentials if prompted.
- Go to Status Dashboard.
- Locate the MAC address of the NAS device in Devices in the Network widget. If it is missing, go to Step 3.
- Compare the IP address of the NAS device from Devices in the Network widget with the address shown under Settings > Network Attached Storage Settings. If they do not match, configure the value of NAS IP field appropriately.
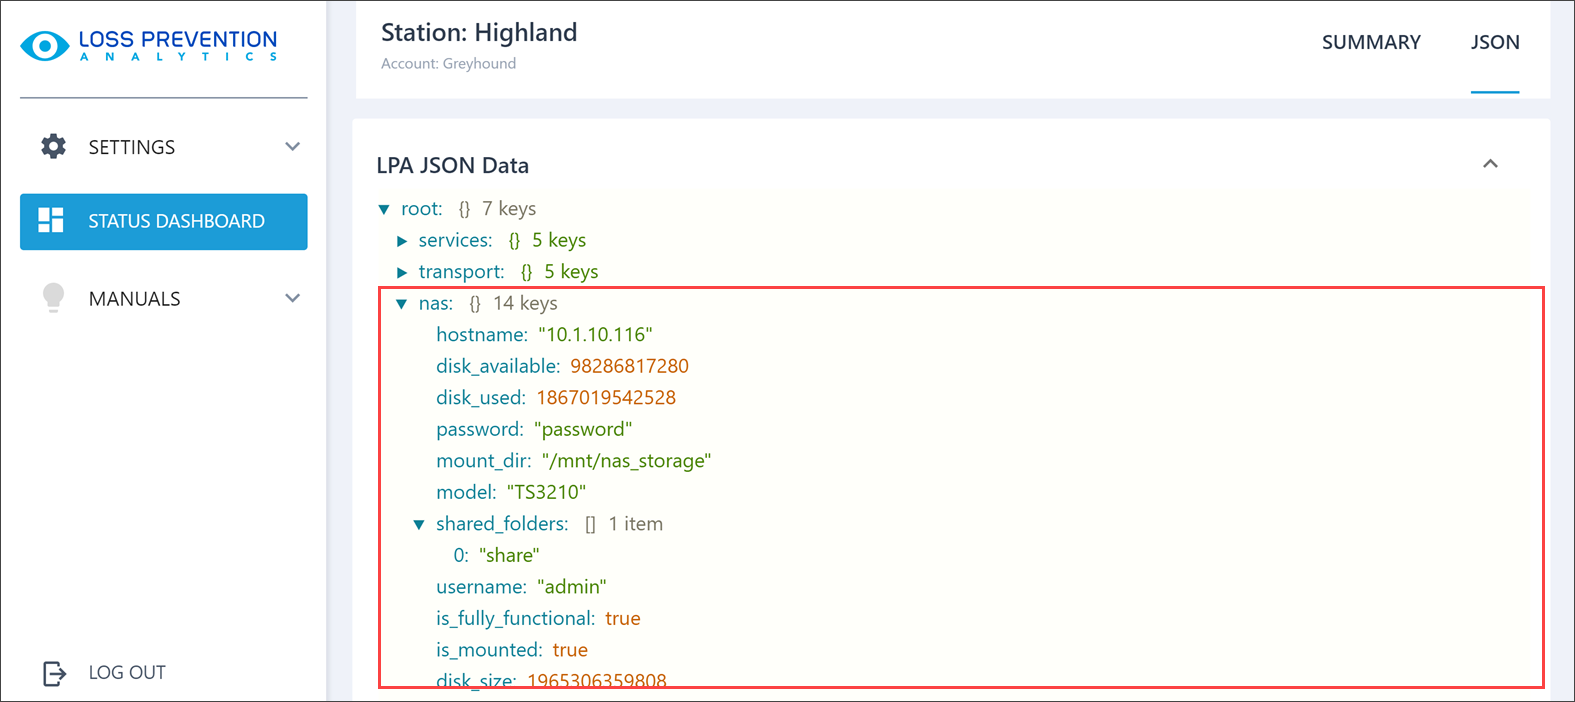
See Step 2 for more details. - Switch to JSON view.
- Expand the nas section and make sure the NAS monitoring metrics do not contain any errors. In case there are errors, proceed to the Step 2 and Step 3.

Pay attention to the following metrics:
- is_fully_functional
- is_mounted
NAS connection errors are reported in the not_fully_functional_description metric.
Step 2: Checking the NAS Connection Settings
NAS IP address must be set to static, otherwise you will have to update Network Attached Storage Settings every time the IP is renewed! Correct the NAS settings according to the vendor's instructions and restart the NAS mount service on the DC Box (see item #6 below).
To check the NAS connection settings:
- Go to Lost Prevention Analytics Settings and open LPA dashboard for the location in question.
You should see the page with the address like https://{location ID}.lpa.apt-petrosoftinc.com:12501/lpa/status/. - Provide the access credentials if prompted.
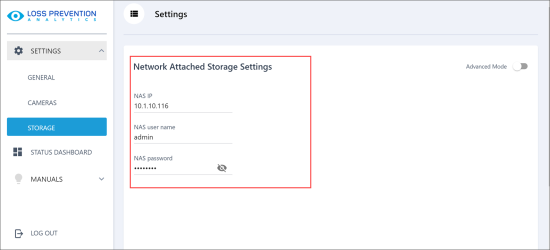
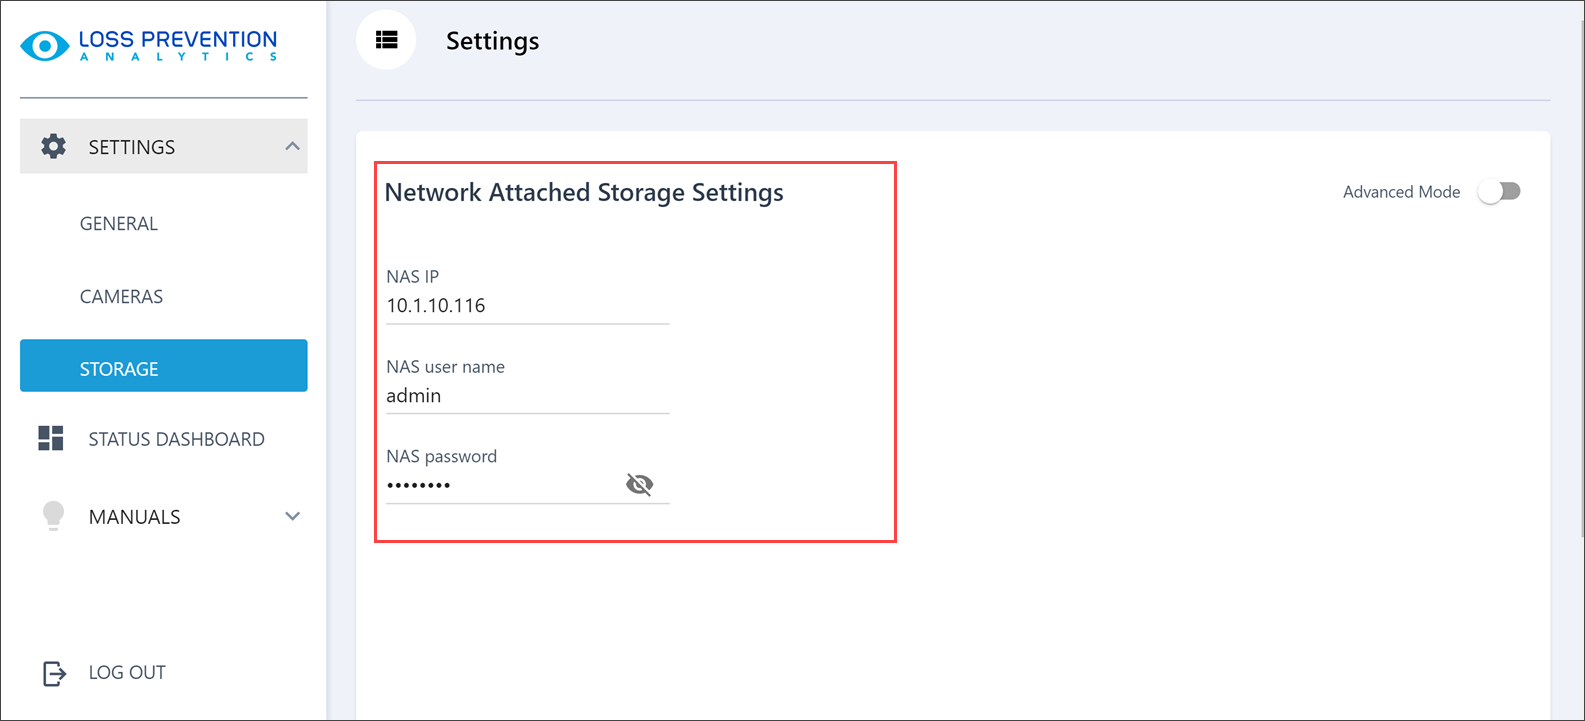
- Expand Settings and select Storage.
-
Make sure the NAS IP matches the actual IP address of the NAS device (see item #5 in Step 1). Additionally, the credentials provided in the NAS user name and NAS password fields must have read, write, and delete access to the shared folder.
- Reboot the NAS device.
- If the NAS share is still not mounted, restart the NAS mount service on the DC Box using the following shell command:
systemctl restart lpa2-nas-mount.service
- If the NAS share is still not mounted, go to the Step 3.
Step 3: Checking the NAS Device Connection
To check the NAS device connection:
- Check the NAS cables.
- Check the NAS lights:
- Green light: NAS is online.
- Yellow light: NAS is online. Yellow light indicates the system messages.
- Red light: NAS is offline. In this case, try to reset it. Unplug its power cable, wait about 5 seconds and then plug it back to the power network.
If you see the red light after resetting the NAS, submit a ticket to Petrosoft Support team with the subject: "NAS is no longer functioning". For more information on how to submit a ticket, go to Submitting Tickets.
- Open the NAS front cover and check the NAS drives:
- Status LED is green: Indicates the drive's normal operation.
- Status LED is red: Indicates the drive's failed status.
- In case the status LED is red, reinstall the drive:
- Push the failed drive's unlock button and swing the lock mechanism out.
- Pull out the drive cartridge and remove it from the NAS.
- Insert the new drive into the empty slot. Slide the drive in with the locking mechanism open.
- Swing the lock back down until it clicks into place.
- Close the front cover.
- Press the power button on the NAS.
For the full reinstalling procedure, refer to the manufacturer's documentation.


