


- Place DC-401 and connect it to power and the Internet
- Launch the activation process
- Configure network settings
- Activate DC-401
- Configure a POS connection
- Complete activation
Step 1. Place DC-401 and Connect it to Power and the Internet
You need to place DC-401 in the location where it will be used and connect it to power and the Internet.
For building the network infrastructure based on DC-401, refer to the diagrams below:
Do the following:
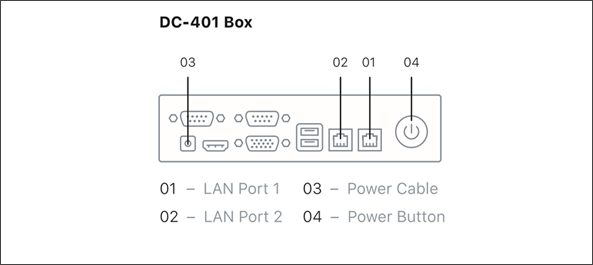
- Plug the network cable to the LAN Port 1 on DC-401 (01).
- Connect your laptop to the LAN Port 2 on DC-401 using the Ethernet cable (02).
- Connect DC-401 to the power using the power cable (03).
- Press the power button to start DC-401 (04).
- Set your laptop to use the DHCP network configuration.
- The laptop should receive the network configuration from DC401: 10.10.2.0/24.
Step 2. Launch the Activation Process
To launch the activation process:
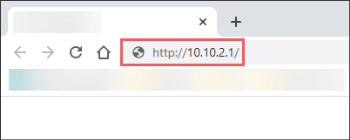
- On the laptop, open a web browser.
- In the address bar, enter the DC401 IP address as it is displayed in the image below.
- Log in using the following credentials:

- User name: admin
- Password: SwHH3g
Step 3. Configure Network Settings
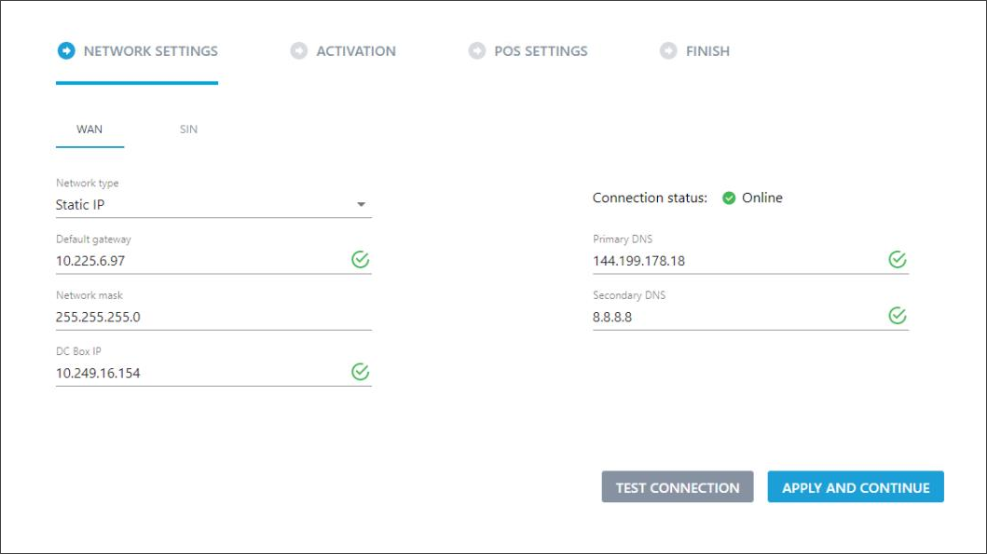
At the Network Settings step of the wizard, you must configure settings of the network in which DC-401 is deployed. Do the following:
- Select the addressing scheme:
- If the network uses DHCP, leave the default settings. Check the cable and make sure DC-401 is connected to the main router.
- If the network uses static IP addresses, in the Network type list, select Static IP and specify the network addressing settings manually.
- Click Test connection.
- When the indicator in the Connection status field turns green, click Apply and Continue.

Step 4. Activate DC-401
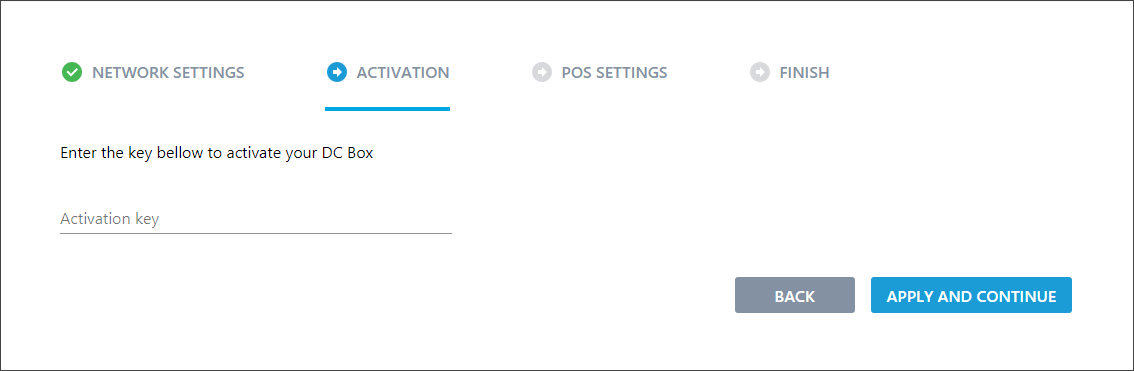
At the Activation step, you must provide the activation key for DC-401 and activate it. Do the following:
- Get the activation key for DC-401. For details, see Getting the Activation Key for DC-401.
- In the Activation key field, enter the activation key, for example: 1234-abcd-56789.
The activation key must be entered with dashes between digit groups without spaces.
- Click Apply and Continue.

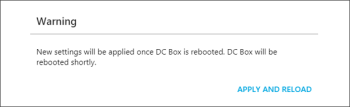
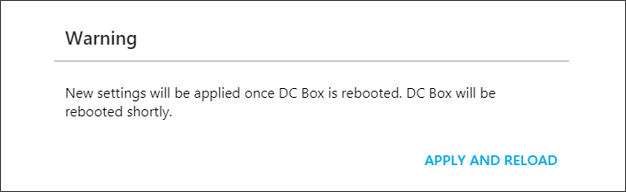
- The wizard displays the status page informing about the current DC-401 status. Once the first two statuses are completed, you will be prompted to apply the new settings and reboot DC-401.
Click Apply and Reload.
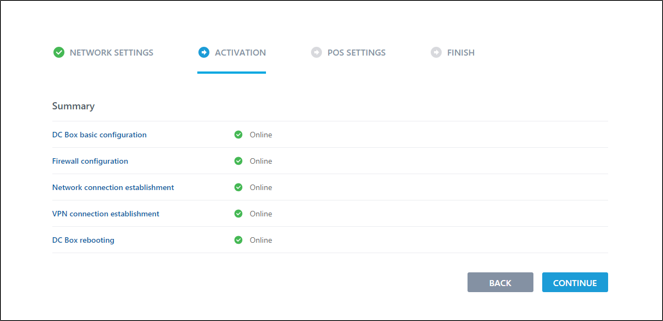
- After reboot, the activation process continues, and you can see the Online status for each of the steps.
Click Continue.

Step 5. Setup a POS Connection
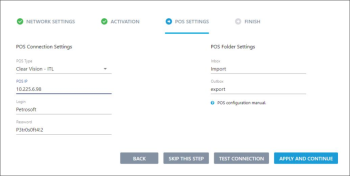
The wizard automatically pulls information about the POS set up in the network and populates the POS data at the POS Settings step. Do the following:
-
Verify and update any incorrect information. If no information pulls through or some information is missing, you will have to enter it manually.
Click Test Connection.
- Once it is verified that DC-401 can access the POS folders, you will see green check box icons next to POS IP, Login, Password, Inbox and Export fields. Otherwise, you will see an error message.
Click Apply and Continue.

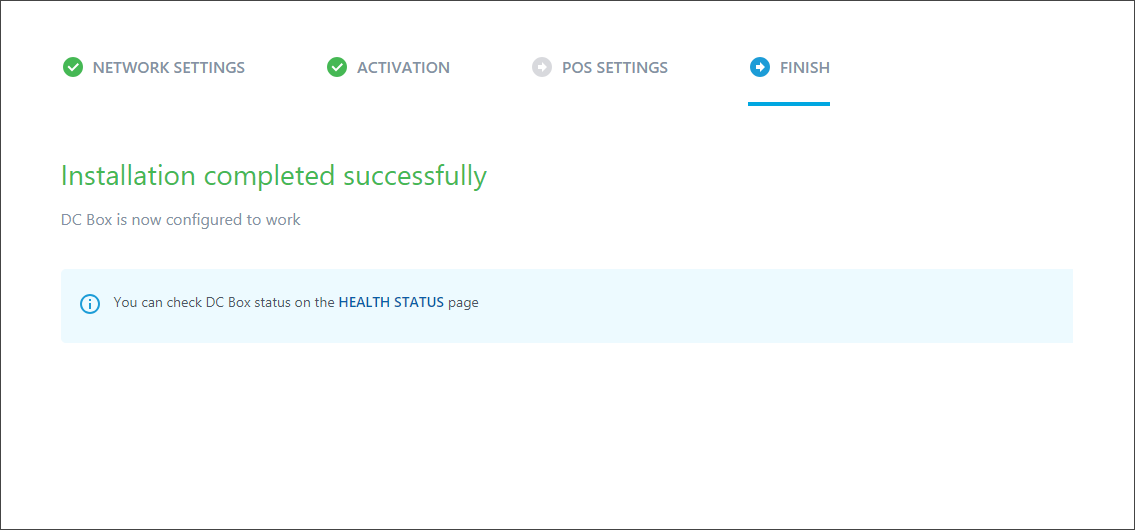
Step 6. Complete Activation
You have now completed the installation process.
If you need to make any further adjustments after this wizard, you can navigate to 10.10.2.1/status.
Having problems connecting your DC-401 to your cash register? No problem! Schedule an appointment with a Petrosoft Engineer through the Customer Portal (click here). We will remotely walk you through the installation of your hardware and get you back on the right track.


