


To add an item to the shelf tags set in the Shelf Tags screen:
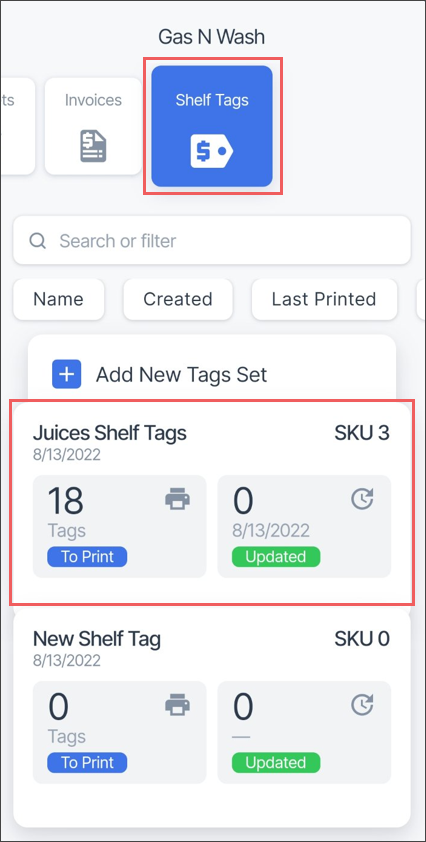
- In the Shelf Tags list, select the shelf tags set you need and tap it.

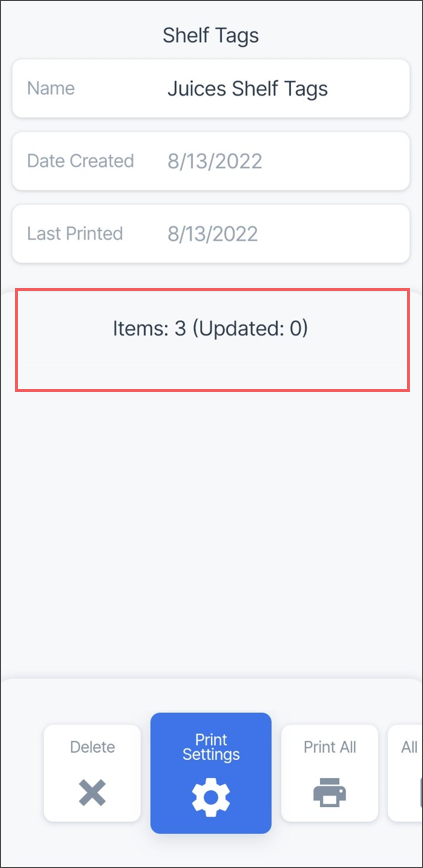
Result: The Shelf Tags screen opens. - In the Shelf Tags screen, tap the Items area.

If you a in the process of a new shelf tags set creation, Select Items is displayed instead of Items. In this case, tap the Select Items area instead. For more information on how to create a new shelf tags set, go to Creating a New Shelf Tags Set.
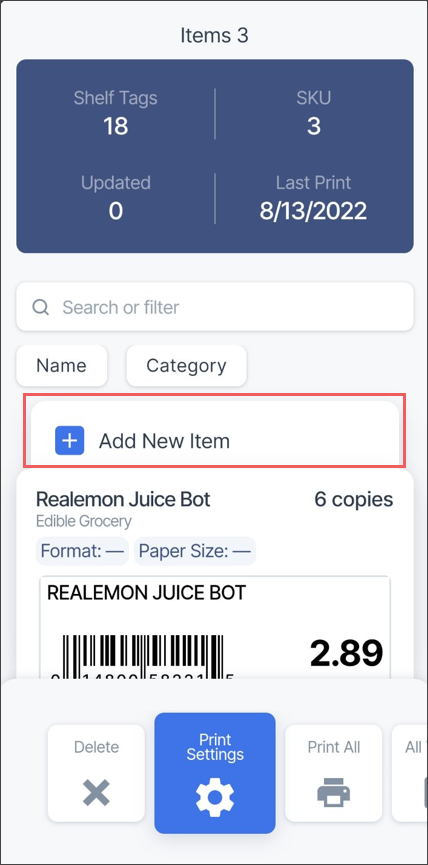
Result: The Items list for the selected shelf tags set opens.
- In the Items list, tap Add New Item.

Result: The location's Items list opens.If you are adding the first item to the empty shelf tags set, the location's Items list opens right away without opening the Items list for the shelf tags set.
- In the location's Items list, find the item you need by scanning its UPC or by entering its name in the search field.
- Tap the found item, to open its card.
- In the item's card:
- Set the number of shelf tag copies to be printed by swiping up and down in the Copies field.
- Check other item's data to be added to the shelf tag and update them, if needed:
For more information about how to find an item in the Items list, see Searching for the Item.
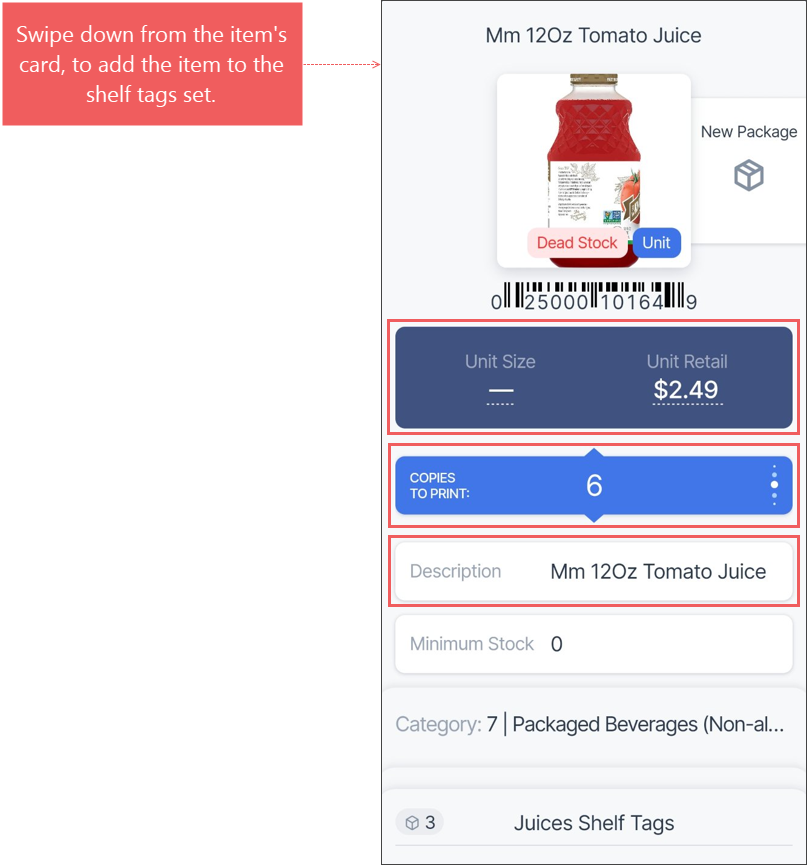
- From the item's image, swipe down to the bottom of the screen.
Result: The item is added to the shelf tags set. - To come back to the Shelf Tags screen from the item's card, swipe up from the set name at the bottom of the card.
- Make sure the newly added item's shelf tag displays correct data.

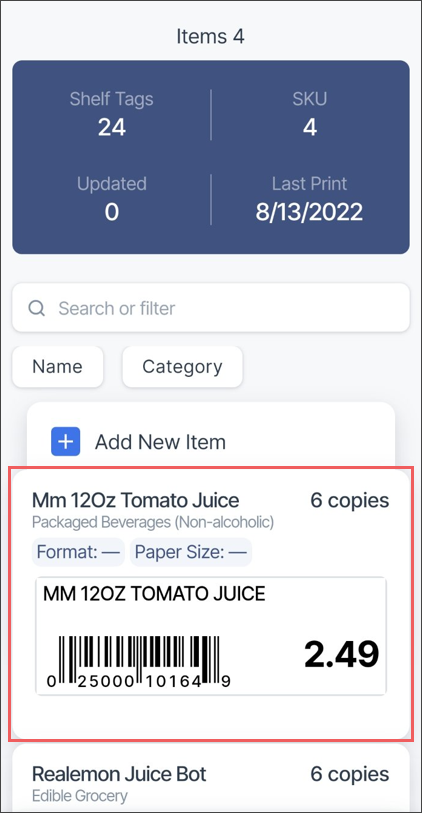
Adding items to the shelf tags set
In addition to the information in this section, you can watch this video about adding items to the shelf tags set.


