This article describes the specifics of accessing and interpreting the Merchandise Orders Consolidated report.
Read Merchandise Ordering Prerequisites article for the list of requirements for generating the Merchandise Orders Consolidated report.
Opening the report
You can find the report at Reports > Store > Merchandise > Merchandise Orders Consolidated.
The Merchandise Orders Consolidated report can be opened at all levels:
- Account
- Company
- Division
- Location (Station)
For more information, see Viewing Reports.
Interpreting the report
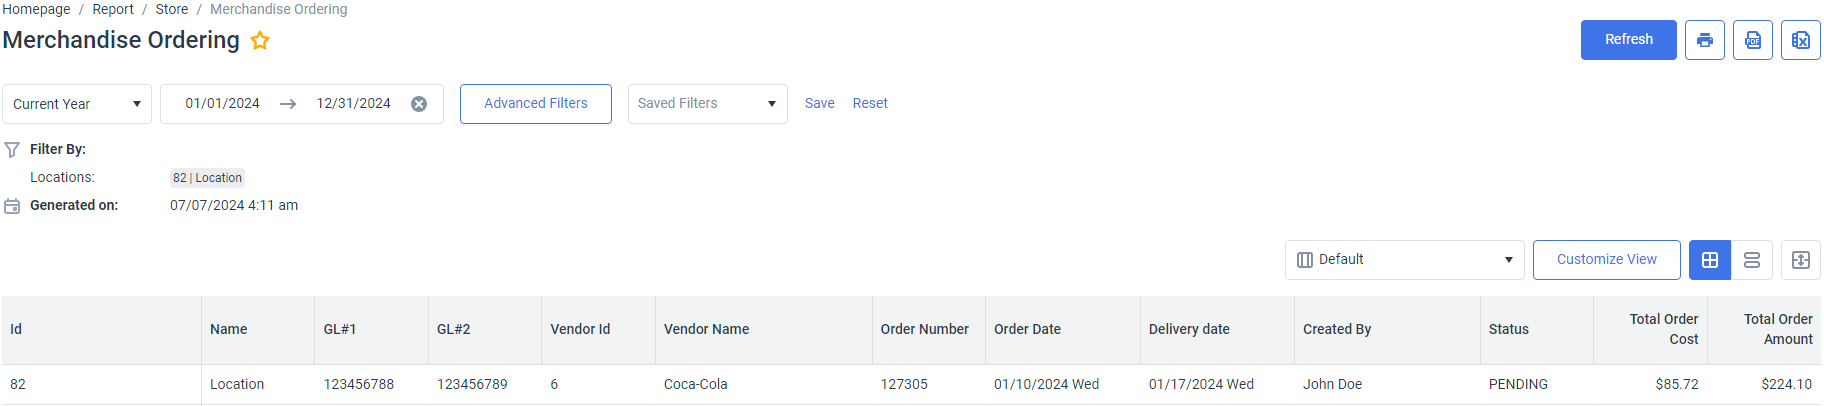
This report shows all merchandise orders generated for multiple locations / stations in the account as a the plain list. By default, it includes the following fields:
| Category | Field | Description |
| Location | Id | Unique identifier of the location/station |
| Name | Location/station name | |
| General Ledger (GL) codes | GL#1 | GL code #1 |
| GL#2 | GL code #2 | |
| Vendor | Vendor Id | Unique identifier of the vendor |
| Vendor Name | Vendor name | |
| Order | Order Number | Order ID (generated automatically by CStoreOffice®) |
| Order Date | The date the order is created | |
| Delivery Date | The date the order is shipped | |
| Created By | The user who create the order | |
| Status | Order status | |
| Total Order Cost | Total order cost, USD | |
| Total Order Amount | Total order retail, USD |
The report is fully customizable - you can build custom views by adding or removing fields, and reordering columns.
Filtering and sorting the report data
The report offers powerful filtering and sorting options to help you to drill down into the data and uncover the specific details you need.

- To adjust the report interval, select a predefined period from the dropdown menu or enter a custom date range.
- To narrow down your results, use the Advanced Filters button and choose your filtering criteria from the Filter By list:
- Locations: Select locations to be shown in the report or filter the report by location tags.
- Filter reports by items or item tags.
- Select vendors to be shown in the report.
- Choose merchandise order statuses.
- Provide the specific order number.
- To group the report data by one or more fields and calculate subtotal values for that groups, select the fields from Subtotal list:
- Location / location tags;
- Item tags;
- Vendor;
- Order status;
- Order number;
- Date.

To apply selected filters, click Accept button and then click Refresh button on the top of the report.

The filters you choose are displayed below the filtering settings.
Saving filters
Save your favorite filters to quickly apply them again in the future:
- Specify the filtering criteria.
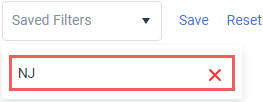
- Click Save next to the filtering settings.
- Name your saved filters.
To apply a saved filter, select it from Saved Filters dropdown.
Exporting report
You can export the report data in various formats for further analysis or sharing with colleagues:
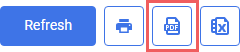
- PDF: Click PDF button above the report.
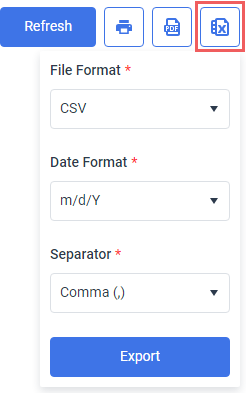
- Table: Click Excel button above the report and select the file format, date format and column delimiter (CSV only).
The export will include only the data that matches your chosen filters.
Customizing the report
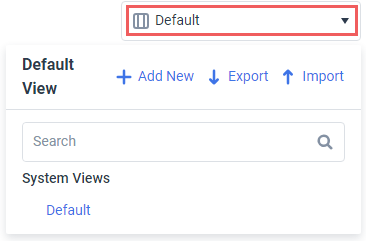
While the default view provides all the basic details, you can tailor the report to your specific needs. The report supports multiple views suited for different user roles or tasks, ensuring everyone has the information they need.
To switch between representations, click the dropdown on top of the report and select a view from the list.
To create a custom view, click Customize View button on top of the report and follow the instructions below.

- View Name: Name of the view for easier navigation.
- Available for: The users who can access the view:
- Me only: this user only;
- All account users: all users of the account.
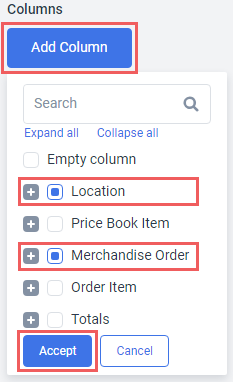
- Columns: Add, remove or reorder report columns:
- To add one or more columns to the report, click Add Column button, select fields to be added from the list and click Accept button.
- To remove a column, click the delete icon to the right of the column.
- To reorder columns, drag the dots icon to the left of the column box.
- Click the Preview button to see how the resulting report will look.
- Click Save As button to save the view under the provided name.