The QwickServe Kitchen Printer provides the kitchen staff with a printed copy of the order. Use this section to learn how to configure the Thermal Receipt Printer Model RP0080E.
Prerequisites
- Make sure the following equipment is available:
- Printer
- Power adapter
- Ethernet network cable
- Paper roll
- The paper roll is loaded into the printer paper tray.
Configuring the Printer
To configure the printer:
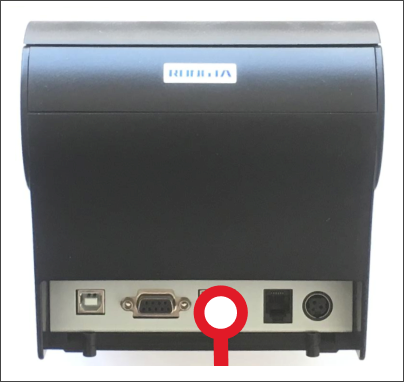
- Connect the printer power cord to the electric outlet.
- Connect the printer to LAN with DHCP enabled.

Result: The printer is connected to the LAN to be accessible from other LAN devices.
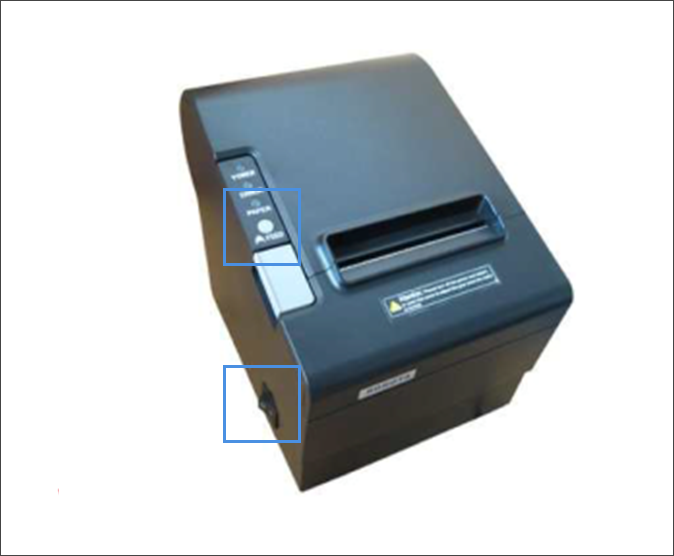
- If the printer is powered on, power it off using the power switch.
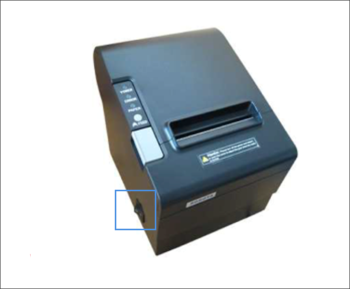
Result: The power indicator is off.
- Obtain the current printer preferences and perform the device health check. To do this, press and hold the feed button and flip the power switch to the On position at the same time.

Result: The printer prints the diagnostics sheet.
Check and note the printer network preferences section. Pay attention to DHCP, IP address and Netmask settings.
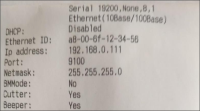

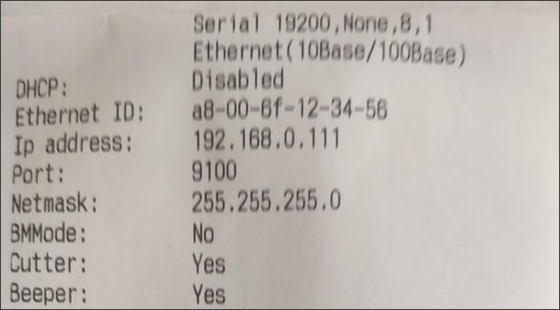
- If DHCP is enabled in the network and DHCP is enabled in the printer preferences, note the current printer preferences for later use during other QwickServe devices configuration.
- If DHCP is disabled at the printer or the local network configuration recommends or requires static IP assignment, follow the steps below:
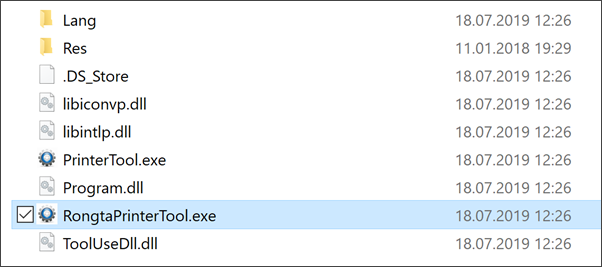
- At Microsoft Windows computer connected to the printer network, download and unpack the RongTa Thermal Printer configuration tool.

- Launch the RongtaPrinterTool.exe file.
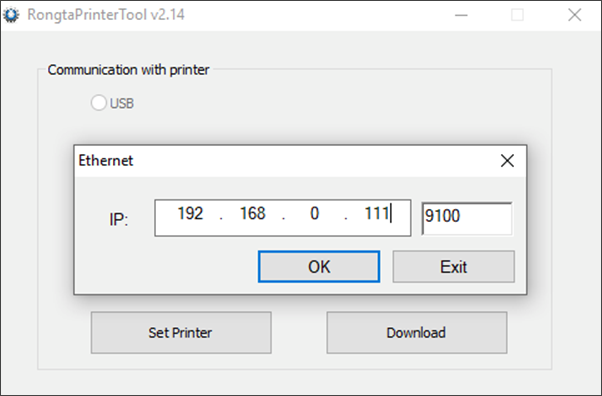
- In the displayed window, set the Port option to Ethernet.
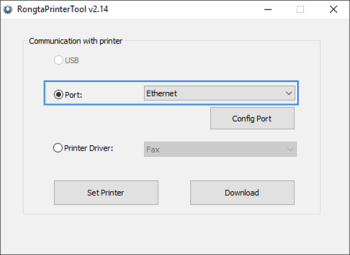
- Below the Port option, click Config Port, enter the IP address of the printer and click OK.

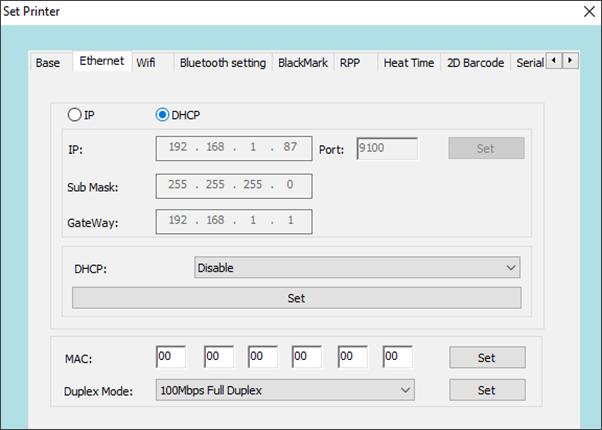
- Click Set Printer.
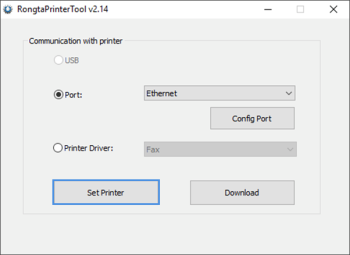
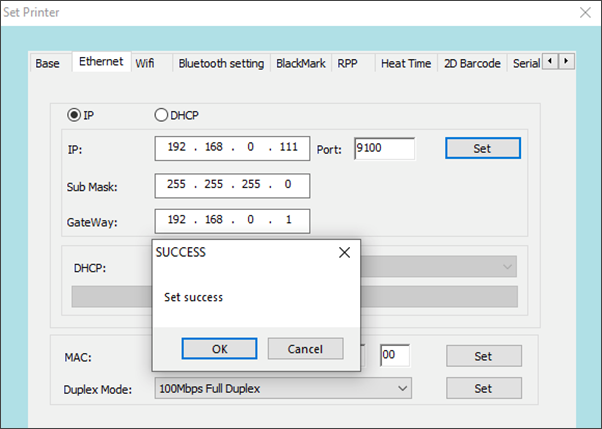
- In the Set Printer window, click the Ethernet tab.
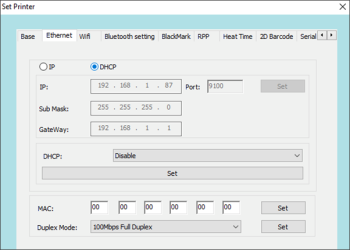
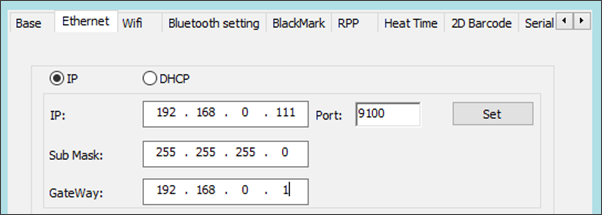
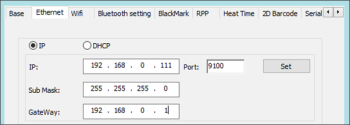
- Select the IP option to enable network settings.
- Specify the necessary IP address, sub mask and gateway in corresponding fields.
- To the right of the Port field, click Set and wait for a few seconds.
Result: The printer buzzes and the Set success window appears in up to 20 seconds.
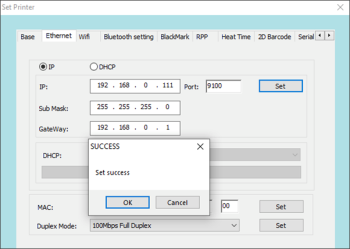
- In the Success window, click OK. Then close the Set Printer window.
- If the printer is powered on, power it off using the power switch.
- Obtain the current printer preferences and perform the device health check. To do this, press and hold the feed button and flip the power switch to the On position at the same time.
Result: The printer prints the diagnostics sheet. Make sure the proper printer preferences are applied.