The QwickServe Kitchen Printer provides the kitchen staff with a printed copy of the order. Use this section to learn how to configure the QwickServe Star Label Printer Model TSP700 II.
Prerequisites
- Make sure the following equipment is available:
- Printer
- Power adapter
- Ethernet network cable
- Label roll
- The label roll is loaded into the printer paper tray.
Configuring the Printer
To configure the printer:
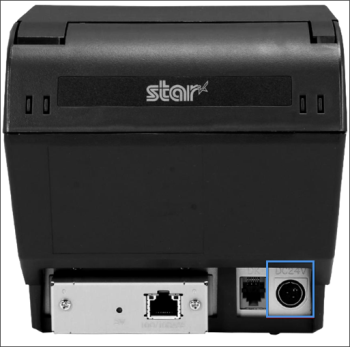
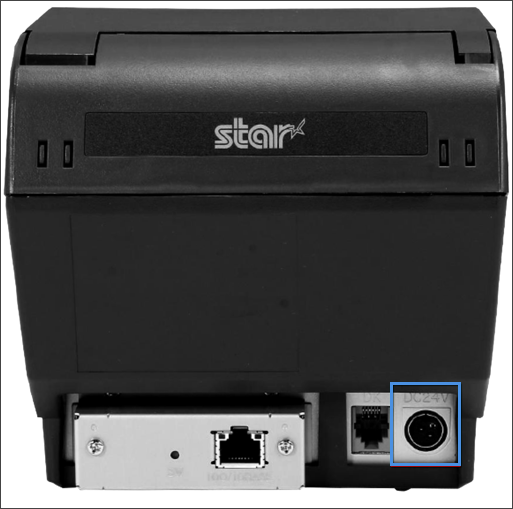
- Connect the printer power cord to the electric outlet.
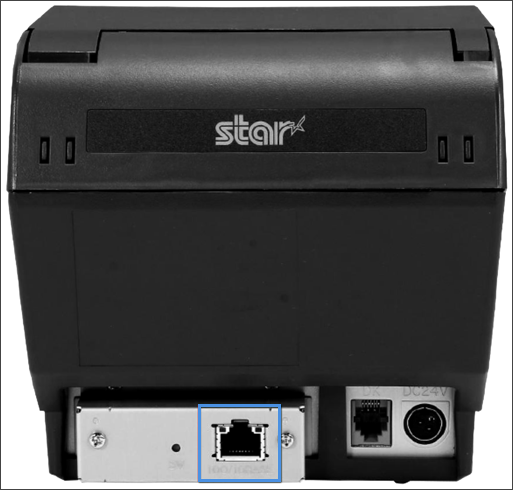
- Connect the printer to LAN with DHCP enabled.

Result: The printer is connected to the LAN to be accessible from other LAN devices.
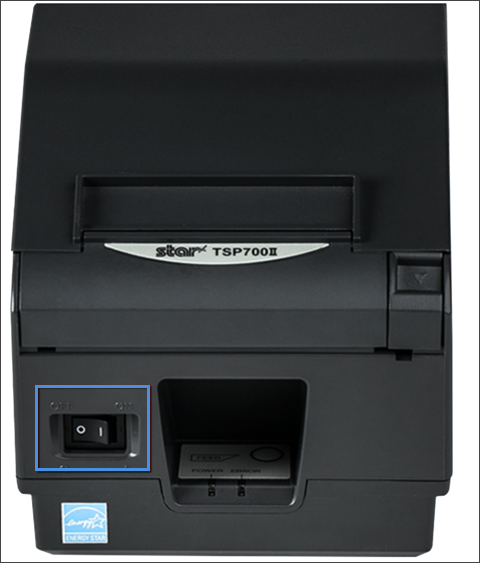
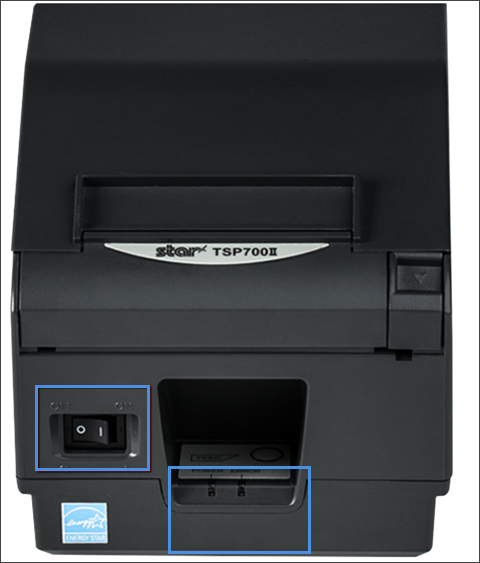
- If the printer is powered on, power it off using the power switch.

Result: The power indicator is off.
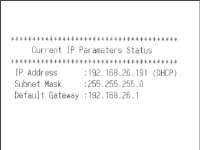
- Obtain the current printer preferences and perform the device health check. To do this, press and hold the feed button and flip the power switch to the On position at the same time.

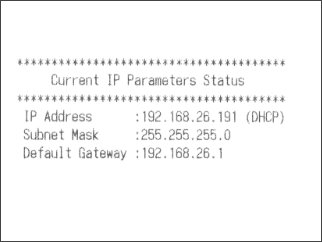
Result: The printer prints the diagnostics sheet.
Check and note the printer network preferences section. Pay attention to DHCP, IP address and Subnet Mask settings.
- If DHCP is enabled in the network and DHCP is enabled in the printer preferences, note the current printer preferences for later use during other QwickServe devices configuration.
- If DHCP is disabled at the printer or the local network configuration recommends or requires static IP assignment, follow the steps below.
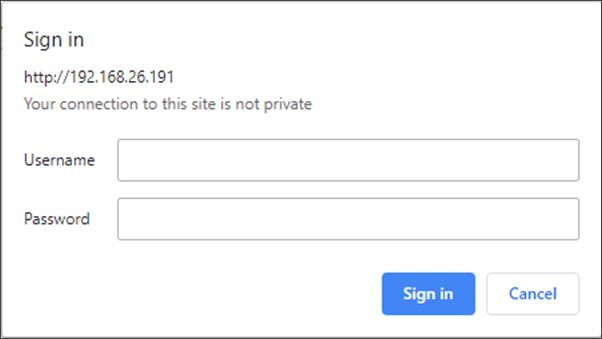
- Open the web browser and type the following address in the address bar as it is displayed in the image below: x.x.x.x/index.htm.
- Replace x.x.x.x with the actual IP address of the printer.
- The browser will prompt for the user name and password. Enter the following credentials:
User - root
Password - public - Click Sign In.

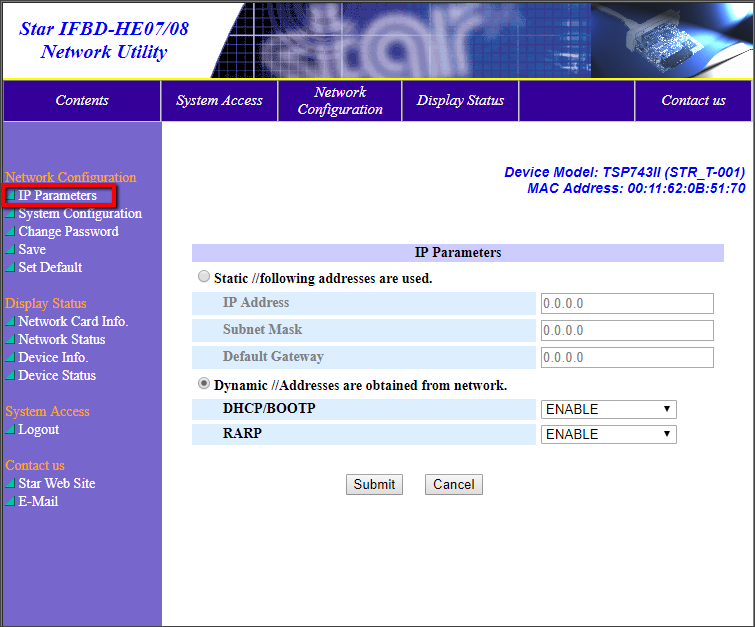
- In the displayed configuration page, select IP Parameters.

- Select the Static option. Specify the necessary IP address, subnet mask and gateway in corresponding fields.
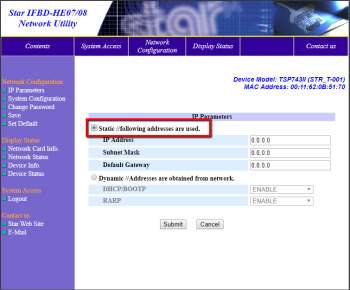
- Click Submit to move to the confirmation page.

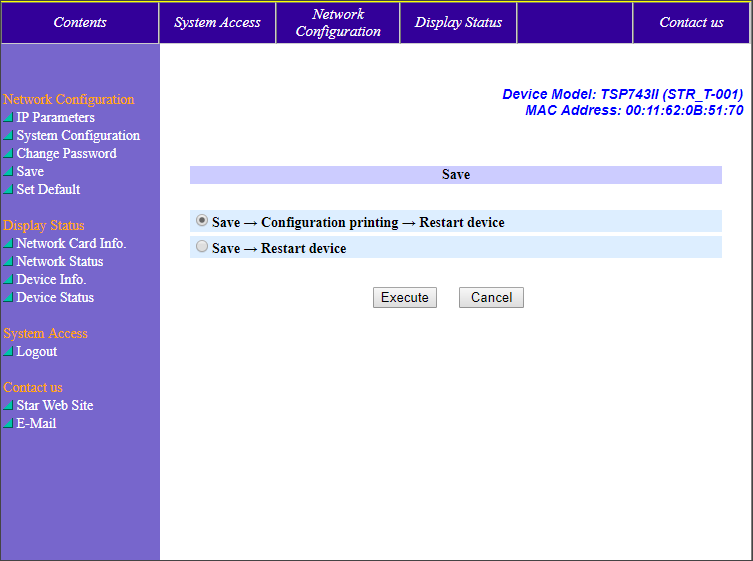
- In the confirmation page, click Save to move to the Execute page.

- Click Execute.
Result: The printer prints a sheet with the new configuration and reboots.
- Obtain the current printer preferences and perform the device health check. To do this, press and hold the feed button and flip the power switch to the On position at the same time.
Result: The printer prints the diagnostics sheet. Make sure the proper printer preferences are applied.