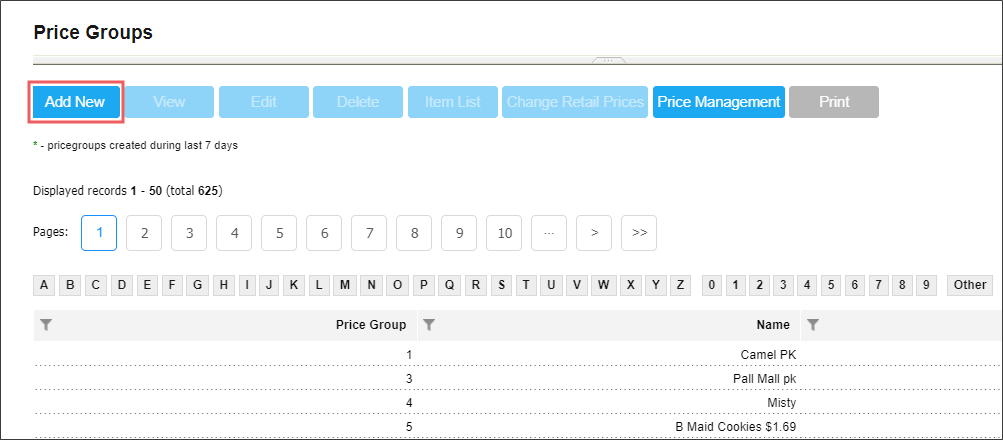
- From the CStoreOffice® main page, go to Price Book > Price Groups.
- At the top left of the price groups list, click Add New.

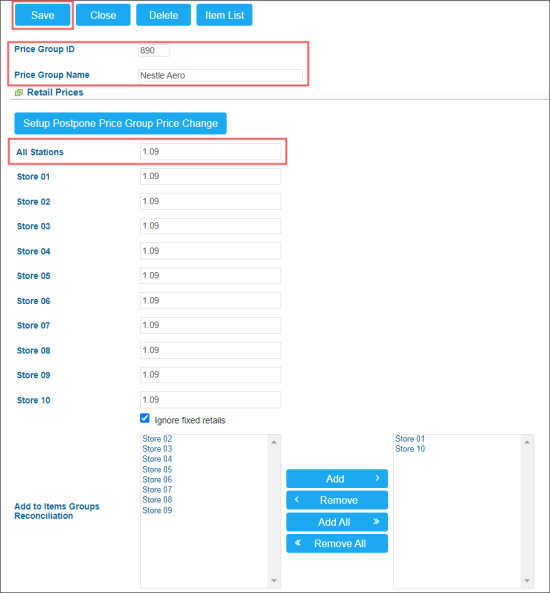
- In the price group setup form:
- In the Price Group ID field, check the price group identifier which is automatically assigned by the system. You can change it and enter your value, if needed.
- In the Price Group Name field, enter the price group name.
- In the Retail Price section:
- Enter the retail value for all items the price group:
- One retail for all locations: In the All Stations field, enter the retail value. It will be applied to all locations on your account.
- Different retails for locations: For each location, in the corresponding location's field, enter the retail value. - Leave the Ignore fixed retails option unselected. It is used only when the price group retails are updated. For more information, see Editing Price Group Retails.
- In the Add to Items Groups Reconciliation section, select and move to the right column the locations on which the items from this price group will be taken into account during intermediate inventory.
- At the top left of the form, click Save.
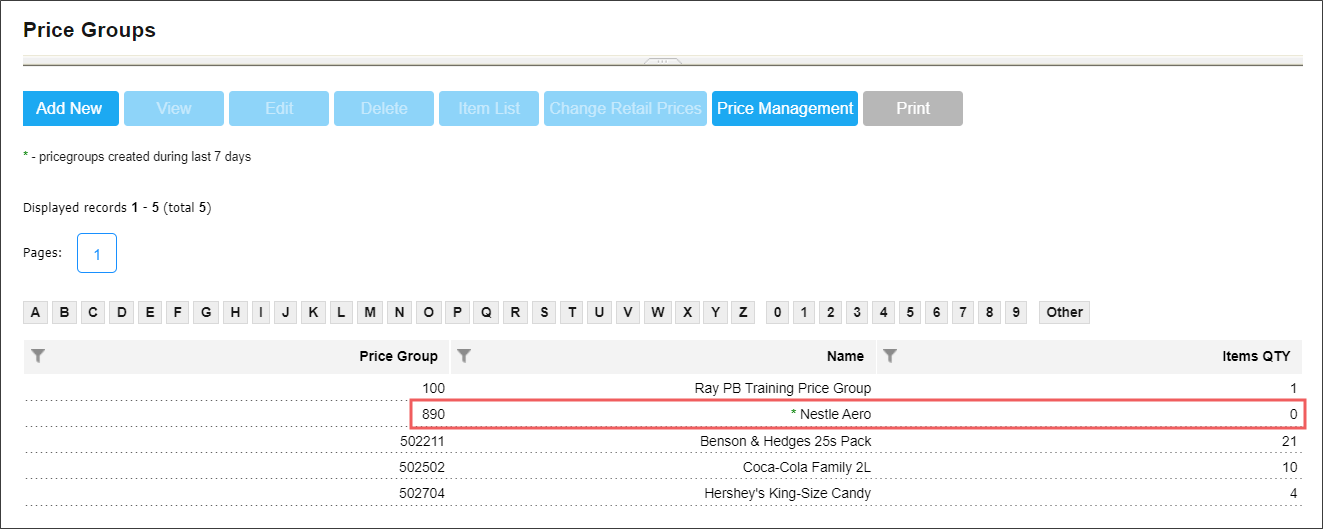
- Make sure the price group is added and displayed in the Price Groups list.

All new (created within last 7 days) price groups are marked with the green asterisk in the list.