


Reviewing and Confirming Automatic Orders
If you have enabled automatic merchandise ordering for a vendor, CStoreOffice® generates orders for this vendor automatically. Such orders are displayed as auto order events in the following widgets:
- Ordering Agenda
- Orders and Invoices Schedule
- Orders and Invoices Timeline
Before meeting a sales representative, you need to review the generated order and confirm it.
To review and confirm an automatically generated order:
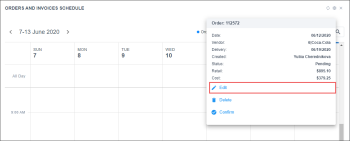
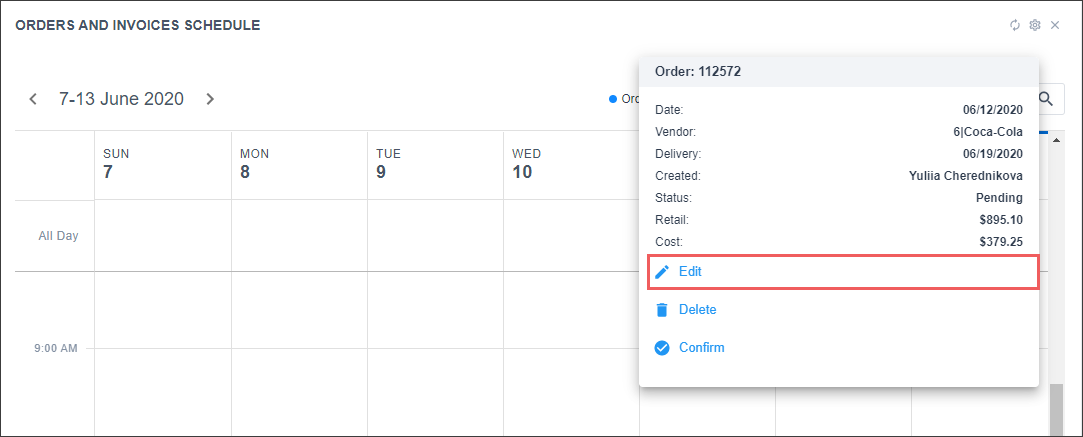
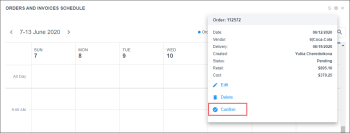
- In the widget, in the events list, click the order.
- In the pop-up window, click Edit.
Result: The Purchase Order form with the order details is displayed.
- In the Purchase Order form, review the order: check all ordered items, verify the quantity you have on hand, make sure no large purchases have been made since the order was generated. In the latter case, you may need to correct the ordered quantity for the purchased items.
- If necessary, edit the order and save the changes.
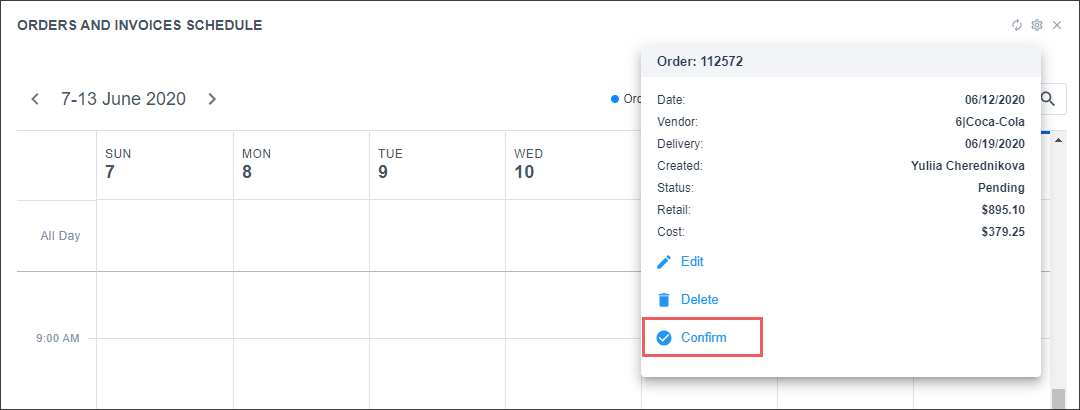
- In the widget, in the events list, click the order.
- In the pop-up window, click Confirm to confirm the order.

Result: The order status changes to Confirmed.
Creating New Orders
You can create an order manually using the widgets in the dashboard. After the order is created, you need to review and confirm it, just like an automatically created order.
To create a new order:
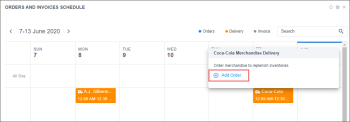
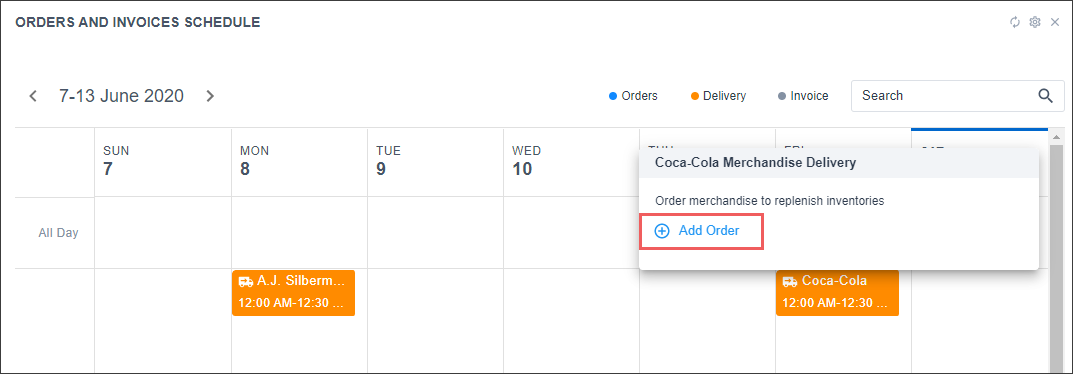
- Add a new order. You can do it in the following way:
- In the Orders and Invoices Scheduler or Orders and Invoices Timeline widget, click the delivery event next to the necessary vendor and select Add Order.
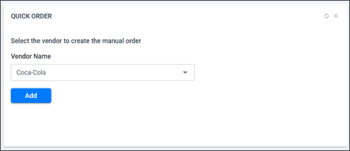
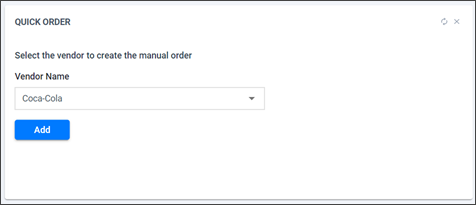
- In the Quick Order widget, from the Vendor Name list, select the vendor for which the order is created and click Add.
- In the Purchase Order form, specify settings for the new order and click Generate.
For details, see Generating Merchandise Order. - In the widget, click the refresh icon to display information about the new order.
- In the widget, click the new order.
- In the pop-up window, click Confirm to confirm the order.
Result: The order status changes to Confirmed.

All created orders are displayed in the Orders List widget as a simple list. Using this widget, you can also confirm, edit or delete orders. To do this, in the Actions column, click the dots icon and select the necessary command from the menu.


