


- Automatically: The system can generate orders based on the sales and inventory history for the previous 60 days.
- Manually: A dealer can call a dispatcher and ask the dispatcher to put an order into the system.
- Through the Order Gasoline report in CStoreOffice®. For details, see Order Gasoline Report.
To create a new fuel order manually:
- In Fuel Central, go to Dispatchers > Order.
If Adobe Flash Player is not enabled in the web browser, in the center of the page, click Click to enable Adobe Flash Player.
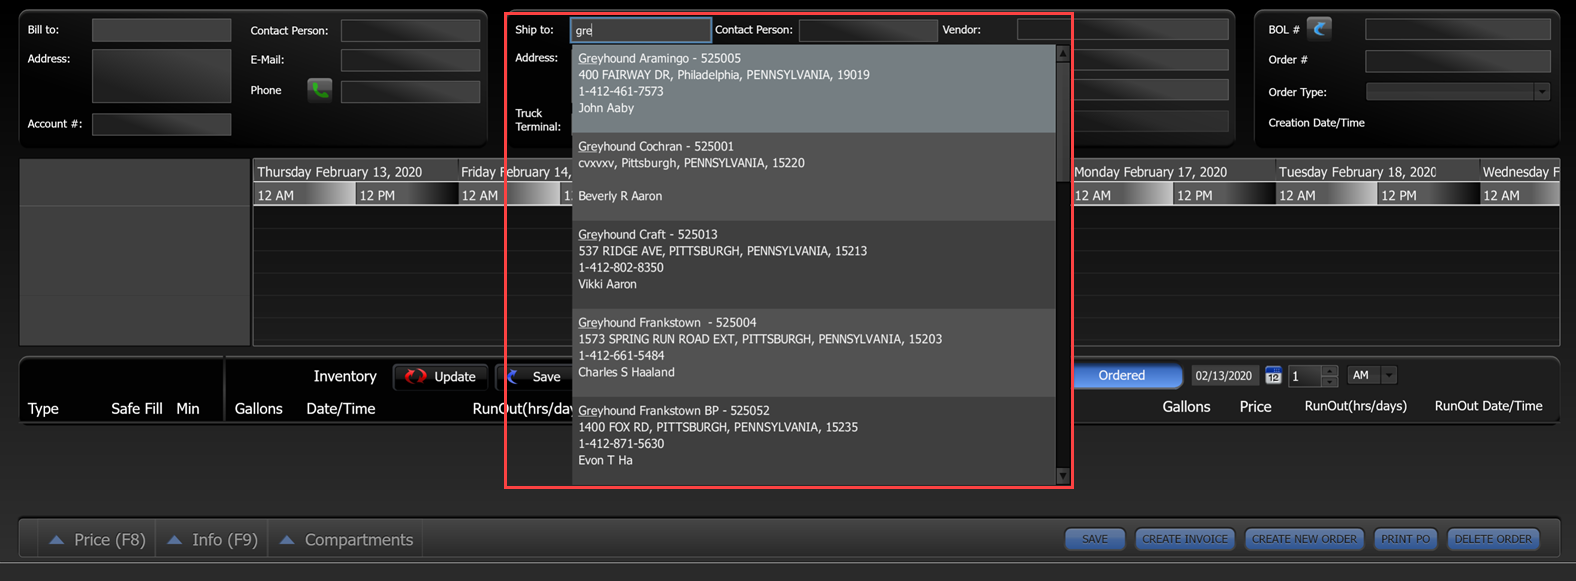
- In the Ship to field, start typing the station name and in the stations list, select the necessary station.

- Wait until the associated billing information for the selected station is displayed in the Bill to and other fields.

- At the bottom right of the form, click Create New Order.

- In the displayed window, select the date as to which you are planning to send the order and then click Add.
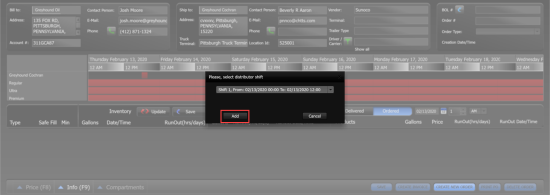
Result: The order is added to the station inventory scale.

To change the order date, drag and drop it on the inventory scale.
- Use the inventory scale to define the order sending date and the volume needed for each fuel type used at this station. For that, put the mouse on the inventory scale and move it.

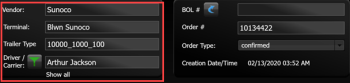
- In the top pane, specify the following order data:
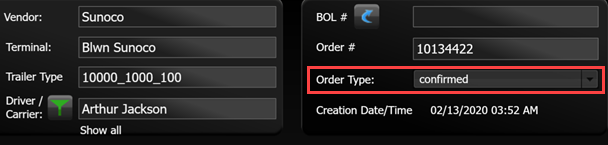
- Click the Vendor field and select the vendor from the list.
- Click the Terminal field and select the terminal from the list.
- Click the Trailer Type field and select the type of the trailer from the list.
- Click the Driver/Carrier field and select the driver from the list.
If the list of vendors, terminals or trailer types is empty, make sure the station is set correctly. For more information, see Fuel Central Station Setup manual.
- Select the products you want to send and the compartments they are to be placed in. At the bottom left of the form, click Compartments and then for each product used at the station, do the following:
- Click Products and select the product from the list.
- Click Gallons and select compartments to be filled with this product.
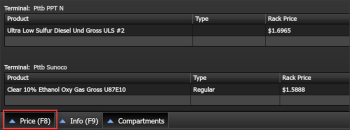
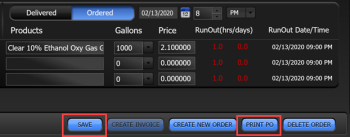
- In the Price field, specify the planned price for the product.

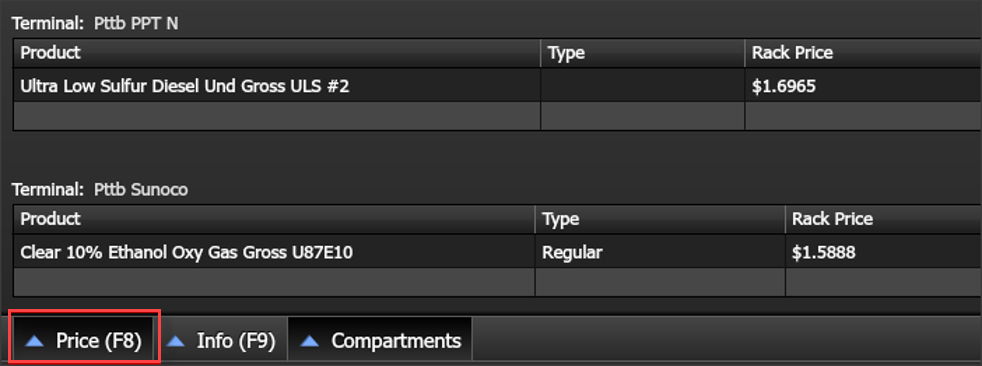
The final price is specified in the invoice sent by the vendor after the driver fills up the trailer with the ordered fuel. To view the approximate product price, at the bottom left of the screen, click Price and find the product in the list.
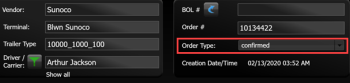
- To be able to schedule the order, make sure it is confirmed. If not, in the Order Type field, set the order type to confirmed.
- To save the newly created order, at the bottom right of the form, click Save.
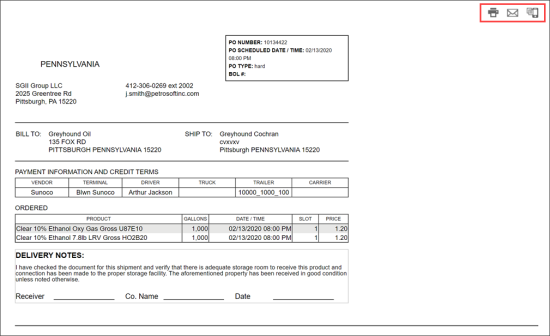
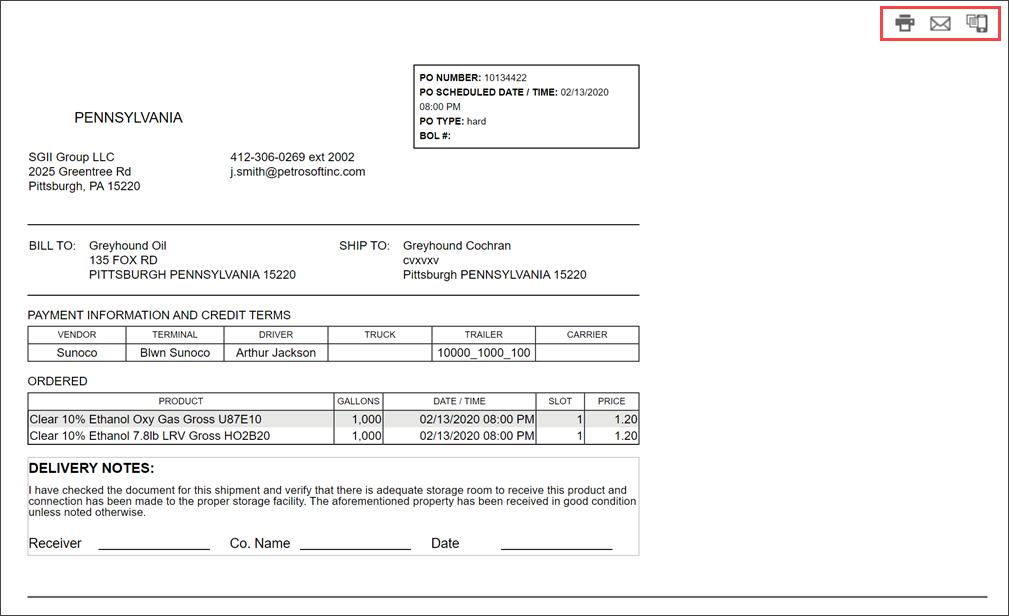
- To create the order printed form, at the bottom right of the form, click Print PO.
- Send the order to the driver in any of the following ways:


- To print the order and send it to the driver, click the print icon.
- To send the order by email, click the send by email icon, enter the email and then click Send.
- To send the order via MMS, click the send via MMS icon, enter the phone number, select the operator and then click Send.
If you need to delete the order, at the bottom right of the form, click the Delete Order button.


