


The Upcoming Delisted Items Report is intended for users with the Head Office and Branch Office roles. The report lists all items that are to be deactivated in future. You can perform the following actions with the report:
Accessing the Upcoming Delisted Items Report
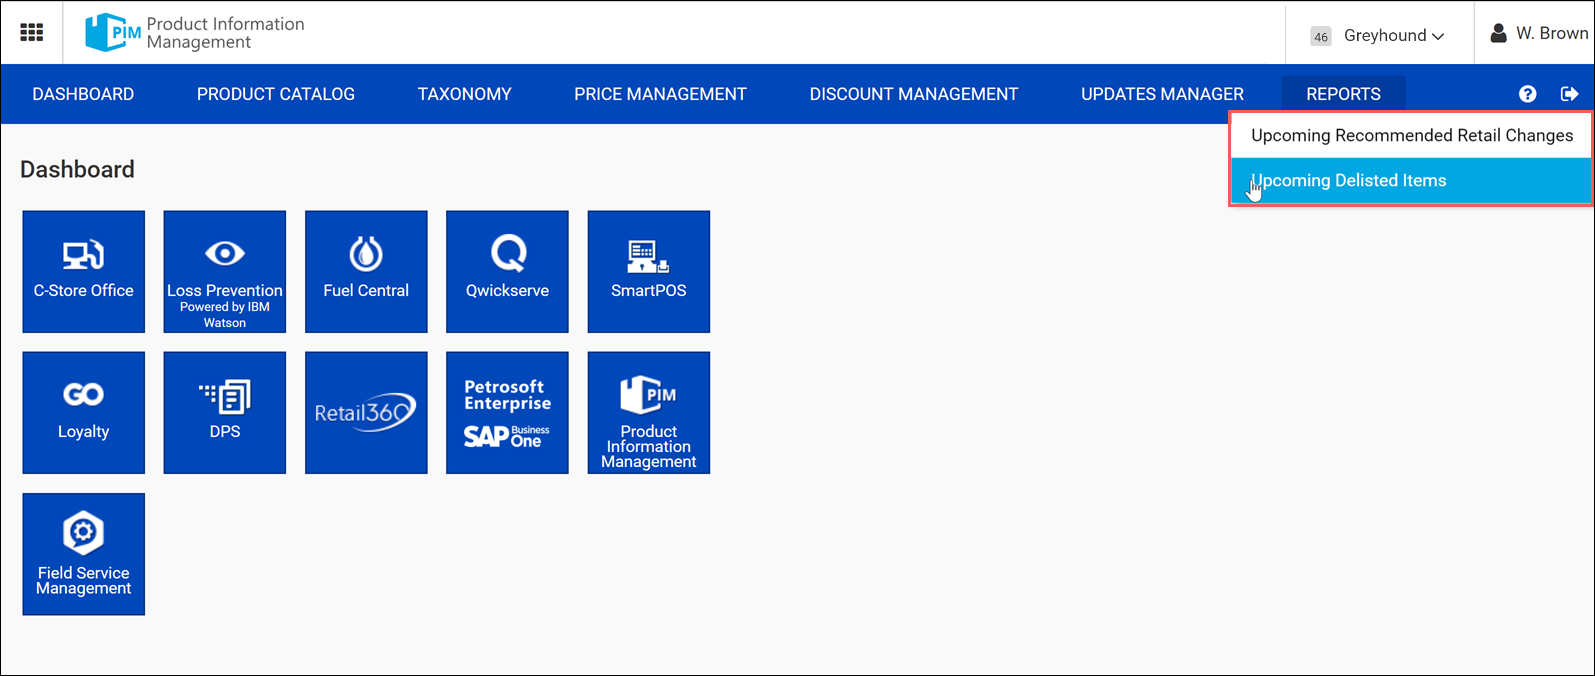
To access the Upcoming Delisted Items Report:
- At the top right of the PIM home page, from the accounts list, select the necessary account. To quickly find the account, use the search field at the top of the list.
- Go to Reports > Upcoming Delisted Items.
Viewing the Upcoming Delisted Items Report
When you access the Upcoming Delisted Items Report, PIM does not display any data. To run the report:
- In the Custom Date list, select the period for which report data must be displayed. You can select a predefined period or specify a custom period. To do this, select Custom Date and define the start and end dates of the custom period using the To and From fields.
- At the top right corner of the report form, click the Find button.
Result: The report data for the selected period will be displayed.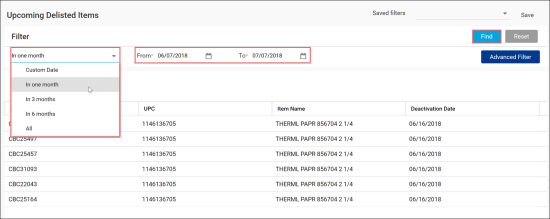

Filtering the Upcoming Delisted Items Report Data
By default, the Upcoming Delisted Items Report displays all items to be deactivated. If necessary, you can use the filter to display a specific breakdown of data, for example, items to be deactivated at a specific location.
To filter the report data:
- In the Custom Date list, select the necessary period for which the report must be run. The following period types can be selected:
- Custom Date
- In one month
- In 3 months
- In 6 months
- All
- At the top right corner of the report form, click the Advanced Filter button.
- In the left pane, set up one or several criteria by which you want to filter the report data:
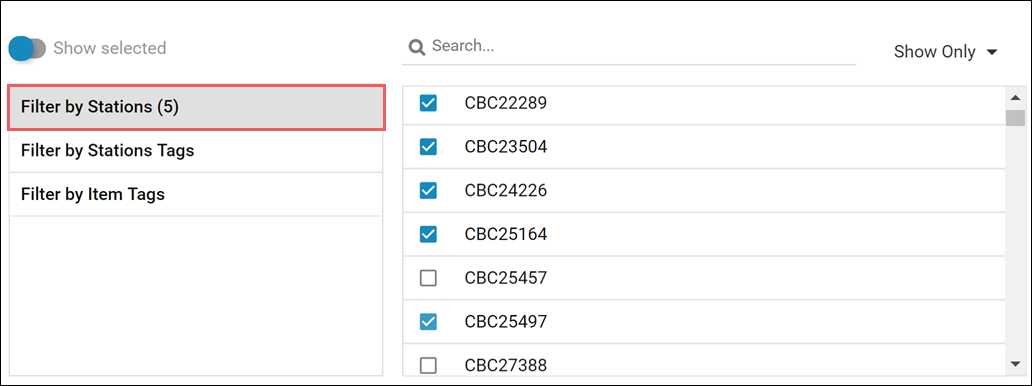
- Filter by Station: Select this option to display report data for specific stations only. In the pane on the right, select check boxes next to stations whose data you want to display.
If the number of stations is great, you can switch between modes of stations selection. At the top right corner of the stations list, select Show Only to display data only for the selected stations or Show All Except to display data for all stations except the selected ones.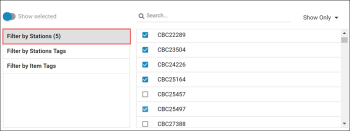
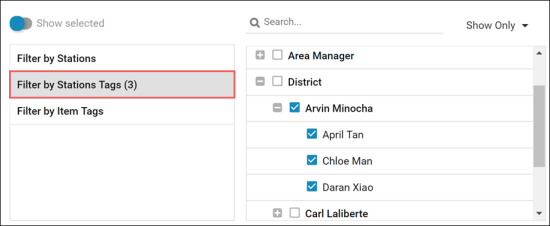
- Filter by Stations Tags: Select this option to display report data for stations to which a specific tag is assigned. In the pane on the right, select check boxes next to the necessary tags.
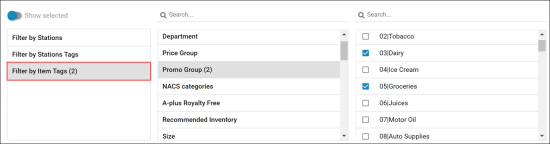
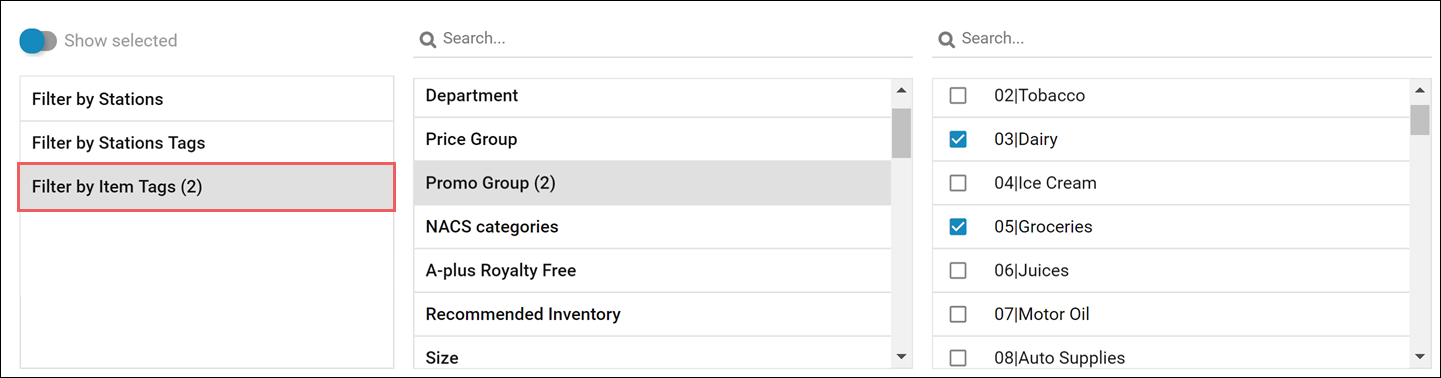
- Filter by Item Tags: Select this option to display report data for items to which a specific tag is assigned. In the panes on the right, select the necessary taxonomy object and tag.

- At the top right corner of the report form, click the Find button.
Result: The report data is filtered by the specified conditions. The filter conditions are displayed at the top of the items list.

You can save the configured filter to use it in future. To do this, set up the necessary filter criteria and click the Save button at the top right corner of the report form. In the displayed window, enter the filter name and click OK. The saved filter will become available in the Saved filters list.
To discard the filter criteria, at the top right corner of the report form, click the Reset button. After that, you can run the report again.


