


When you first start your SmartPOS, a welcome screen will guide you through a basic setup process. This intuitive, step-by-step interface simplifies the configuration of your cash register, ensuring you're ready to serve your customers as soon as possible, without any technical hassle or unnecessary complications.
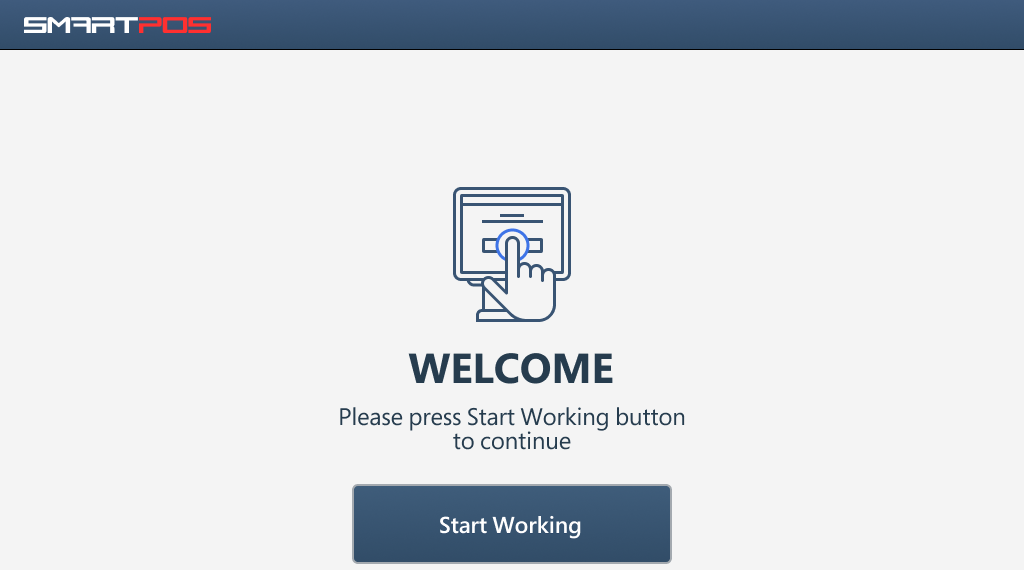
- Tap the Start Working button to proceed to the setup.
- Select the SmartPOS interface language. You can always change it later in the cash register System settings.
- Set up the network connection.
- Select the time zone your cash register will operate in to ensure accurate transaction timestamps and seamless coordination with your business hours. Setting the correct time zone is crucial for maintaining consistency across your operations.
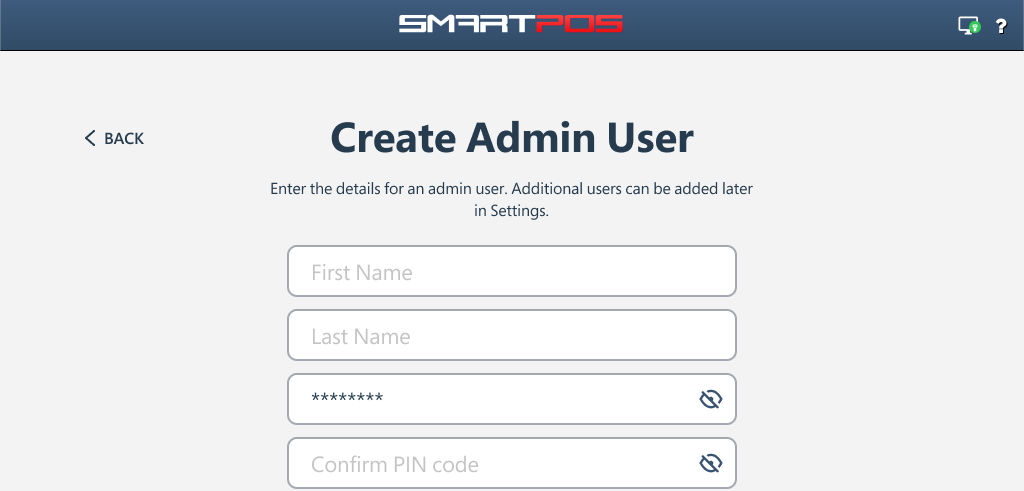
You can update the time zone later in the cash register System settings. - Create the administrator user to securely connect to the cash register. This user will have full control over SmartPOS.
- First Name: Administrator's first name.
- Last Name: Administrator's last name.
- PIN Code: 4-digit code used to get access to the user's account on the SmartPOS.
- Follow the quick start instructions to familiarize yourself with the SmartPOS interface and learn how to navigate the system with ease.
For smaller or straightforward deployments, the administrator can also act as the cashier, simplifying operations while maintaining robust security. However, in larger setups, it is highly recommended to create separate users for cashiers and an administrator. This ensures a clear separation of duties, enhances accountability, and strengthens overall system security by limiting access to sensitive configuration settings.
To update the PIN code, modify the administrator's information, or add and manage users, navigate to the Users settings while logged into the administrator's account.


