Manage receipt image for SmartPOS with CStoreOffice®
With CStoreOffice®, you can upload and remove the image that appears on receipts generated by SmartPOS. To manage the receipt image for SmartPOS with CStoreOffice®, follow these steps:
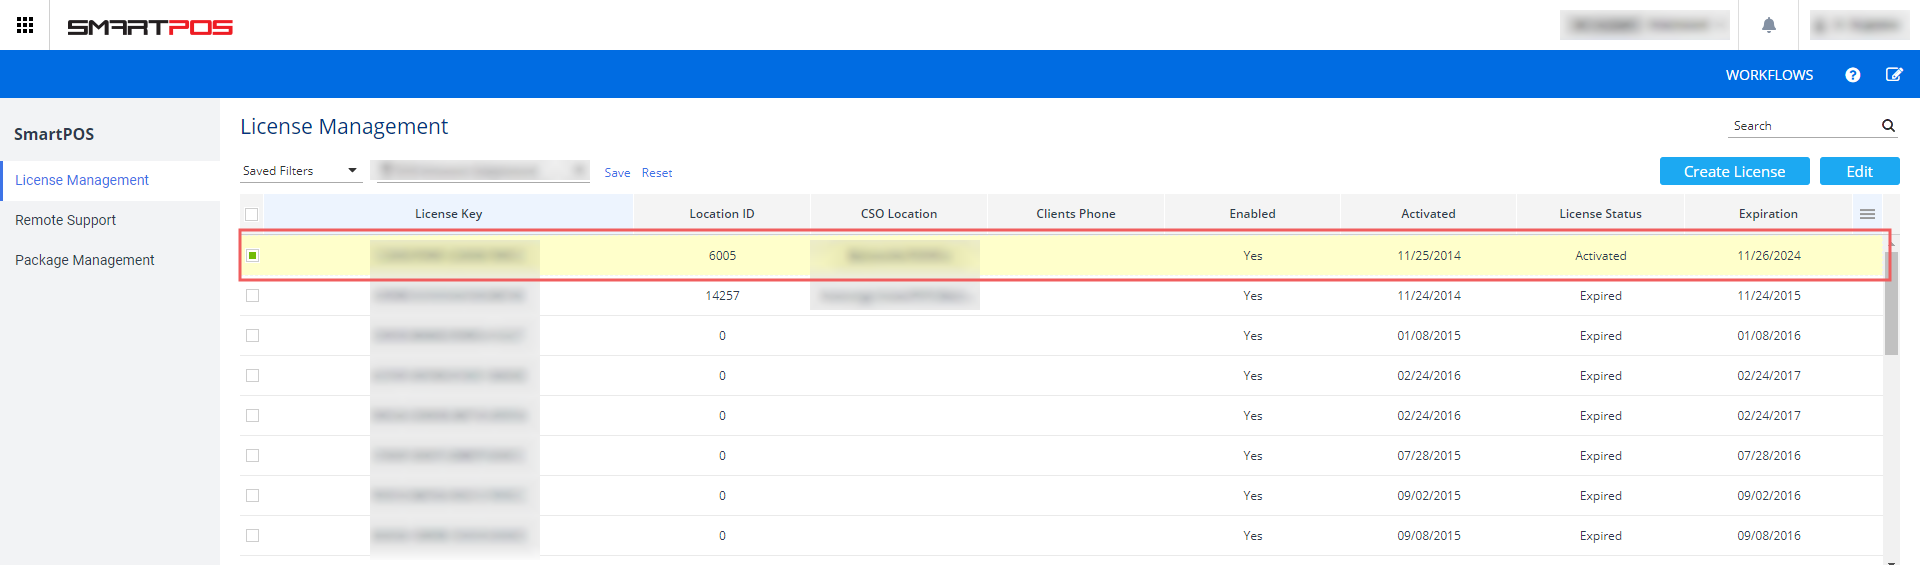
- From the product switcher, select SmartPOS.
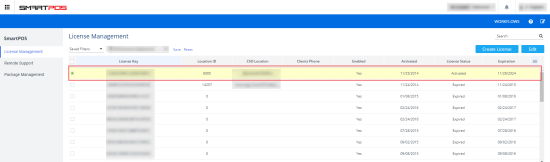
- In the left menu, select License Management.
- Double-click the license key of the SmartPOS device you want to manage the receipt image of.
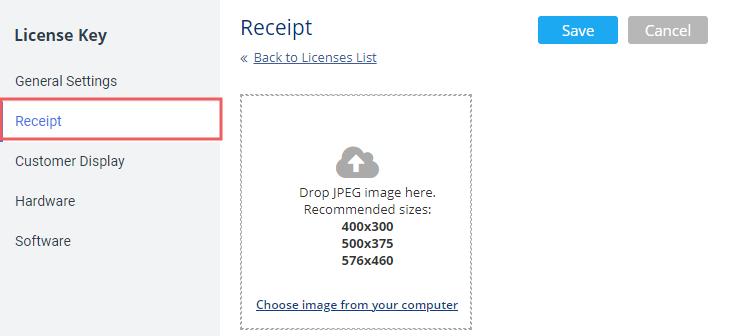
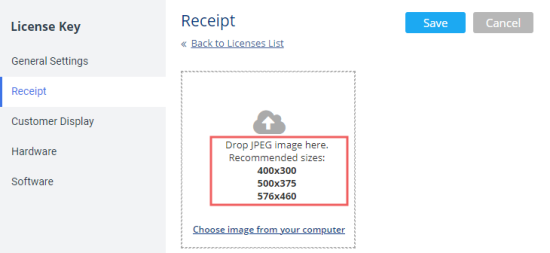
- Select Receipt from the menu on the left.

- Refer to one of these sections depending on the action you want to perform:
- Uploading a new receipt image for SmartPOS
- Removing the receipt image for SmartPOS
You can also manage the customer display images for SmartPOS with the Retail360 app. See Manage Images for SmartPOS with Retail360 App.
Uploading a new receipt image for SmartPOS
To upload a new receipt image for SmartPOS with CStoreOffice®, follow these steps:
- If you want to replace the current receipt image, remove it first, then return to step 2 of this procedure.
- Make sure your image meets the recommended size and format.
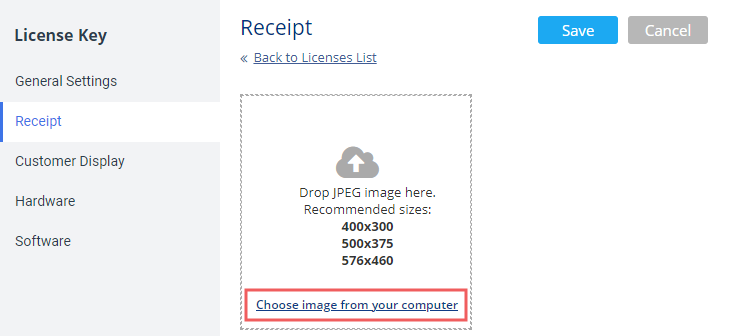
- Click Choose image from your computer and select the image of the recommended size and format from your computer or you can drag and drop the image.

- After uploading the image, click Save in the upper right corner of the page to save the changes.

- Do one of the following:
- Wait for 5 minutes until the receipt image loads to SmartPOS.
- To update the receipt image in SmartPOS immediately, update the SmartPOS price book. For details, see General Information.


Removing the receipt image for SmartPOS
To remove the receipt image for SmartPOS with CStoreOffice®, follow these steps:
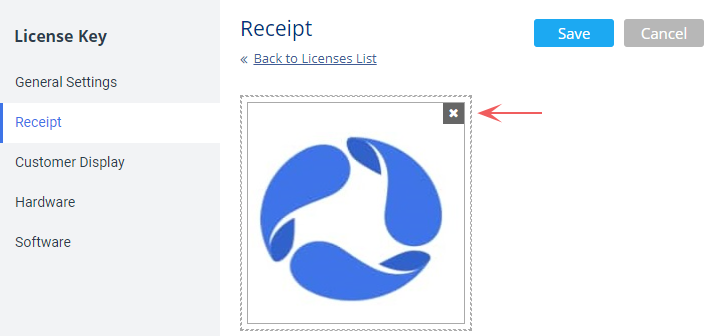
- Click the cross icon in the upper right corner of the image.

- In the upper right corner of the page, click Save to save the changes.
- Do one of the following:
- Wait for 5 minutes for the receipt image to remove from SmartPOS.
- To remove the receipt image from SmartPOS immediately, update the SmartPOS price book. For details, see General Information.