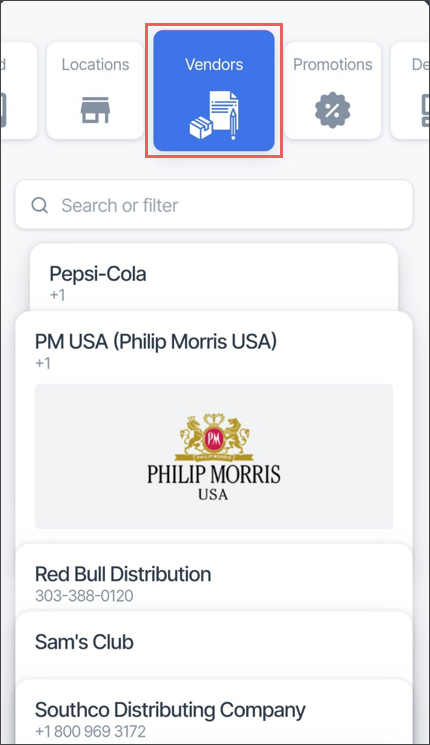
To open the Vendors list, from the Retail 360 Mobile main menu, tap the Vendors menu.
The Vendors list displays all vendors available to your account. In the Vendors screen, you can perform the following actions:
- View the list of available vendors.
- Search for the vendor you need.
- View and edit the basic information about each vendor.
- Add a new vendor.
Viewing the List of Available Vendors
The Vendors list displays all vendors available to your account.
To view the whole list of vendors, swipe up and down the vendors list.
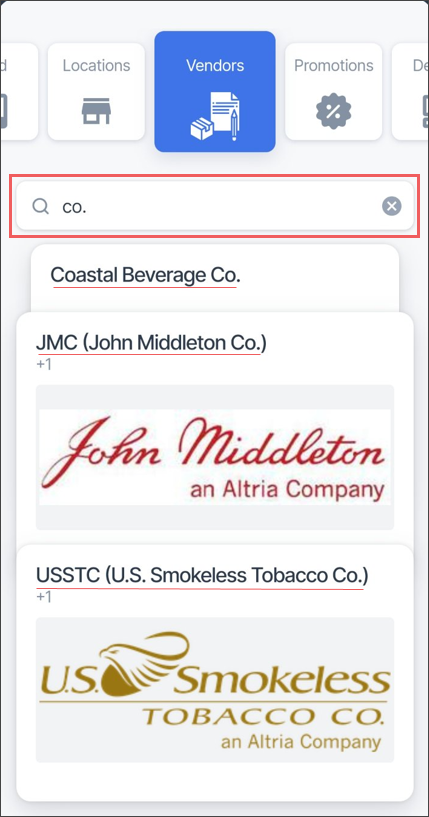
Searching for the Vendor
To search for the vendor you need by its name, in the Search field, start typing the name.
The Search field is not case-sensitive.
Viewing and Editing the Vendor Information
To view the basic information about vendor, tap this vendor in the list.
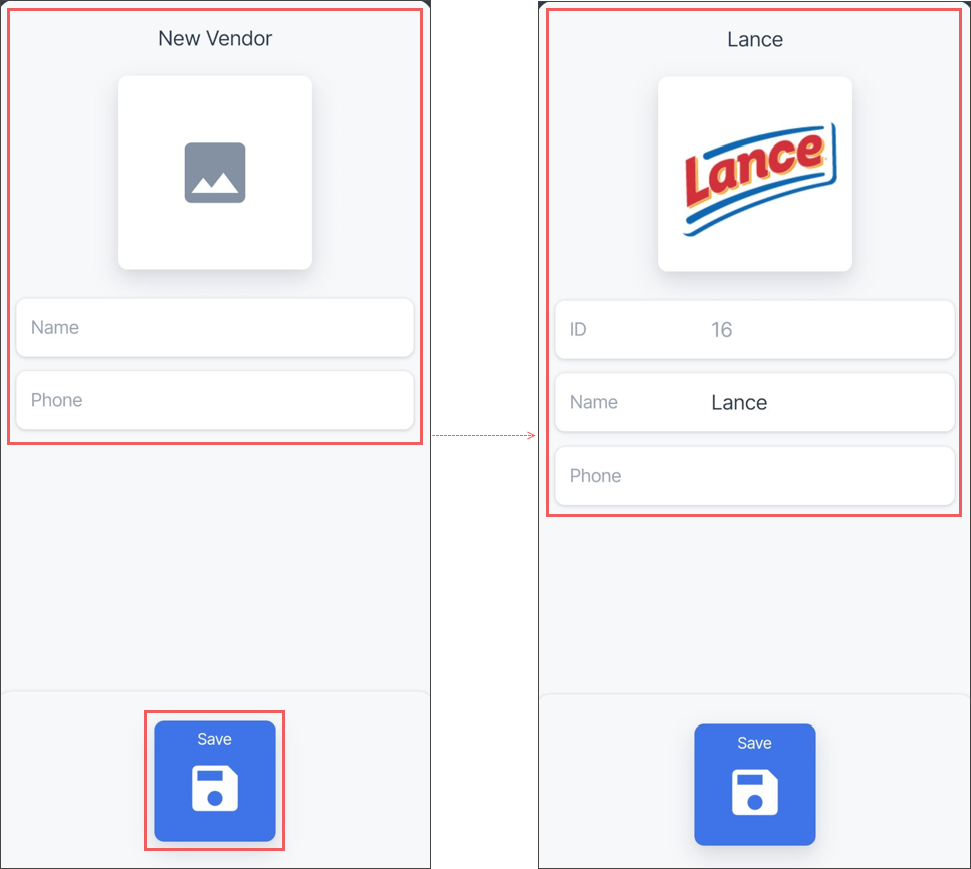
You can view the following basic information about each vendor:
- Image: The vendor image, if any.
- ID: The vendor identifier (ID).
- Name: Vendor name.
- Phone: Vendor phone number.


To edit the vendor's information:
- In the Vendors list, tap the vendor you want to edit.
Result: The vendor's card opens. - Edit the vendor's data:
- To change the vendor's image, tap the current image and select a new one.
- To change the vendor's ID, name, or phone, tap the corresponding field and enter a new value.
- To save the changes, swipe up from the bottom of the screen.
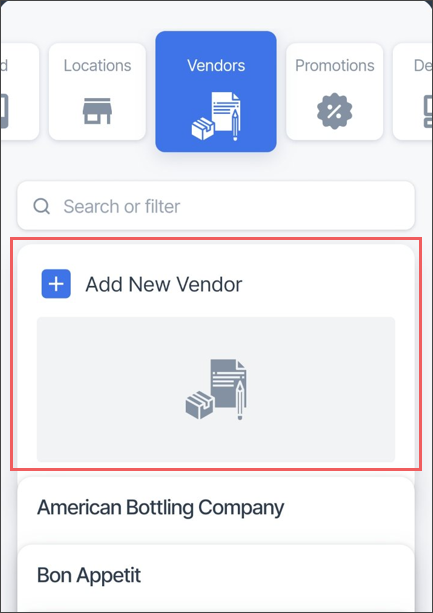
Adding a New Vendor
To add a new vendor:
- At the top of the Vendors list, tap Add New Vendor.

Result: The New Vendor screen opens. - In the New Vendor screen:
- Select the vendor's image by tapping the image icon.
- In the Name field, enter the vendor's name.
- In the Phone field, enter the vendor's phone number, if any.
- To save the vendor, swipe up from the bottom of the screen.
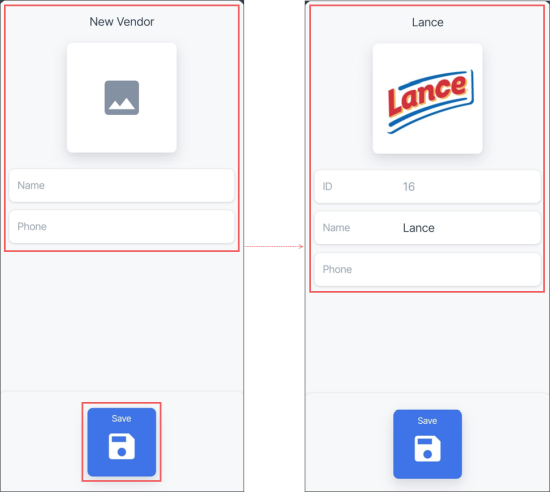
The vendor identifier (ID) is assigned automatically by the system.
If you don't see the Add New Vendor option, swipe down the Vendors list till the top.