Only one image can be uploaded to be used as the receipt image for SmartPOS. To upload a new receipt image for SmartPOS, follow these steps:
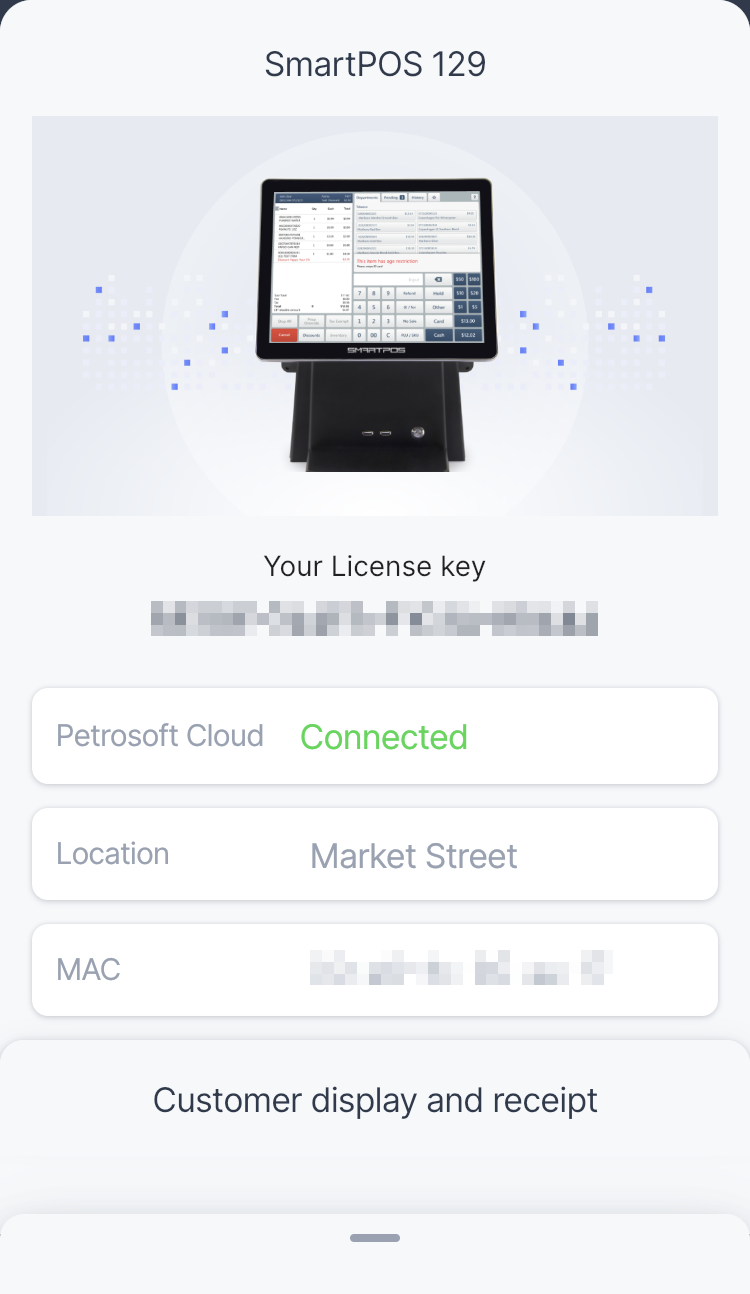
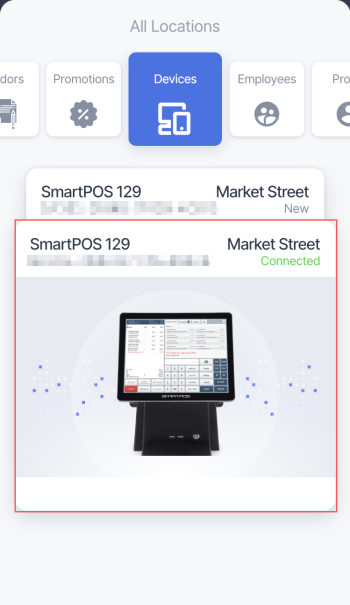
- In the Devices list, tap the SmartPOS device you want to upload the receipt image for.
- Tap Customer display and receipt.

- Swipe left or tap Receipt.
- Tap Upload image.
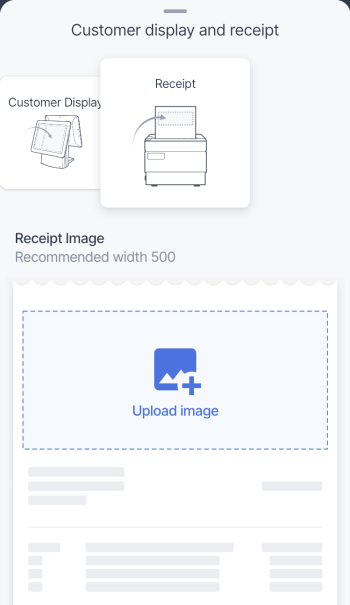
Images exceeding the recommended size will need to be cropped.
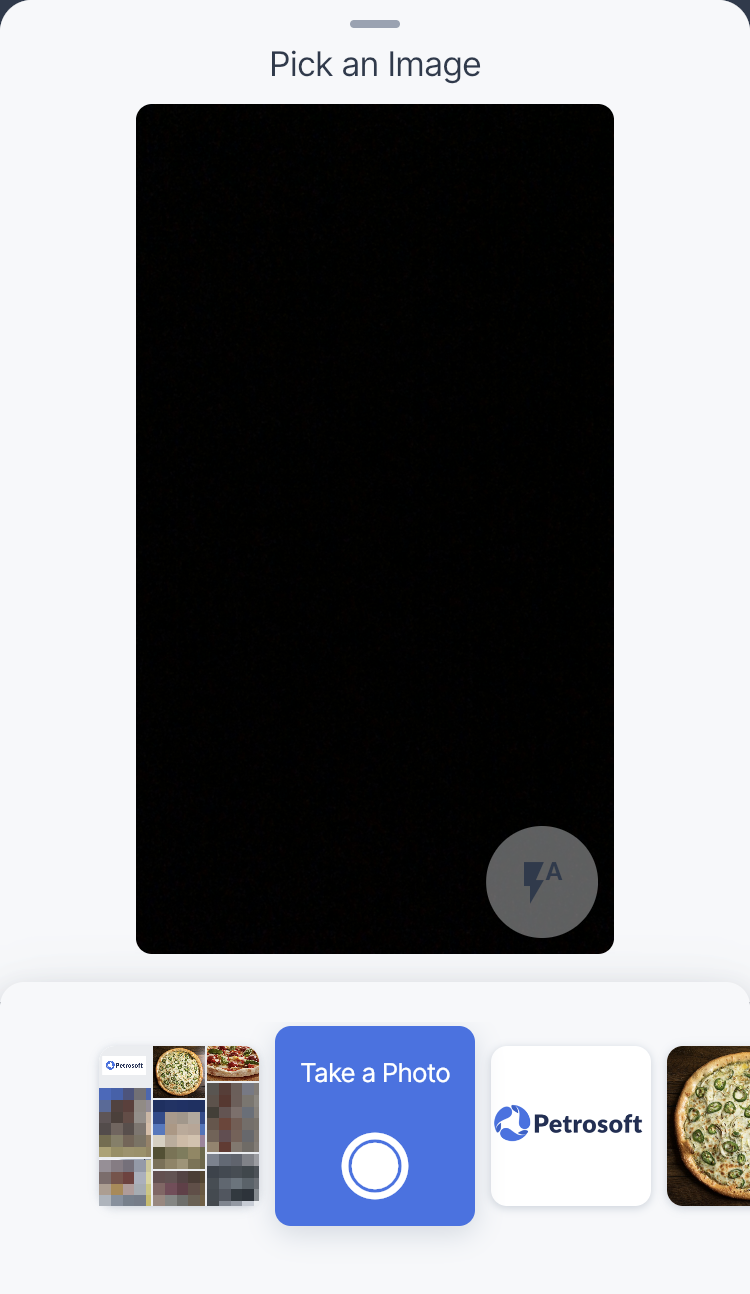
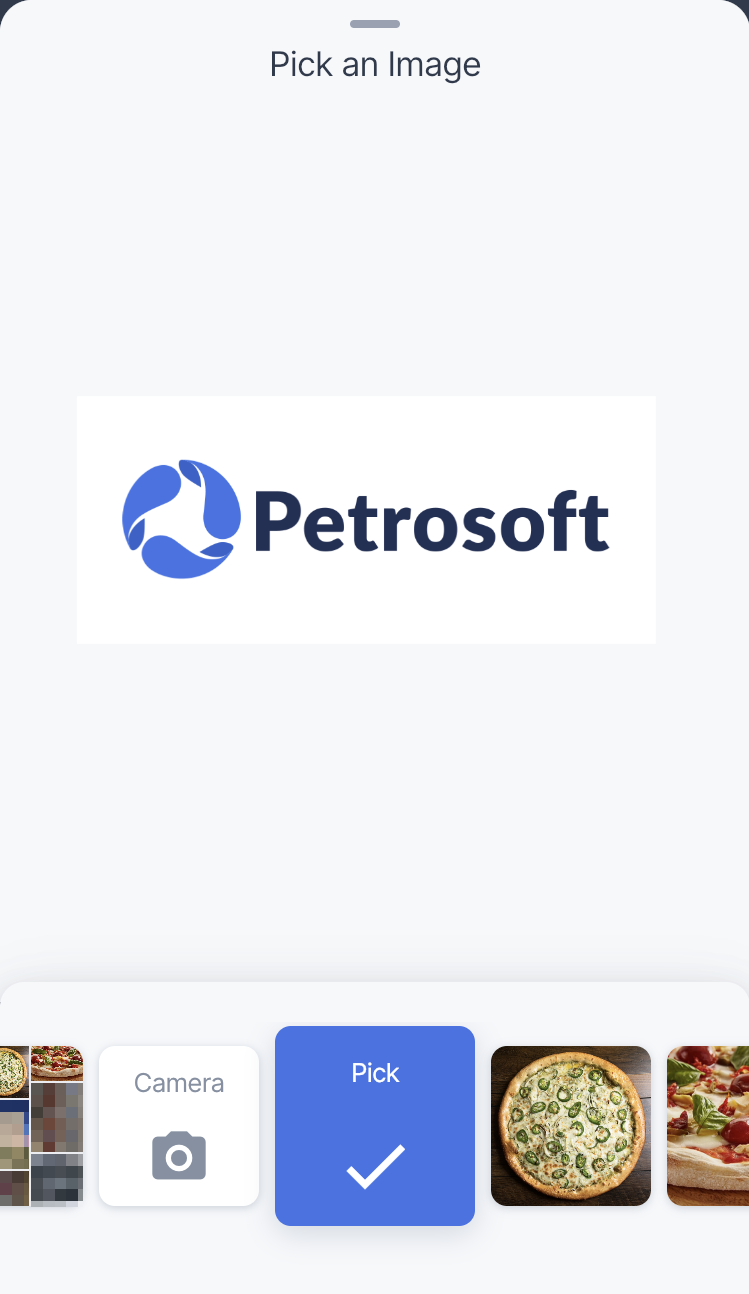
- You can upload images in one of two ways:
- To take a photo using the camera of your device, swipe up or tap Take a Photo.
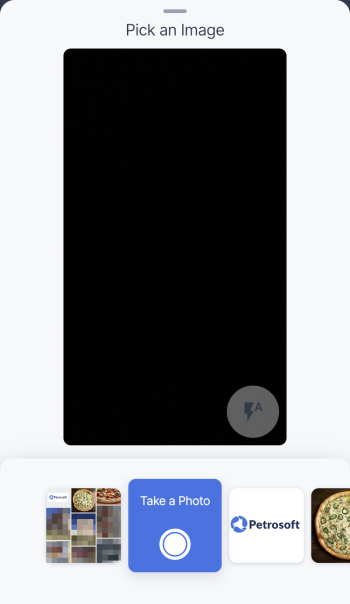
- To upload an existing image from your device, tap the icon left to the Take a Photo button to view the gallery of your device, tap the image you want to upload, and swipe up or tap Pick.

- You can perform the following actions to edit the image:
- Tap and move the highlighted area to define edges of the image.
- Stretch or pinch to zoom in or zoom out respectively.
- Tap the buttons in the lower-left part of the screen to rotate the image.

- To save the image, tap Save.
- You can do one of the following:
- Wait for 5 minutes until the receipt image loads to SmartPOS.
- To update the receipt image in SmartPOS immediately, update the SmartPOS price book. For details, see General Information.