To add the basket items to a check-in, follow these steps:
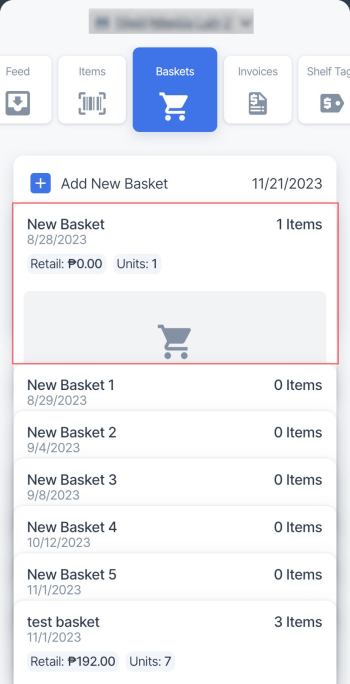
- In the baskets list, tap the basket you want to add the items from to a check-in.
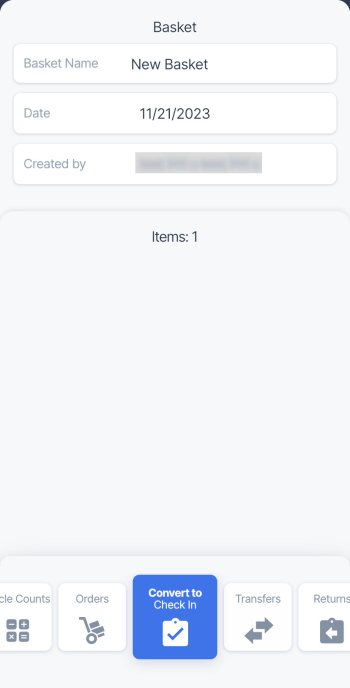
- In the bottom menu, select the Convert to Check In tile and swipe up.
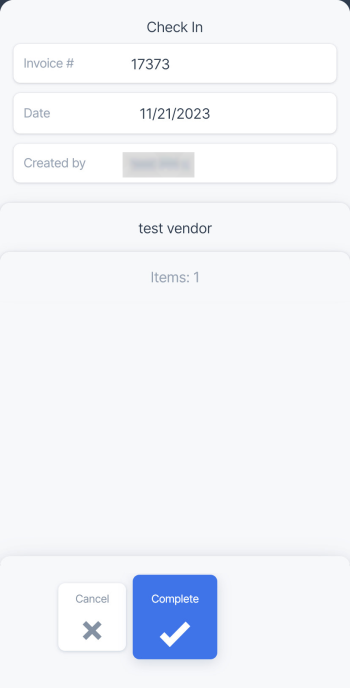
- In the Check In screen, enter the following data:
- Tap the Invoice # field and enter the invoice number.
- Tap the Date field and change the date value, if needed. By default, the current date is selected.
- Tap Select Vendor and select the vendor for the check in.
- In the bottom menu, select the Complete tile and swipe up.
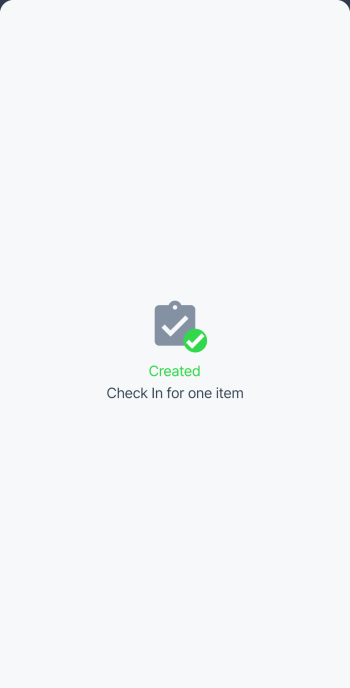
- Wait until the items are added to a check-in and successful message is displayed.
Check-ins created in the Retail360 app can be tracked in CStoreOffice® under your account. For more information on how to manage check-ins in CStoreOffice®, see Check-in Counts.


