Learn how to work with the Scan Data Reports Generation report, using the sections below:
- Opening the Report
- Viewing the Report's Data
- Filtering and Sorting the Report's Data
- Additional Actions
Opening the Scan Data Reports Generation Report
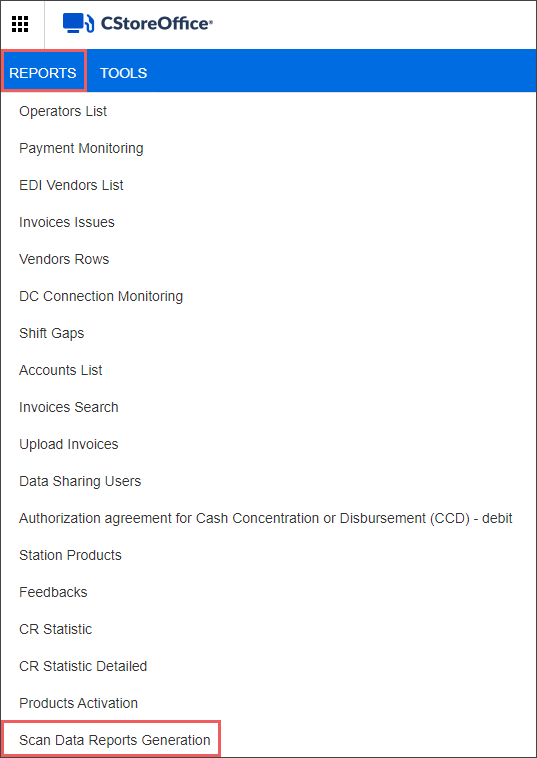
To open the Scan Data Reports Generation report:
- Log into CStoreOffice® under the user with the system role.
- From the main CStoreOffice® page, go to Reports > Scan Data Reports Generation.

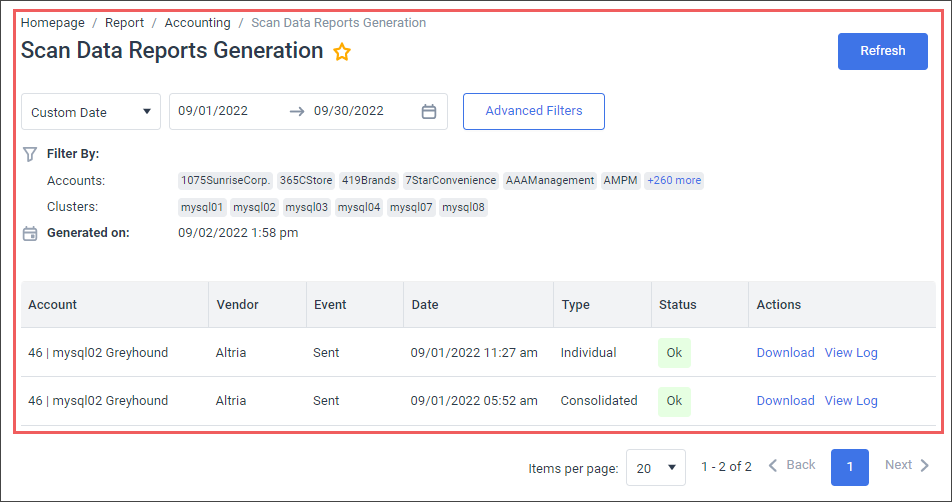
Viewing the Scan Data Reports Generation Report's Data
The Scan Data Reports Generation report is intended to display the generating and sending status for the following reports:
The report displays the following data:
- Account: The name of the account from which the report was generated and sent.
- Vendor: The name of the vendor for which the report was generated and sent. Possible values:
- Altria
- RJ Reynolds
- Event: The type of the even occurred with the report. Possible values:
- Generated
- Sent
- Date: The date and time of the event occurred with the report.
- Type: The type of the report. Possible values:
- Individual
- Consolidated
- Status: The status of the event occurred with the report. Possible values:
- Ok
- Failed
- Actions: Links to the actions you can perform with the report's data. For more information, see
Filtering and Sorting the Scan Data Reports Generation Report's Data
To get the exact information you need, you can apply filters to the report. To set up the report filters:
- Click Advanced Filters.
- Select one or more filtering options.
- At the bottom of the filtering options form, click Accept.

If the filters are not applied, at the top right of the report, click the Refresh button.
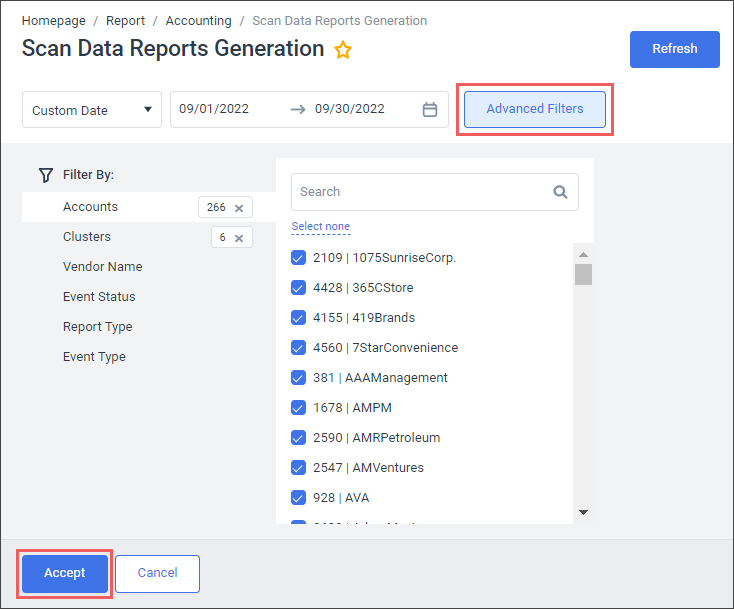
The report provides the following filtering options:
- Date: Specify the period you are interested in manually using the calendar or use one of the available filtering options, and then click Refresh There are the following filtering periods available:
- Custom Date: Use this filter, if you need to define the period manually.
- Yesterday
- Current Month
- Current Quarter
- Current Year
- Last Month
- Last Quarter
- Last Year
- Accounts: Select the accounts you want to generate the report for.
- Clusters: Select the clusters you need.
- Vendor Name: Select the vendor name you want to generate the report for.
- Event Status: Select the event status to be displayed in the report.
- Report Type: Select the report type to be displayed in the report.
- Event Type: Select the event type to be displayed in the report.
The period applied to the report data is displayed in bold in the list.
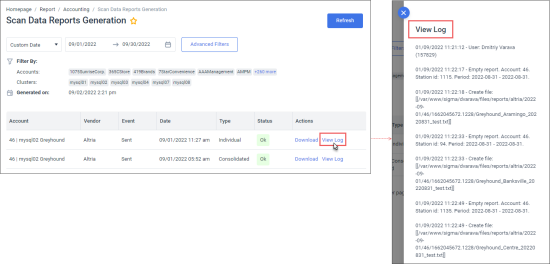
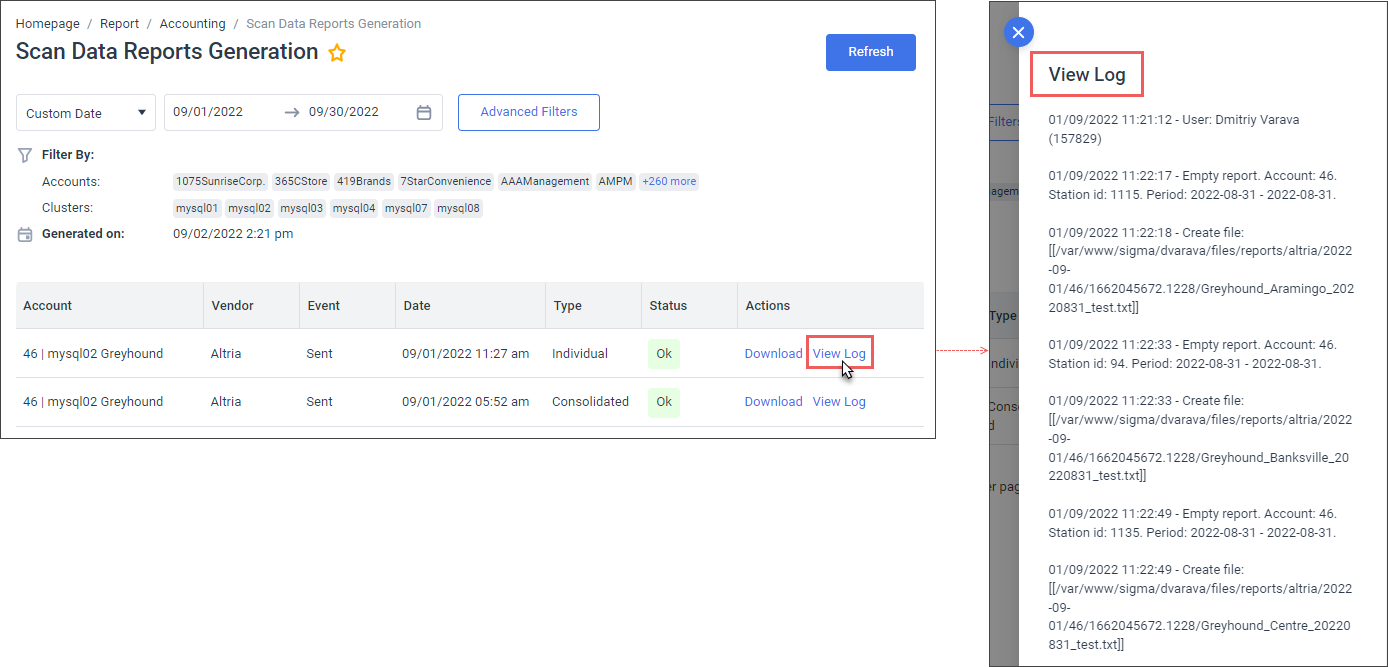
Additional Actions
- To download the report data, in the Actions column, for the row you need, click Download.
- To view the events log, in the Actions column, for the row you need, click View Log. The log will be displayed in the right View Log window.