


In this configuration, all devices are connected to the same LAN. In such configuration, there can be a separate LAN router or even ISP router with a number of network switches to allow connection of multiple devices.
For security reasons, the LAN should not be accessible from a public LAN, that is, a Wi-Fi network for customers.
Configuration Diagram

Elements that are grayed out may be present at the site but are not a part of the QwickServe infrastructure.
The provided configuration is typical and recommended for majority of sites. In some cases, when a custom network is configured, the configuration may differ. If so, please contact Petrosoft Support Team.
Connection Details
LAN Router (Generic)
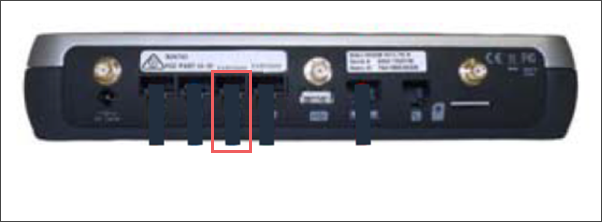
- Port: LAN
- DHCP
- Cable: Ethernet
- Port: WAN
- DHCP or Static IP: depending on the ISP configuration
- Cable: Ethernet
QwickServe Ordering Terminal

- Port: LAN
- DHCP
- Cable: Ethernet
QwickServe Order Manager
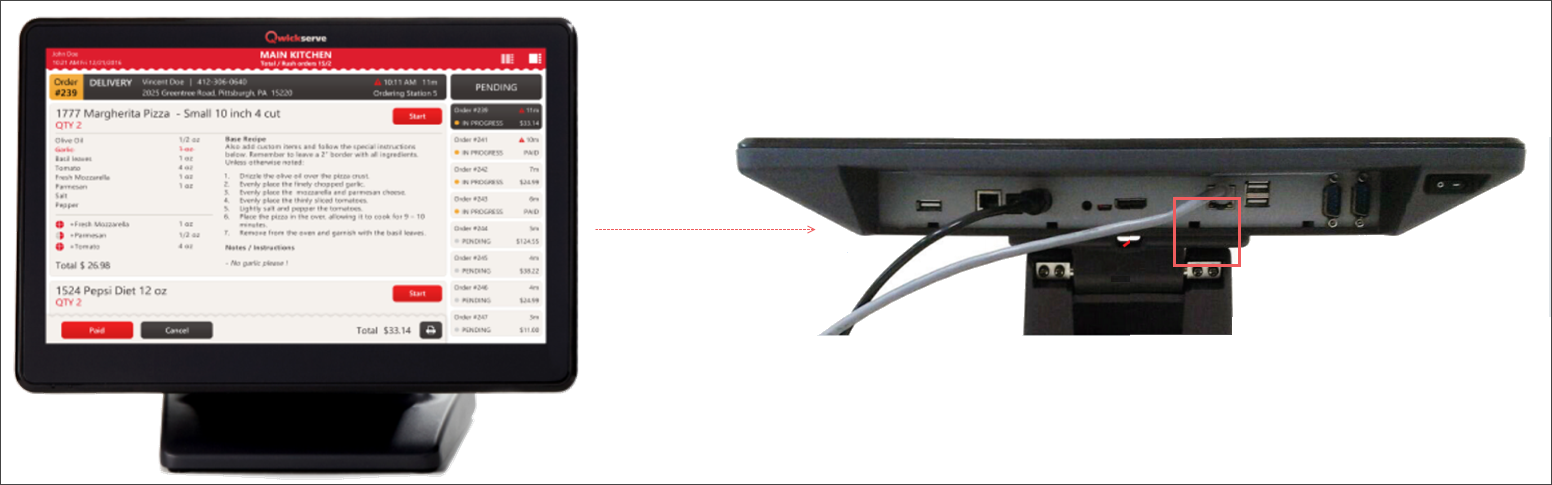
- Port: LAN
- DHCP
- Cable: Ethernet
QwickServe Payment Terminal
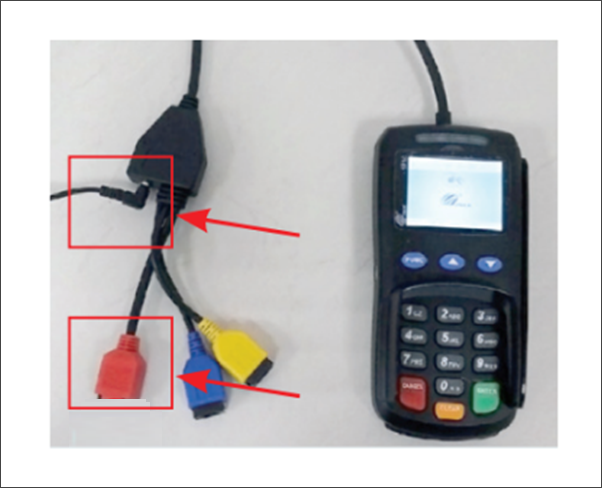
- Port: RED static
- DHCP
- Cable: Ethernet
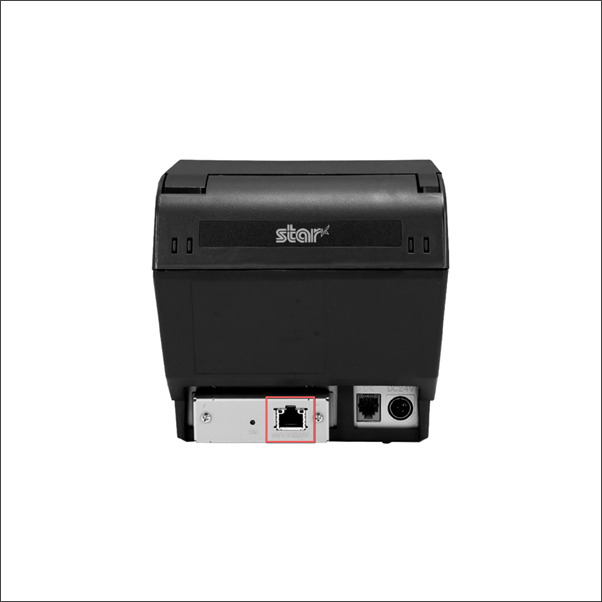
Kitchen and Customer Receipt Printer
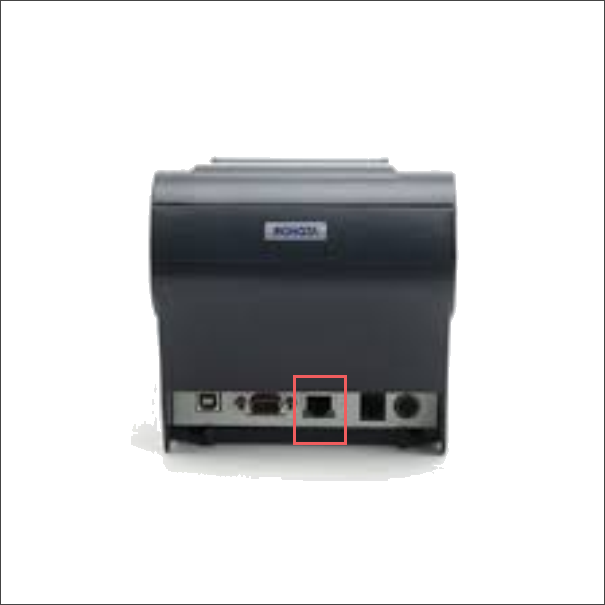
- Port: LAN
- DHCP
- Cable: Ethernet
Label Printer
- Port: LAN
- DHCP
- Cable : Ethernet
Deploying the QwickServe Infrastructure
To set up the QwickServe infrastructure:
- Connect the network switch to the LAN router, LAN port (if it is not already connected).
- Connect the QwickServe Ordering Terminal to the network switch or Wi-Fi.
- Configure DHCP at the QwickServe Ordering Terminal. For details, see
- Connect the QwickServe Order Manager to the network switch or Wi-Fi.
- Configure DHCP at the QwickServe Order Manager. For details, see Connecting QwickServe Order Manager to the LAN.
- (If any) Connect the kitchen and customer receipt printer to the network switch.
- (If any) Configure DHCP at the kitchen and customer receipt printer. For details, see Thermal Printer for Receipts, Kitchen Tickets and Reports.
- (If any) Connect the label printer to the network switch.
- (If any) Configure DHCP at the label printer. For details, see


