At this step, you will configure a skeleton of your menu and populate it with item categories. To do this, you must complete the following tasks:
- Create a menu.
- Add categories and subcategories to the menu.
- Specify the menu schedule.
- Activate the menu.
This section covers only basic tasks sufficient for menu creation. For more details, see Petrosoft Cloud Help > QwickServe > QwickServe Cloud > QwickServe Menus.
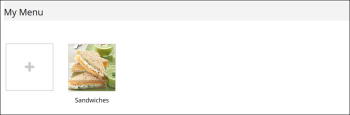
Creating a Menu
To create a menu in QwickServe Cloud:
- Log in to Petrosoft Cloud at https://www.cstoreoffice.com/ using your account.
- Go to Products Switcher > QwickServe.
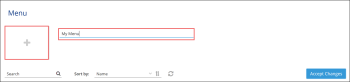
- In the left QwickServe menu, select Menu.
- Click the plus icon, enter the name for the menu and press ENTER on the keyboard.

Adding Categories and Subcategories to the Menu
To add categories and subcategories to the menu:
- In the left QwickServe menu, select Menu.
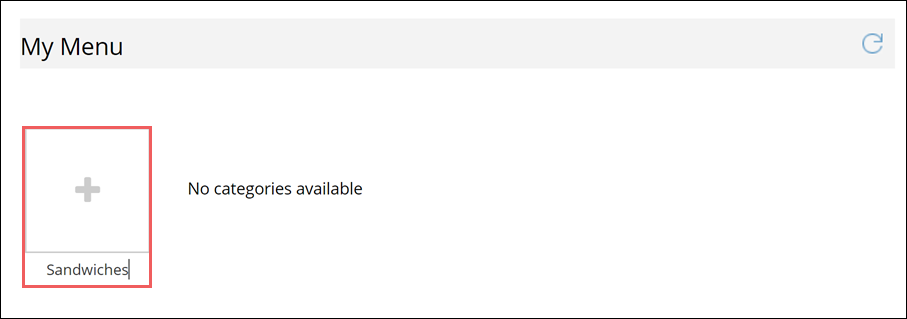
- In the list of menus, double-click the created menu and click the plus icon > New Category.
- In the text field, enter the category name and press ENTER on the keyboard.
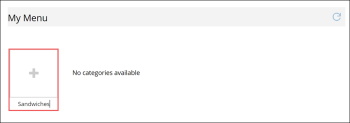
- To assign to the category an image that will be displayed in the menu, click the category box and then click the image icon.
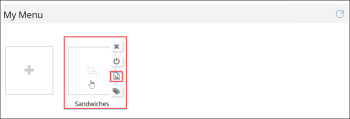
- In the Media Library section, click the plus icon, then click Choose image from your computer and browse to the necessary image file. After the image file is uploaded to QwickServe, double-click it to assign the image to the category.
- To activate the category, click it in the menu and then click the activate icon on the category image.
- Create subcategories in the category. Do the following:
- Double-click the created category.
- In the Category Description field, enter the description of the category.
- Click the plus icon > New Category. Repeat steps 3-6 above to create a new subcategory within the category.
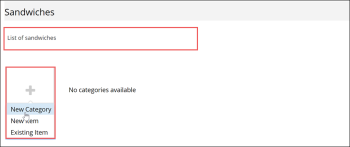
- Create as many categories and subcategories as you need.


Specifying the Menu Schedule
You can create different menus, for example, 'Regular' and 'Holiday' menus, and show them to your customers within specified periods of time during a day and/or a week.
To specify the menu schedule:
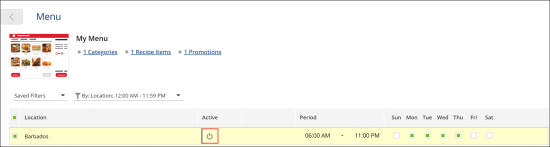
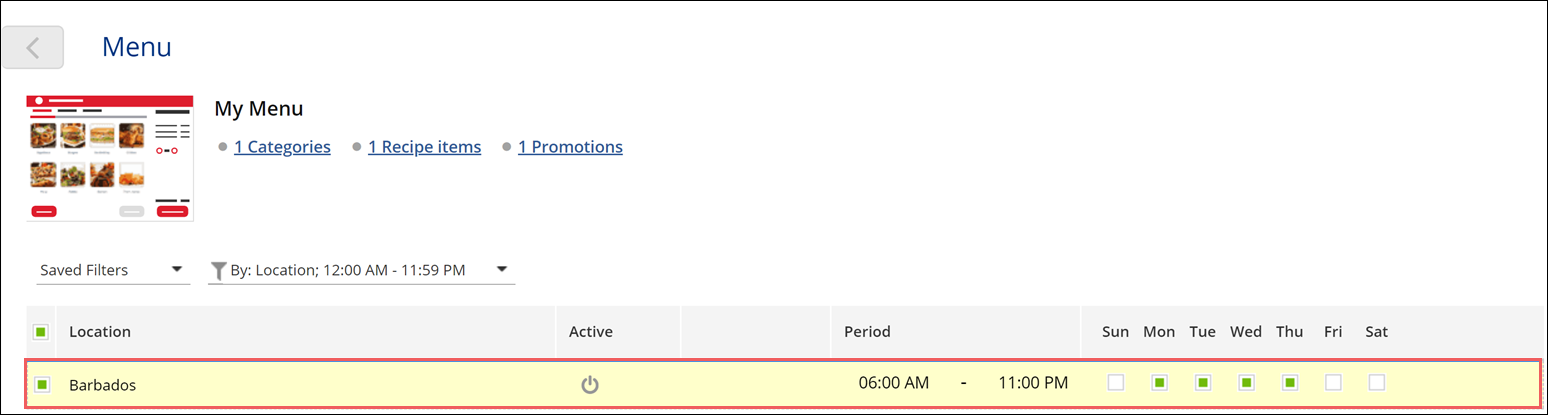
- In the left QwickServe menu, select Menu.
- In the list of menus, find the created menu and click N Locations to the right of the menu.

- In the Locations list at the bottom of the menu form, configure the menu active period:
- Move the cursor over the location and then to the left of the Period column, click the plus icon.
- Select the weekdays on which the menu must be active.
- Specify the hours of the selected weekdays during which the menu must be active.
- In case you need more active periods, repeat step 3 as many times as you need.
Activating the Menu for Specific Locations
By default, a created menu is saved in QwickServe but is not activated. To activate the menu:
- In the left QwickServe menu, select Menu.
- In the list of menus, find the created menu and then click N Locations to the right of the menu.
- In the Locations list at the bottom of the menu form, select the location for which the menu must be activated and in the Active column, click the activate icon.