


To view the history of item changes for a specific location, you can use the Accepted PLU Batch Updates report. With this report, you can re-upload and download updates, review updated items and so on.
In this section, you can view the information about the following operations with the Accepted PLU Batch Updates report:
Accessing the Report
To access the report:
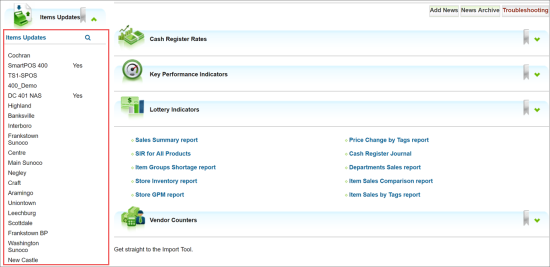
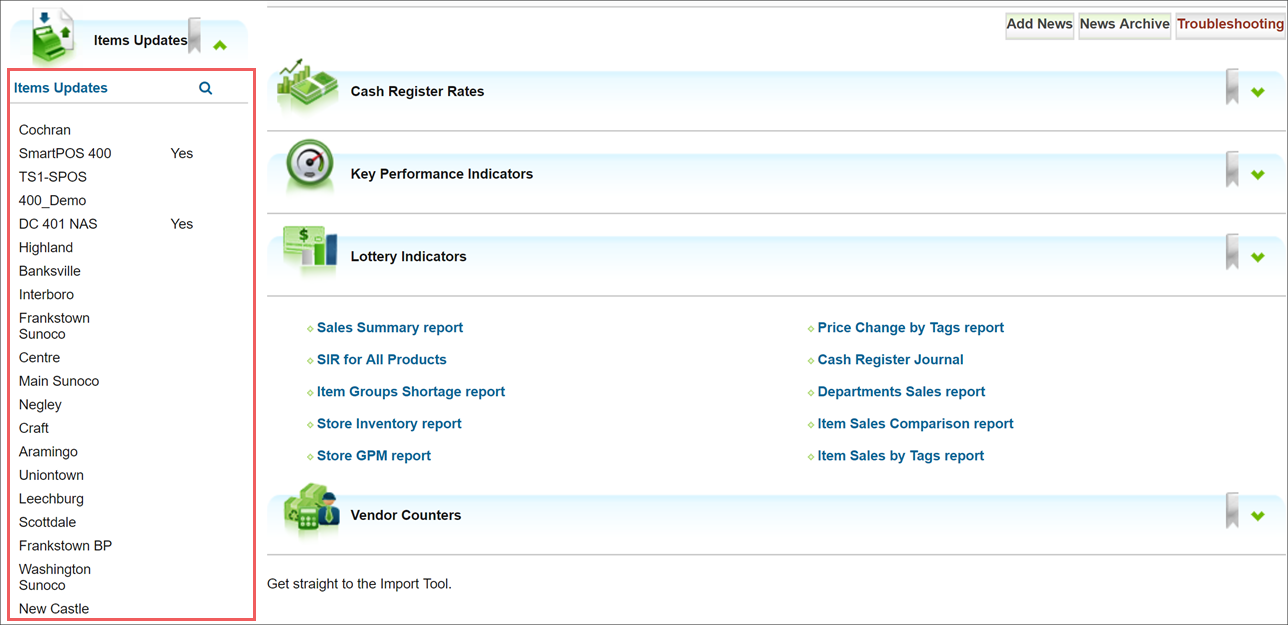
- In the left pane of the main CStoreOffice® page, expand the Items Updates section.
- Click the necessary location.
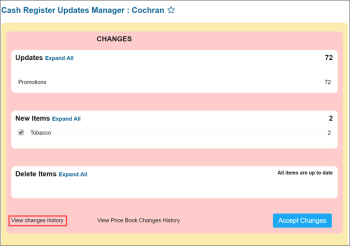
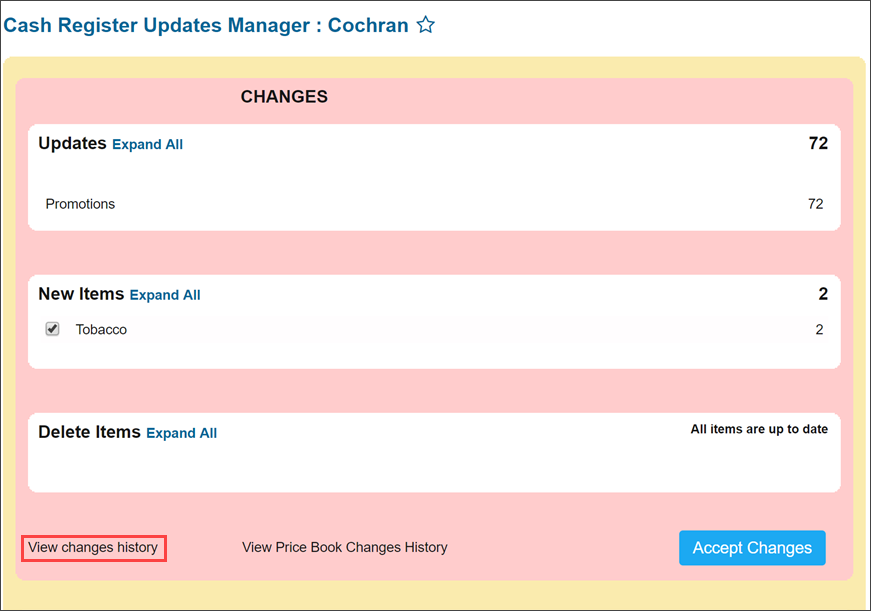
- At the bottom left of the Changes section in Cash Register Updates Manager, click View changes history.
Viewing and Interpreting the Report Data
The report presents the list of PLU Batch updates that have been accepted for the location.
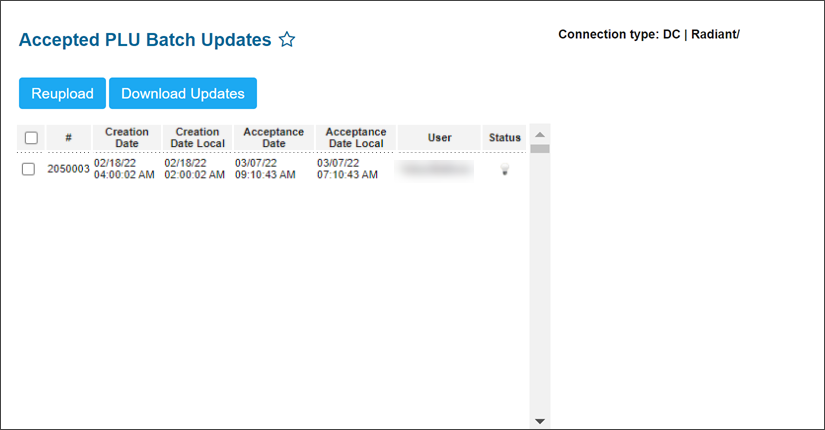
For each batch, you can view the following information:
- #: Batch number.
- Creation Date: The date when the batch was created.
- Acceptance Date: The date and time according to the location's time zone when the batch was accepted.
- Acceptance Date Local: The local actual date and time on the station when the batch was accepted.
- User: The user accepted the batch.
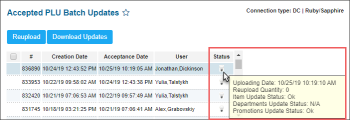
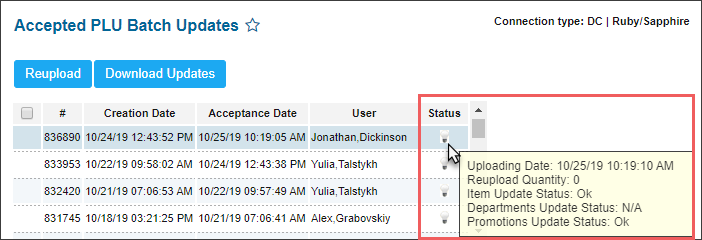
- Status: The batch upload status. Hover over the status bulb icon, ti view the following status details:
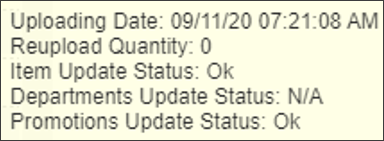
- Uploading Date: The date of the batch upload
- Reupload Quantity: The number of reuploads, if any, for this batch.
- Item Update Status: The update status of the items, if any, in the batch.
- Departments Update Status: The update status of the departments, if any, in the batch.
- Promotions Update Status: The update status of the promotions, if any, in the batch.
The following statuses may be displayed:
| Bulb Icon | Status Details (while hovering) |
Status Description |

|
|
At least one file has been sent successfully. - Update Status is OK: The corresponding file has been sent successfully. - Update Status is N/A: The corresponding file has not been generated or sent. |

|

|
The uploaded batch is empty and there are no successfully sent files. - Update Status is N/A: The corresponding file has not been generated or sent. |
You can perform the following actions with updates:
- Re-upload an update to the cash register: Select the update in the list and at the top of the list, click Reupload.
- Download an archive with updates (update.zip file): Select the check box at the top left of the updates list and at the top of the list, click Download.
- View detailed information about updated items: In the list of updates, select the necessary update. For details, see Viewing Updated Items.
Viewing Updated Items
The list of items updated as part of a specific PLU Batch update is displayed below the PLU Batch updates list. For your convenience, you can sort items in the list and select what fields you want to display in the list.
- To sort items, in the Filters pane, select Sort by and to the right, select the criteria by which items must be sorted. Once ready, click Refresh.
- To show or hide specific fields, in the Filters pane, select Fields to Show and then select or clear check boxes next to the necessary fields. Once ready, click Refresh.
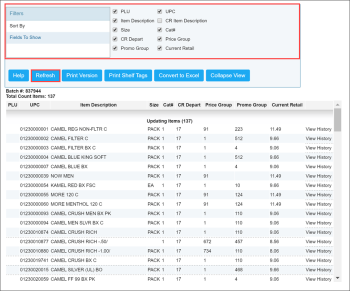

You can perform the following actions with updated items:
- Get a printer-friendly copy of updated items: At the top of the items list, click Print Version.
- Print shelf tags for items, at the top of the items list: Click Print Shelf Tags. CStoreOffice® will launch the Shelf Tags tool and add tags for all updated items to it. You can then edit and adjust the shelf tags sheet as required.
- Get item data in the Excel format, at the top of the items list: Click Convert to Excel. The Excel file with updates information will be downloaded to the default downloads location on the computer.
- Expand or collapse the list of updated items: At the top of the items list, click Expand View or Collapse View, correspondingly.
- View details on a specific item: Click the item in the list. As a result, the Item Setup form will be displayed.
- View the price change history for the item: To the right of the item, click View History. As a result, the Retail Explanation form will be displayed, providing advanced statistics and history of the item price changes.


