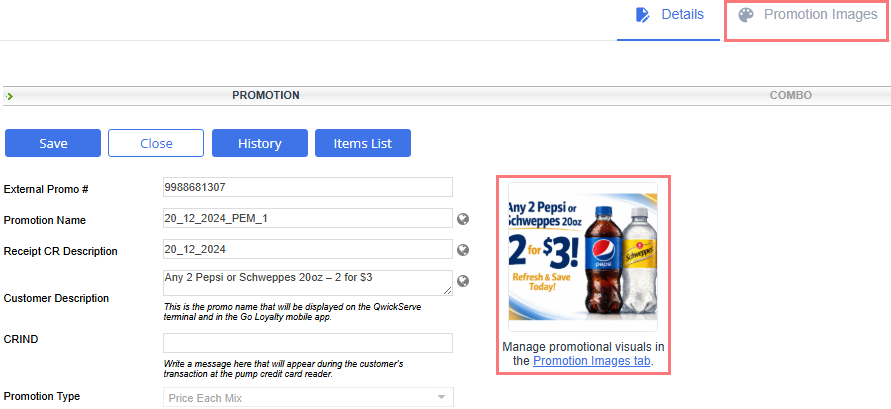
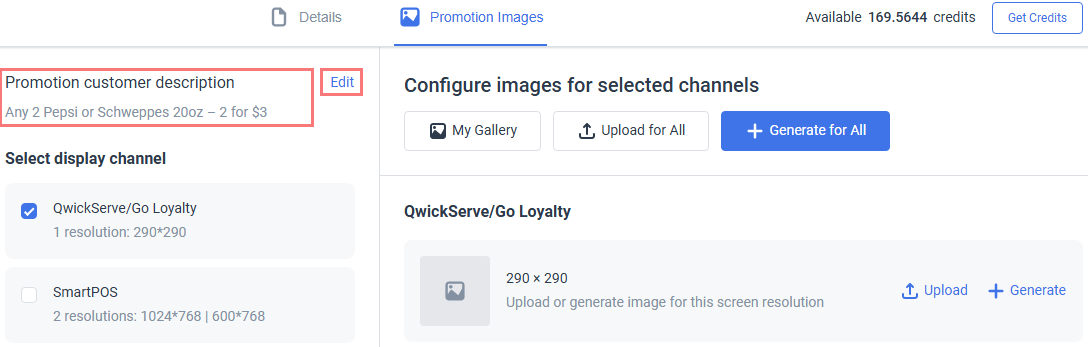
To specify images associated with the promotion which will be displayed in apps and cash register screens, switch to the Promotion Images tab.
Target channels
To specify the applications / cash registers in which the images are displayed, select the corresponding options in the left pane. The list of channels depends on the promotion type and your store configuration.
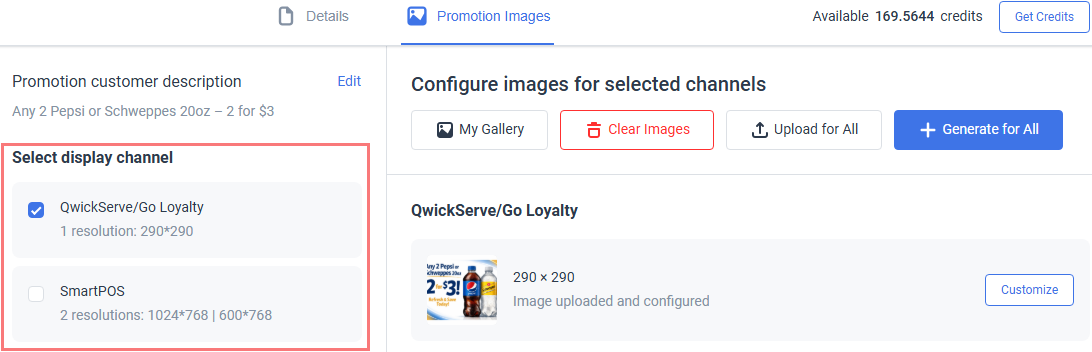
Different channel types require different image formats. Check the corresponding channel description for details.
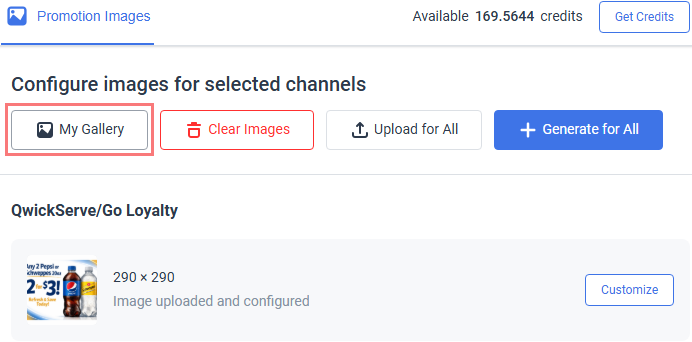
Image gallery
To view the full list of uploaded / generated images , click the My Gallery button.
To download the image, click it in the gallery popup.
Updating images
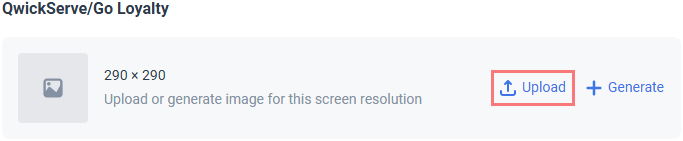
To add the image to the channel:
- Click Upload.
- Select the image from the gallery or click the first tile to browse an image on your PC.
- Adjust the image to ensure it displays correctly in the selected channel size:
- Crop the image by dragging and moving the surrounding margin.
- Click the zoom in / out buttons to increase or decrease the image size.
- Rotate the image clockwise or counter-clockwise.
- Click the Apply & Save button to add the image to the channel. Newly uploaded images will be saved to Gallery.


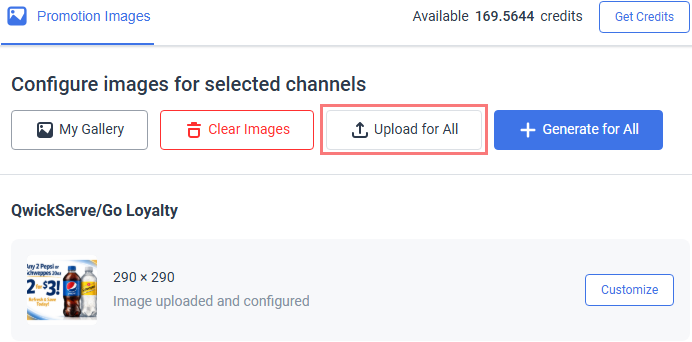
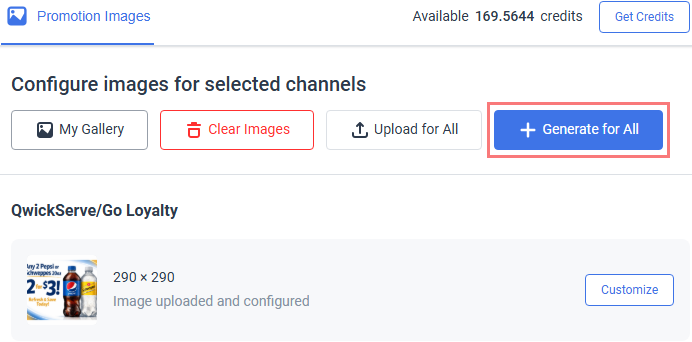
To upload the same image to all channels, click the Upload for All button above the image list and adjust the image as described above.
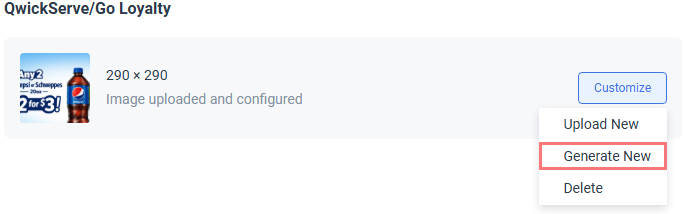
To replace an existing channel image:
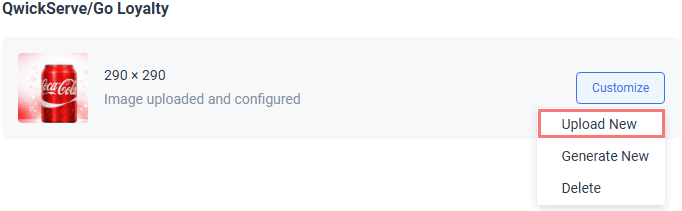
- Click the Customize button next to it.
- Select Upload New.
- Adjust the image as described above.
Removing images
To remove the image from the channel:
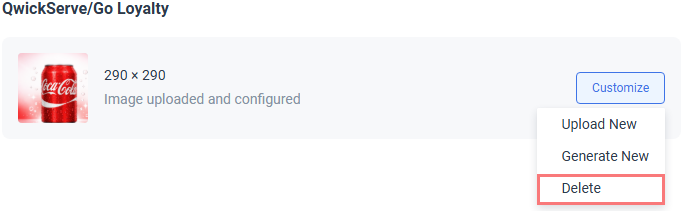
- Click the Customize button next to it.
- Select Delete.
To remove image from all channels, click the Clear Images button above the image list and confirm the operation.
![]()
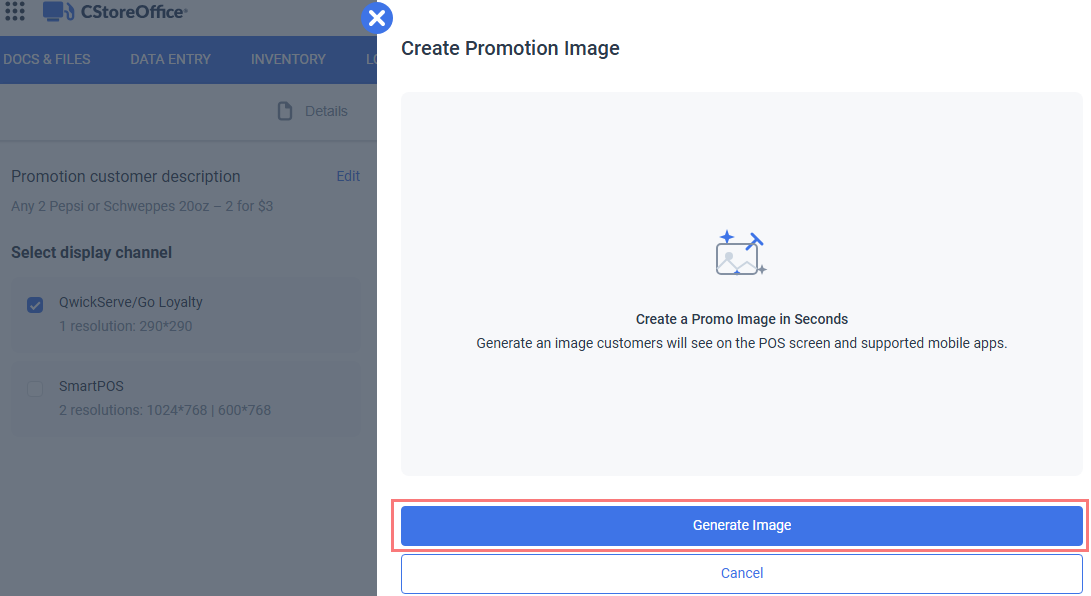
Generating images
CStoreOffice® supports AI-powered image generation and editing based on the promotion description. You can do it directly from your web browser without installing specialized software or hiring the graphic designer.
To generate an image:
- If the channel image is not set, click Generate in the channel image tile.
- To update an existing image, click the Customize button in the image tile and select Generate New.
- To generate one image for all channels, click the Generate for All button.

To generate the image based on its description, click the Generate Image button in the popup.
If you are not satisfied with a generated image, click the Make Changes with AI button to re-generate it.
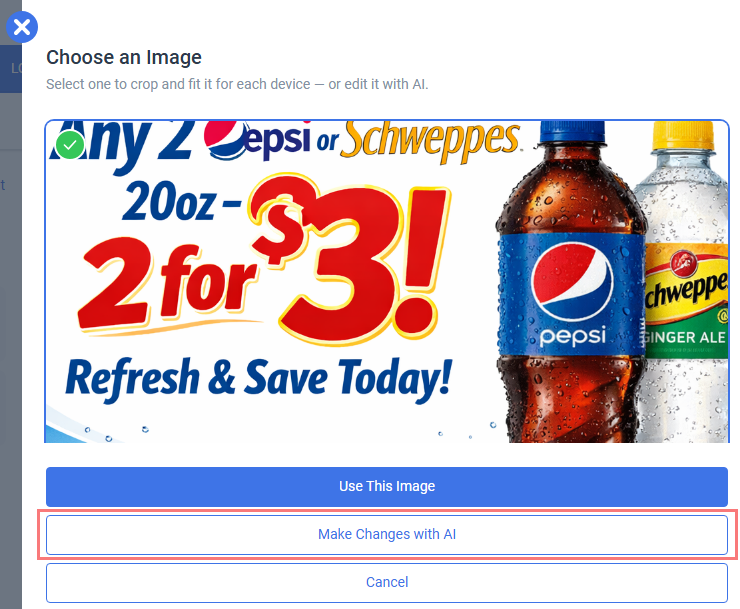
To use the generated image, click the Use This Image button.
AI credits
AI-powered image generation relies on advanced machine learning models and high-performance infrastructure. Because of the substantial processing resources required to generate each image, this feature is offered as a paid service.
Each image generation consumes a certain number of credits. Credits provide a flexible way to manage usage, allowing you to scale image generation according to your needs while ensuring consistent performance and availability.

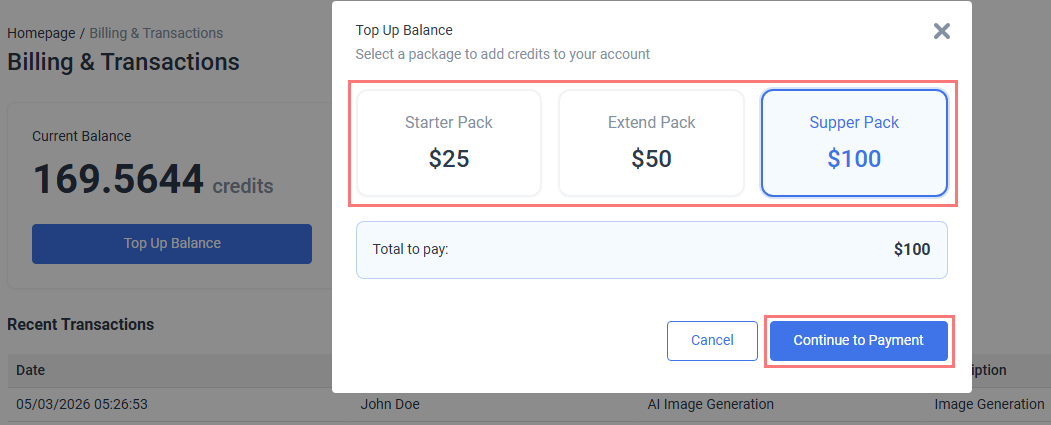
To view your current credit balance, detailed breakdown of image generation costs, and purchase new credits, click the Get Credits button.
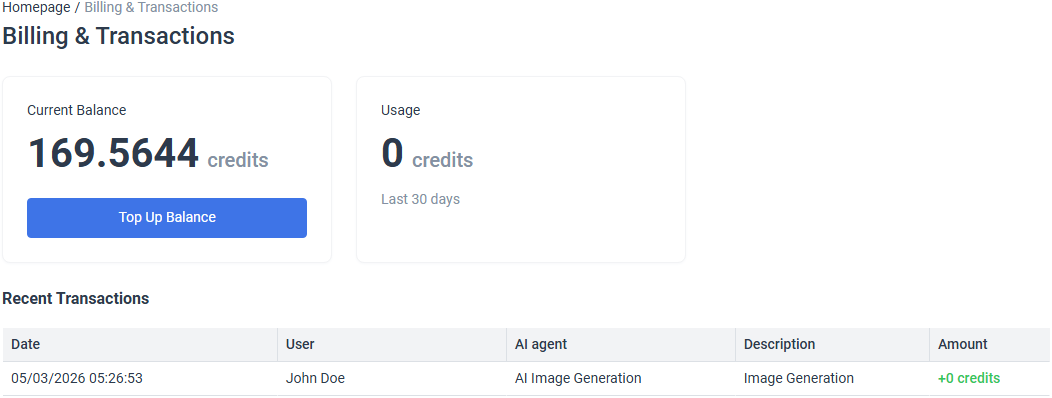
To purchase more credits, click the Top Up Balance button, select the amount of credits to purchase, and perform a payment.