


The Shelf Tags form enables you to customize printing settings and generate a printable PDF document with item's shelf tags.
1. Configuring the layout

- Select the level for which shelf tags will be printed from the dropdown at the top-left corner of the form.
- Account Level: Print labels for the account. This option is only available for users with sufficient permissions.
- Specific station: Print labels for the selected station.
- In the Layout Type block, select the template for the shelf tag design and the tags layout on the page.
- Petrosoft (3x10): Select this format, if you need to print CStoreOffice®-style stickers in 3 columns and 10 rows on one page.
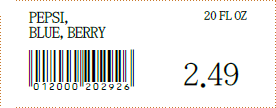
- Petrosoft 2x1"(3x10): Select this format, if you need to print Retail 360 Mobile-style stickers in 3 columns and 10 rows on one page.
- Petrosoft 2x1"(Label paper): Select this format, if you need to print a single Retail 360 Mobile-style sticker on a label paper.
- Circle K (4x8): Select this format, if you need to print stickers in 4 columns and 8 rows on one page.
- EBV brown format (4x12): Select this format, if you need to print stickers in 4 columns and 12 rows on one page.
The length of the item name on the printed sticker may be limited to 12 or 20 characters, depending on the selected layout. The item size is not included into this limit and added separately to the right of the item name. The item name can be also printed in several lines.
- In the Shelf Tag type section, select the structure of the shelf tag:
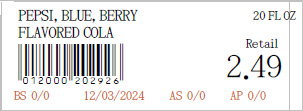
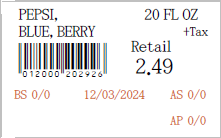
- Petrosoft: Full details.
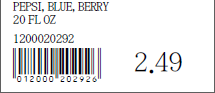
- Standard: Simplified details.
This configuration is unavailable for Retail 360 Mobile-style stickers.
- Customize advanced shelf label options, if needed:
- Upper case description: Render item names in all capital letters.
- Use Taxes: Add the tax information on the sticker, if applicable.
- Remove date: Exclude the generation date from the sticker.
Remove Date option is only applicable to station-level stickers.
2. Placing stickers on the page
Drag and drop the item from the left pane into the corresponding cell of the template grid.

To completely fill the entire grid with stickers, click the page 1 button at the bottom of the page.
To remove all stickers from the page, click the Clear Template button.
3. Exporting stickers to PDF
To generate a printable PDF document with item's shelf tags, click the Print Shelf Tags button.


