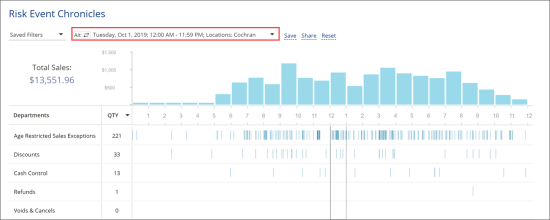
The filter pane is located at the top of LPA reports. You can perform the following operations with filters:
Setting Up Filters
To set up a report filter:
- At the top of the report, click the filter field.
- In the filter window, set up the necessary filtering conditions.
- At the top right of the window, click Apply.
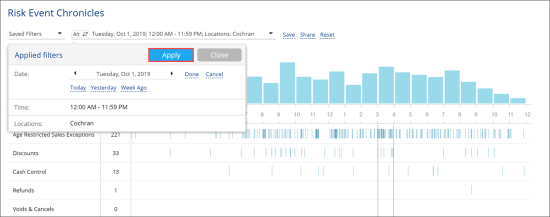
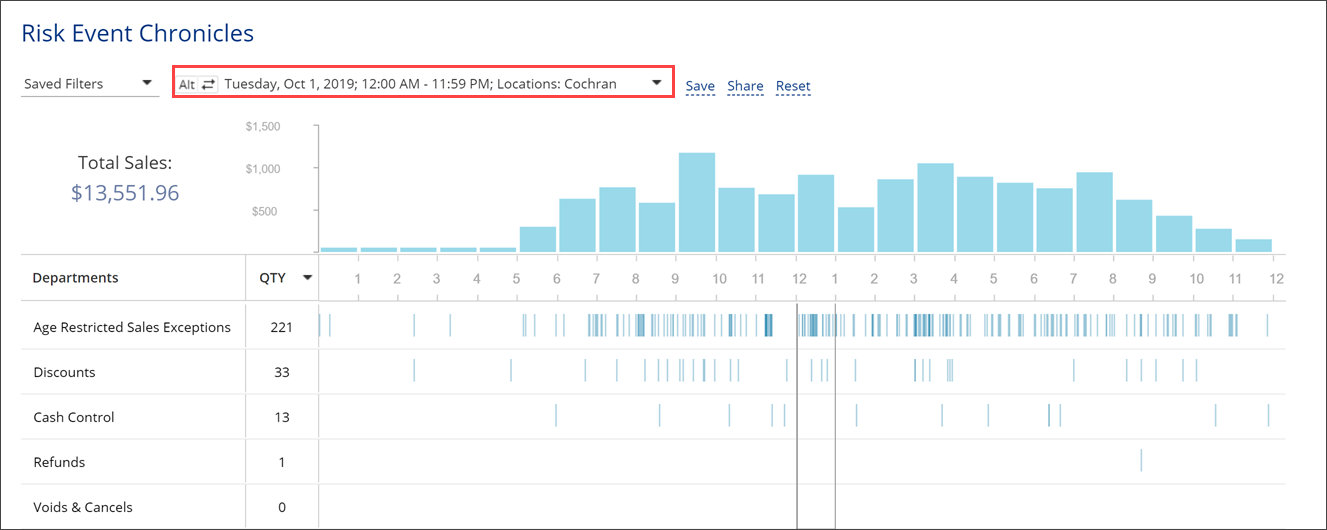

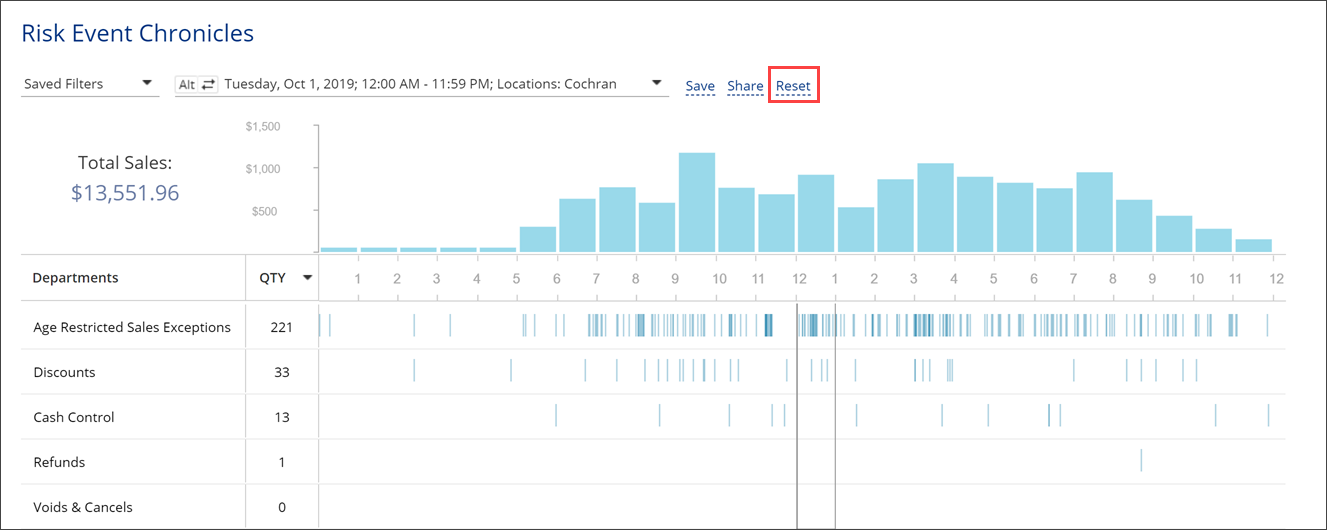
To reset the applied filter, to the right of the filter field, click Reset.
Each LPA report provides a different set of filters. Depending on the report type, you can use the following filters:
- Period: Specify the necessary period and click Done. You can click a predefined period, for example, Week or Month, or set up the period manually. Use ALT → to navigate forwards and ALT← to navigate backwards the selected period.
- Time: Specify the time frame for events to be reported and click Done.
- Locations/Registers: Select the location(s) from the list, expand the cash registers list for the location, select the necessary cash registers and click Done.
- Employees: Select the employee(s) engaged in the events and click Done.
- Departments: Select the department(s) from the list and click Done.
- Fuel/Merch Sales: Select the sales type — fuel or merchandise sales.
- Sale: Set up the sales events filter. Set the toggle to the ON position and configure the subfilters within it:
- Sum: Specify the sale amounts you want to view in the report.
- Items: Select the item tag, for example, Category, and then select items within it.
- MOP: Select the necessary MOP.
- Item Tags: Select the item tags you need.
- Alert: Select the events that accompanied the specific sale:
- Age Verification:
- Manual
- Scanned
- Skipped - Audited:
- Yes
- No - Discount
- Price Override: This filter can be also applied to monitor the Price Check operations on the Verifone cash registers.
- Cancel
- Void
- Direct Department Sales
- Item Quantity Discrepancy
- Item Type Discrepancy
- Age Verification Discrepancy
- Fuel/Merchandise: Select the sale type — fuel or merchandise sales.
- Inside/Outside: Select the sale type — inside or outside (for fuel).
- POS Code: Enter the item UPC to filter the report data by specific items
- Refund: Set up the refund events filter. Set the toggle to the ON position and configure the subfilters within it:
- Itemized Refunds: Select this check box to display all item refunds.
- Non-itemized Refund. Select this check box to display all register/department refunds.
- Financial: Set up the financial events filter. Financial events affect the financial or inventory totals but are not sale, refund or void (payout, price override, safe drop and so on). Set the toggle to the ON position and configure the subfilters within it:
- Safe Drop Detail: Select this check box to display all safe drop instances.
- Pump Test Detail: Select this check box to display all pump events.
- Pay Out Detail: Select this check box to display all pay out events.
- Other: Select other events, such as working with pay points, reports and so on. Set the toggle to the ON position and configure the subfilters within it:
- Shift
- Register
- Day
- Alert
- Cashier
- No-Sale
- Employee Performance: Enable the filter and select one or more employee performance scores on a decimal scale.
For example, to gain insights into why certain customers were unsatisfied, select options 2, 3 and 4. - No Event (Video Journal only): Set this filter to view no event instances. No event filters the occasions when cameras detect motion in the customer's area, but there is no transaction in this time frame detected at the cash register.
- Bookmarks (Video Journal only): Set this filter to view all bookmarked transactions.
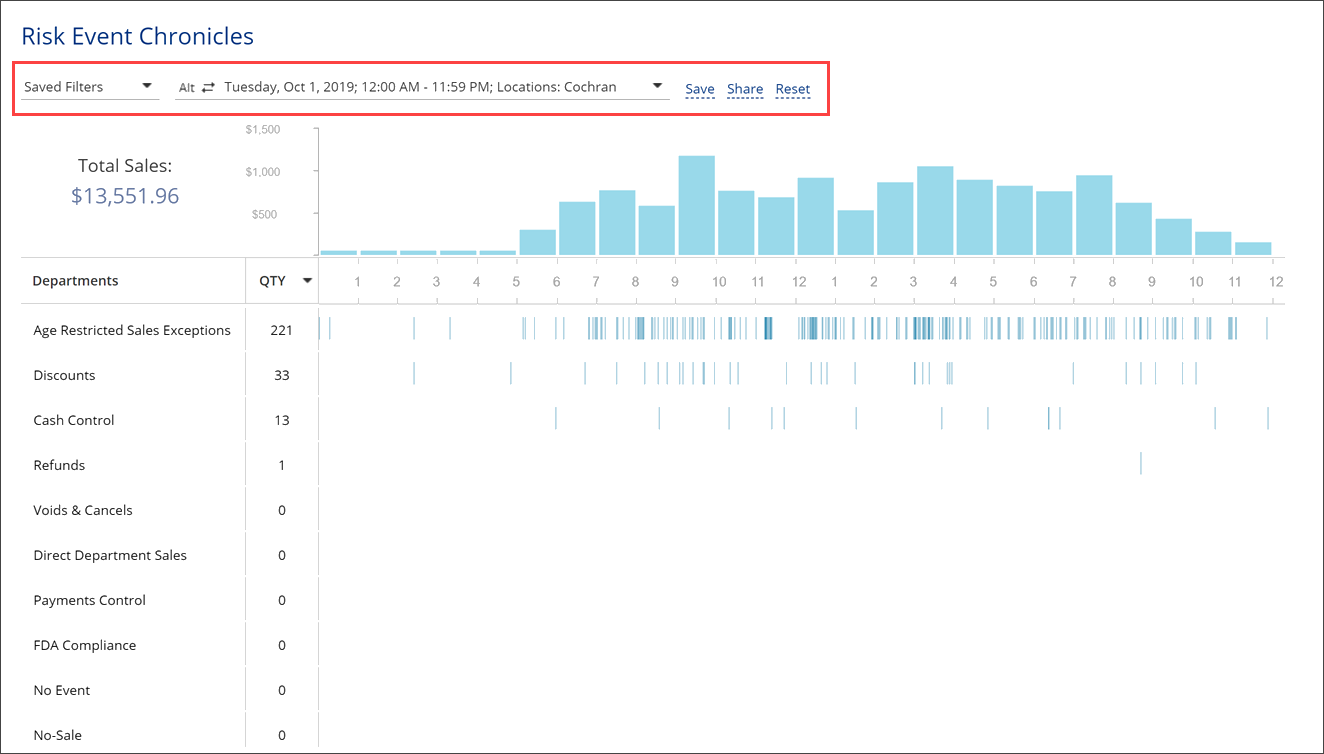
Saving Filters
You can set up a filter and save it. This option helps you to apply the filter and quickly get the necessary report data in future.
Saved filters are sorted alphabetically for your convenience.
To save a filter:
- At the top of the report, click the filter field.
- In the filter window, set up the necessary filtering conditions.
- At the top right of the window, click Apply.
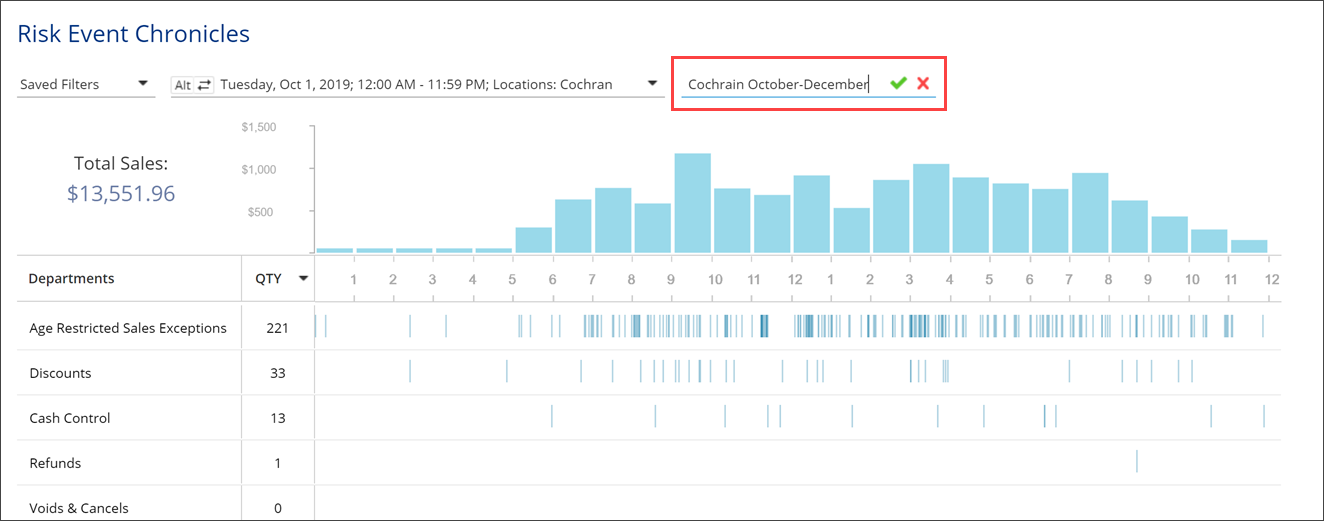
- To the right of the filter field, click Save, enter the filter name and click the Done icon to the right. To cancel saving the filter, click the cancel icon.
Do not use duplicate filter names.

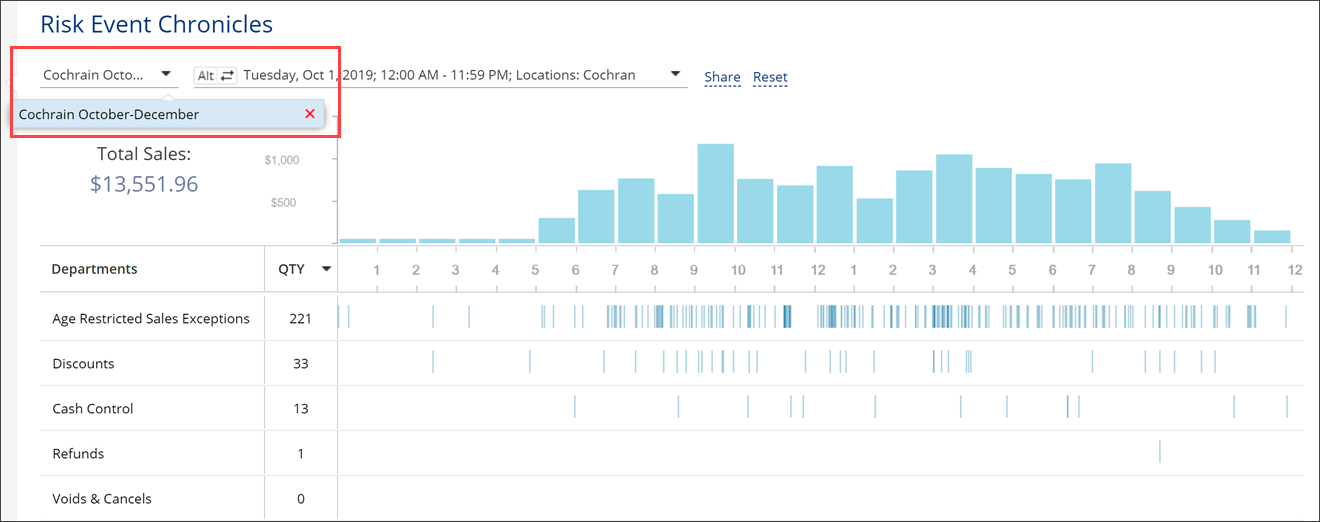
To open the saved filter, in the filter pane, click Saved Filters and select the filter from the list.
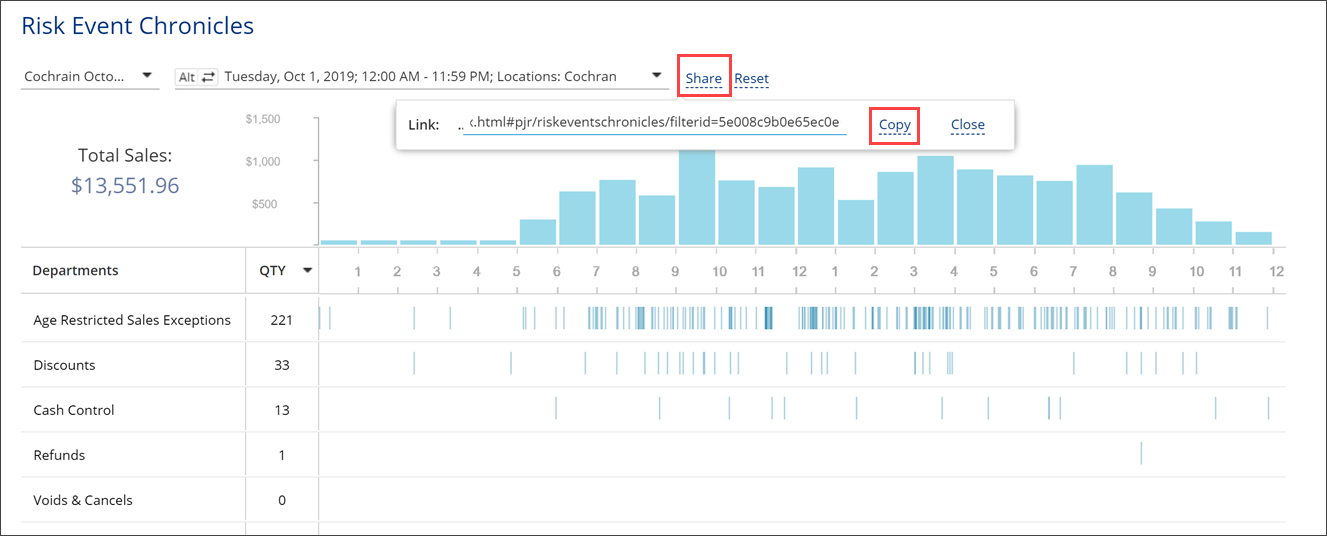
Sharing Filters
You can copy a filter you set up and send it to other CStoreOffice® users in your company. The copied filter is sent in the form of a link to the Loss Prevention Analytics form with the filtered results.
To copy a filter:
- At the top of the report, click the filter field.
- In the filter window, set up the necessary filtering conditions.
- At the top right of the window, click Apply.
- To the right of the filter field, click Share and in the displayed window, click Copy. The link with the filter is copied to the Clipboard. You can now send it to company users.