While setting up items, you can edit the scanned or newly added item’s data on the following screens:
- The Inventory screen.
- The new order screen.
- The merchandise transfer screen.
- The simple and advanced Receive Invoice screens.
To edit the item’s data:
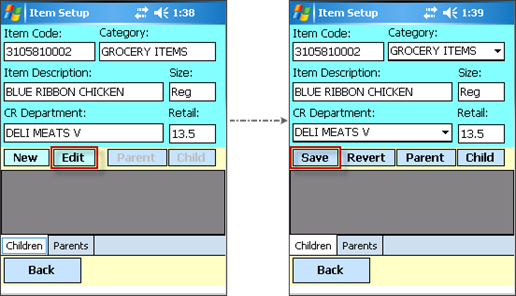
- On any of the screens listed above, click Setup.
- On the Item Setup screen, click Edit and then enter the following item’s data:
You can click Setup to edit item’s data only after the item is added to the scanner’s database: the ENT button is pressed on the scanner’s keyboard after the existing item is scanned or new item is added and saved.
- Item Code: Enter item’s barcode. Use one the following state of the U/E check box:
- Select the U/E check box before clicking Setup, if you work with EAN-8 barcodes.
- Clear the U/I check box before clicking Setup, if you work with UPC-E barcodes.
- Category: Select the item’s category from the list.
- Item Description: Enter the item’s name.
- Size: Enter the item’s size, if any.
- CR Department: Select the category department from the list.
- Retail: Enter or edit the item’s price to know how much you are selling an item for.