


This section consists of the following subsections:
- About Earn Points Merchandise and/or Fuel Promotion
- Setting Up Earn Points Merchandise and/or Fuel Promotion
About Earn Points Merchandise and/or Fuel Promotion
The Earn Points Merchandise and/or Fuel promotion enables customers to earn loyalty points for spending a certain amount of money.
With this discount, a customer earns loyalty points and then redeems them when a minimum limit of points is reached, if any. The redeeming operation needs a confirmation from the customer's side.
Setting Up Earn Points Merchandise and/or Fuel Promotion
To set up the Earn Points Merchandise and/or Fuel promotion in CStoreOffice®:
- Go to
- At the top left of the Promotions form, click Add New.
Result: The promotion setup form opens. - In the promotion setup form > promotion header section:
- In the Promotion Name field, enter the name for the new promotion.
- In the Receipt CR Description field, specify the promotion description that must be displayed on cash register receipts. The name length must not exceed ten characters including spaces. By default, the promotion name is displayed in this field.
- In the Promotion Type list, select Earn Points Merchandise and/or Fuel.
Result: The promotion default settings are uploaded in the How much? section according to the selected promotion type. - In the Loyalty Program field, select the loyalty program for the promotion. If the corresponding loyalty program is not configured yet, click Add New and set it up.

For more information on how to configure the loyalty program, see Creating Loyalty Programs.

- In the promotion setup form > How much? section:
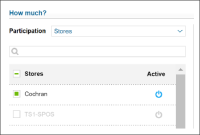
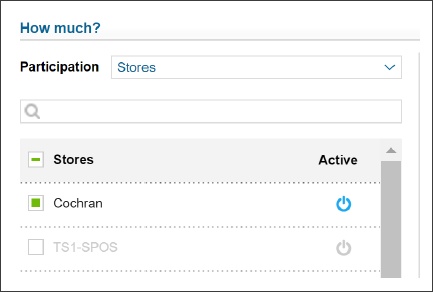
- In the Participation list, select the type of objects for which the promotion must be activated: Stores, Division, Company, and so on.
- In the list below, click the power icon to the right of the objects that are to activate the promotion.
- In the promotion setup form > How much? section > Groups subsection, set up the promotion's basic parameters:
- In the Earn row, specify what products should be purchased by the customers to get the loyalty points:
- Double-click the Earn row.
- Go to the What is included? section and add to the Get Group(s) the products that should be purchased by the customers to get the loyalty points.
- Go back to the Earn row and configure the following parameters:
- In the Points field, enter the amount of points a customer will earn.
- In the Per $ field, enter the amount of dollars for spending which a customer will earn the amount of points specified above. - Click Update.
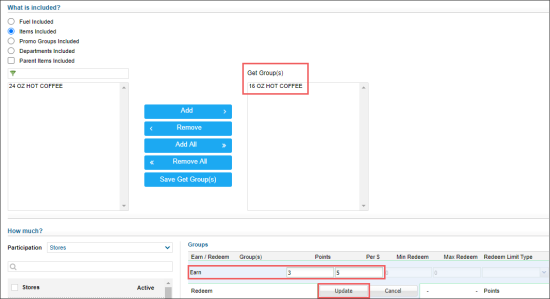
- In the Redeem row, specify what products can be partially paid with earned points:
- Click the Redeem row.
- Go to the What is included? section and add to the Get Group(s) the products that can be partially paid with earned points.
- Go back to the Redeem row and configure the following parameters:
- In the Points field, enter the amount of points.
- In the Per $ field, enter the amount of dollars.
- In the Min Redeem field, enter the minimum redeem value.
- In the Max Redeem field, enter the maximum redeem value.
- In the Redeem Limit Type list, select Points. - Click Update.


You can configure different groups for the Earn and Redeem rows.
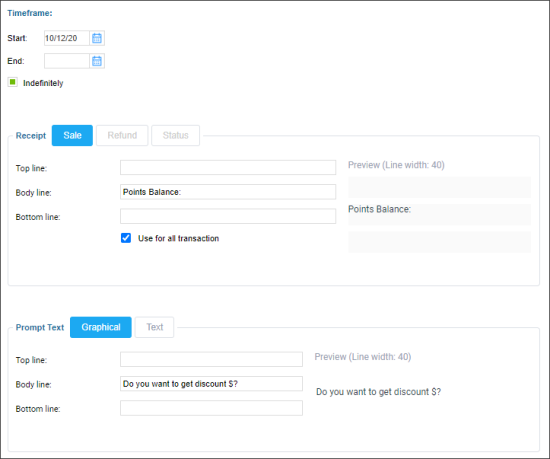
- In the Timeframe section, specify the promotion lifetime settings. Do either of the following:
- To create a temporary promotion, in the Start and End fields, specify the dates when the promotion must start and end, respectively.
- To create a promotion without the end date, specify the start date and select the Indefinitely check box.
- In the Receipt section, enter the messages to be printed in the receipt. For each available operation, such as Sale, Refund, and Status, enter the following messages, if needed:
- Top line
- Body line
- Bottom line
- In the Prompt Text section, enter the prompt message to be displayed on the PIN pad. For Graphical and Text subsections, enter the following messages if needed:
- Top line
- Body line
- Bottom line

- At the top of the promotion form, click Save.


