


- Go to Transactions > Banking > ACH Payments.
- In the left menu, select ACH Profile.
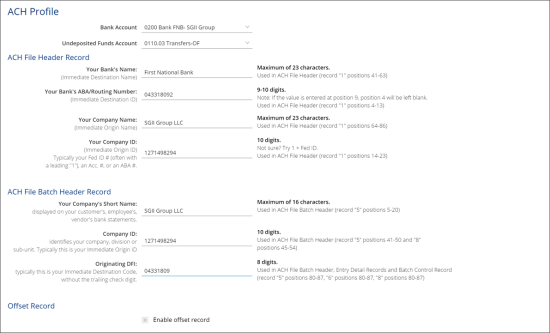
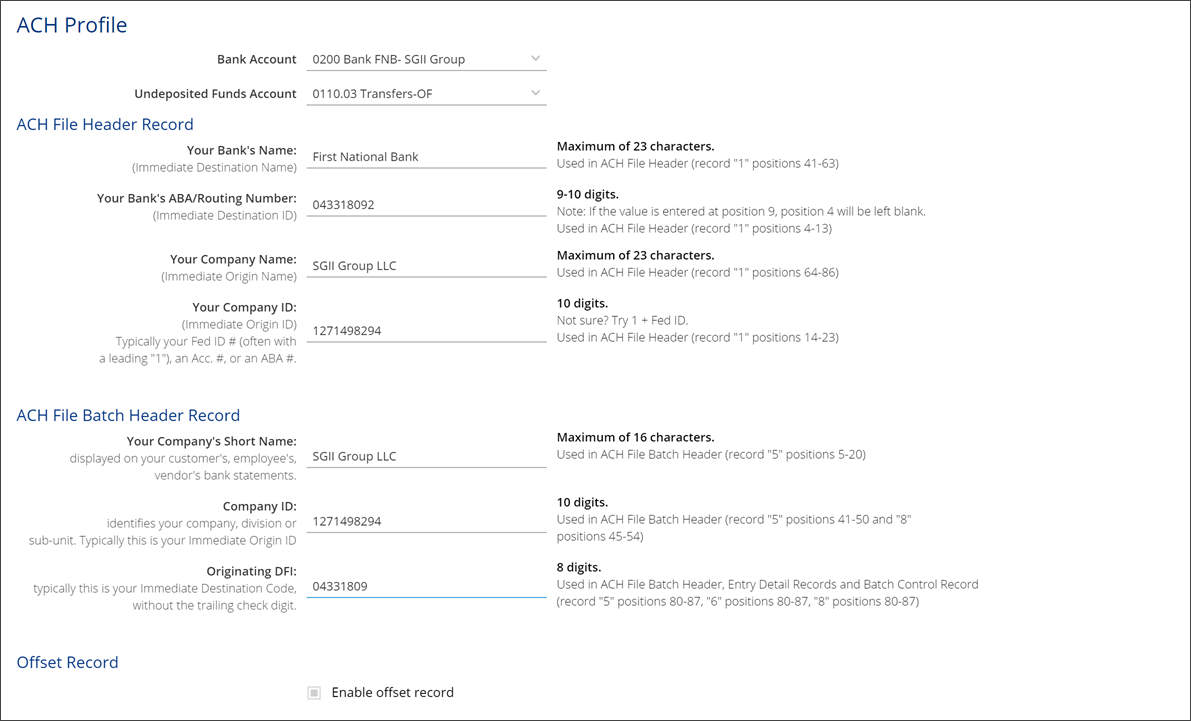
- Populate the following information:
- Bank Account: Select your Bank Account in CStoreOffice® (see Settings > Company > Chart of Accounts).
- Undeposited Funds Account: Select the account to accumulate funds until a deposit is made in your bank account to simplify your deposits (see Settings > Company > Chart of Accounts).
- Your Bank’s Name: Specify the destination bank name obtained from the bank.
- Your Bank’s ABA/Routing Number: Specify the destination bank ID obtained from the bank.
- Your Company Name: Specify the company name.
- Your Company ID: Specify the company ID. Typically, this is your FED ID number.
- Your Company’s Short Name: Specify the company short name displayed on your customer, employee and vendor bank statements.
- Company ID: Specify the company ID that identifies your company, division or subunit.
- Originating DFI: Typically, this is your immediate destination code, without the training check digit.
- Enable offset record: Select this check box if the client’s bank requires the file to be balanced or offset.
- Offset ABA/Routing #: Specify the routing number obtained from the bank.
- Offset Account #: Specify the offset account number obtained from the bank.
- Offset Description: Specify the offset description obtained from the bank.
- Offset ID: Specify the offset ID obtained from the bank.
- Web Upload URL: Enter the bank website URL for uploading ACH files.
- At the top right of the form, click Save.
To make sure the setup is successful, you can generate a test file to test the upload process. For details, see Creating a Test File.


